How to Use Seedream MCP in VS Code for Chinese Text Image Generation
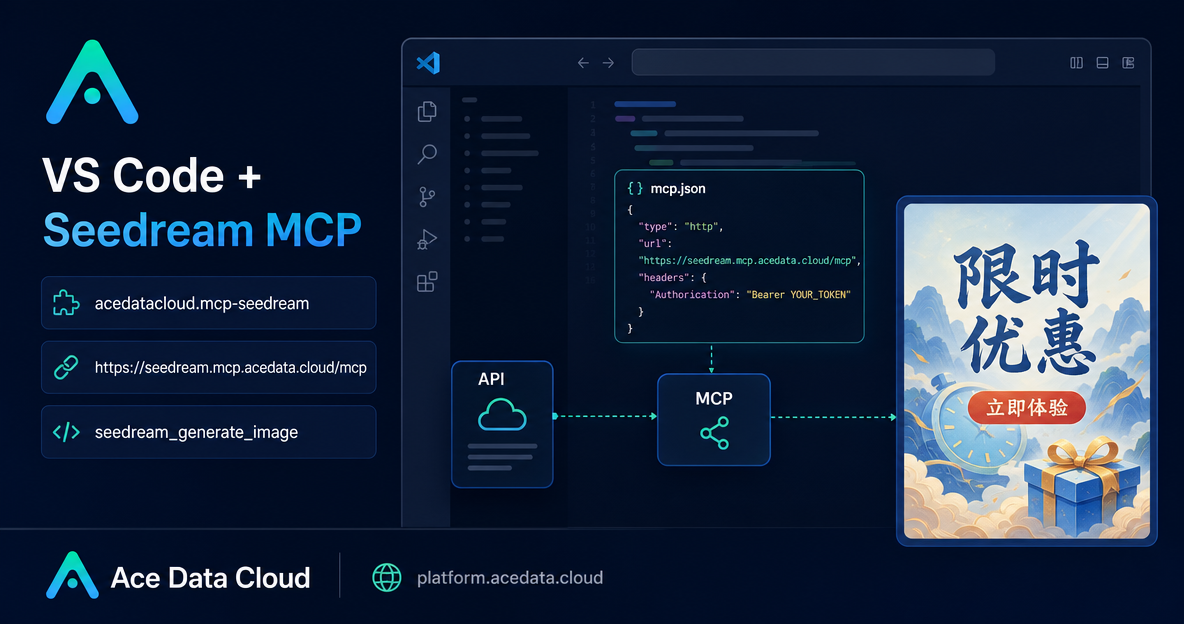
If you have ever tried to generate a poster with Chinese text inside an image, you have probably seen the failure mode: broken strokes, unreadable characters, or text that looks close but not quite right. This guide shows how to use Seedream MCP inside VS Code so a builder can stay in the editor, ask GitHub Copilot Agent for an image task, and route that work through a Seedream MCP server configured with an Ace Data Cloud API key.
What you can do
The documented VS Code workflow is intentionally narrow and practical: install the Seedream MCP extension, store your Ace Data Cloud API key in VS Code SecretStorage / the system keychain, then ask Copilot Agent to use seedream for image generation tasks.
Seedream is useful when your output needs Chinese text or Chinese-market visual design. The source documentation gives three concrete scenarios:
- A tech salon poster with a title such as
AI Engineering Practice Sharing Session, a subtitle such asJanuary 18, 2025 · Beijing, and space left for a QR code. - A Spring Festival themed app splash screen with lanterns, a modern festive style, and readable greeting text.
- Editing an existing English banner by replacing
Get Startedwith立即体验while keeping the size and position consistent.
The MCP tool listed by the documentation is seedream_generate_image, described as text-to-image generation.
How it works
MCP lets an AI coding agent call external tools through a declared server. In this setup, VS Code and GitHub Copilot Chat provide the agent interface, while the Seedream MCP extension provides the bridge to the hosted MCP endpoint.
There are two supported configuration paths in the documentation:
- Extension flow: install
acedatacloud.mcp-seedream, run the commandSeedream MCP: Set Ace Data Cloud API Key, and let VS Code store the key securely. - Manual project flow: create a project-level
.vscode/mcp.jsonthat declares the Seedream MCP server and prompts for the API key.
The extension flow is usually the quickest way to get started. The manual file is useful when you want the MCP server definition to live with a repository while keeping each developer’s real key outside Git.
Step 1: Install the VS Code extension
Open the VS Code extension marketplace with Cmd+Shift+X. Search for Seedream MCP, or search directly by the extension ID:
acedatacloud.mcp-seedreamInstall the extension and reload the window if VS Code asks you to. At this point, the editor has the extension installed, but it still needs credentials before Copilot Agent can call the MCP tool.
Step 2: Store the API key safely
Open the command palette with Cmd+Shift+P and run:
Seedream MCP: Set Ace Data Cloud API KeyPaste the API key when prompted and press Enter. The documentation states that the key is saved in VS Code SecretStorage / the system keychain, rather than being written into your project files.
If you need to rotate or replace the key later, run:
Seedream MCP: Clear Ace Data Cloud API KeyThen set the key again with the same command palette flow.
Step 3: Verify from GitHub Copilot Agent
Open GitHub Copilot Chat and switch to Agent mode. Then ask for a task that explicitly mentions seedream. For example:
Use seedream to generate a tech salon poster with the title "AI Engineering Practice Sharing Session", subtitle "January 18, 2025 · Beijing", a dark gradient background, a technology feel, and space at the bottom for a QR code.The important part is not the exact wording. The important part is that the request gives the agent a clear image objective and mentions seedream, so the first call can route to the Seedream MCP plugin using the API key you saved.
Optional: configure .vscode/mcp.json manually
If you prefer a project-level configuration, the documentation provides this .vscode/mcp.json shape:
{
  "servers": {
    "seedream": {
      "type": "http",
      "url": "https://seedream.mcp.acedata.cloud/mcp",
      "headers": {
        "Authorization": "Bearer ${input:acedata-api-key}"
      }
    }
  },
  "inputs": [
    {
      "id": "acedata-api-key",
      "type": "promptString",
      "description": "Ace Data Cloud API Key",
      "password": true
    }
  ]
}
There are a few details worth keeping:
servers.seedream.typeishttp.servers.seedream.urlishttps://seedream.mcp.acedata.cloud/mcp.headers.Authorizationuses the prompt input${input:acedata-api-key}instead of a hard-coded secret.- The input has
passwordset totrue, so the key prompt is treated as secret input.
This pattern lets you commit the MCP wiring while leaving the actual key to each developer’s local VS Code prompt.
Practical prompts to start with
For Chinese text rendering, make the text explicit and specify where it belongs. A compact prompt often works better than a vague brief:
Use seedream to create a modern app campaign banner. Put the Chinese text "限时优惠" in the top right corner. Keep the layout clean and leave room for a product screenshot.For localization work, describe the edit and the constraint:
Use seedream to replace the English "Get Started" in this image with "立即体验", keeping the font size and position consistent.Those examples map directly to the documented strengths: Chinese titles, domestic product visuals, and modification of existing materials.
Where this fits in a builder workflow
The useful part of this setup is not that it adds one more image model to your stack. It is that image generation becomes part of the same workspace where you write copy, edit README files, prepare release notes, and iterate on product assets. For teams building for Chinese users, that reduces the small but constant context switch between code, prompt drafts, design tools, and image services.
Start with the extension command if you are testing locally. Move to .vscode/mcp.json when you want a repeatable repository setup. In both cases, keep the key out of source control and give Copilot Agent concrete, text-aware image tasks.
Read the original setup notes in the VS Code with Seedream MCP documentation.


Comments
Post a Comment