How to Configure Claude Code with CC Switch and Ace Data Cloud
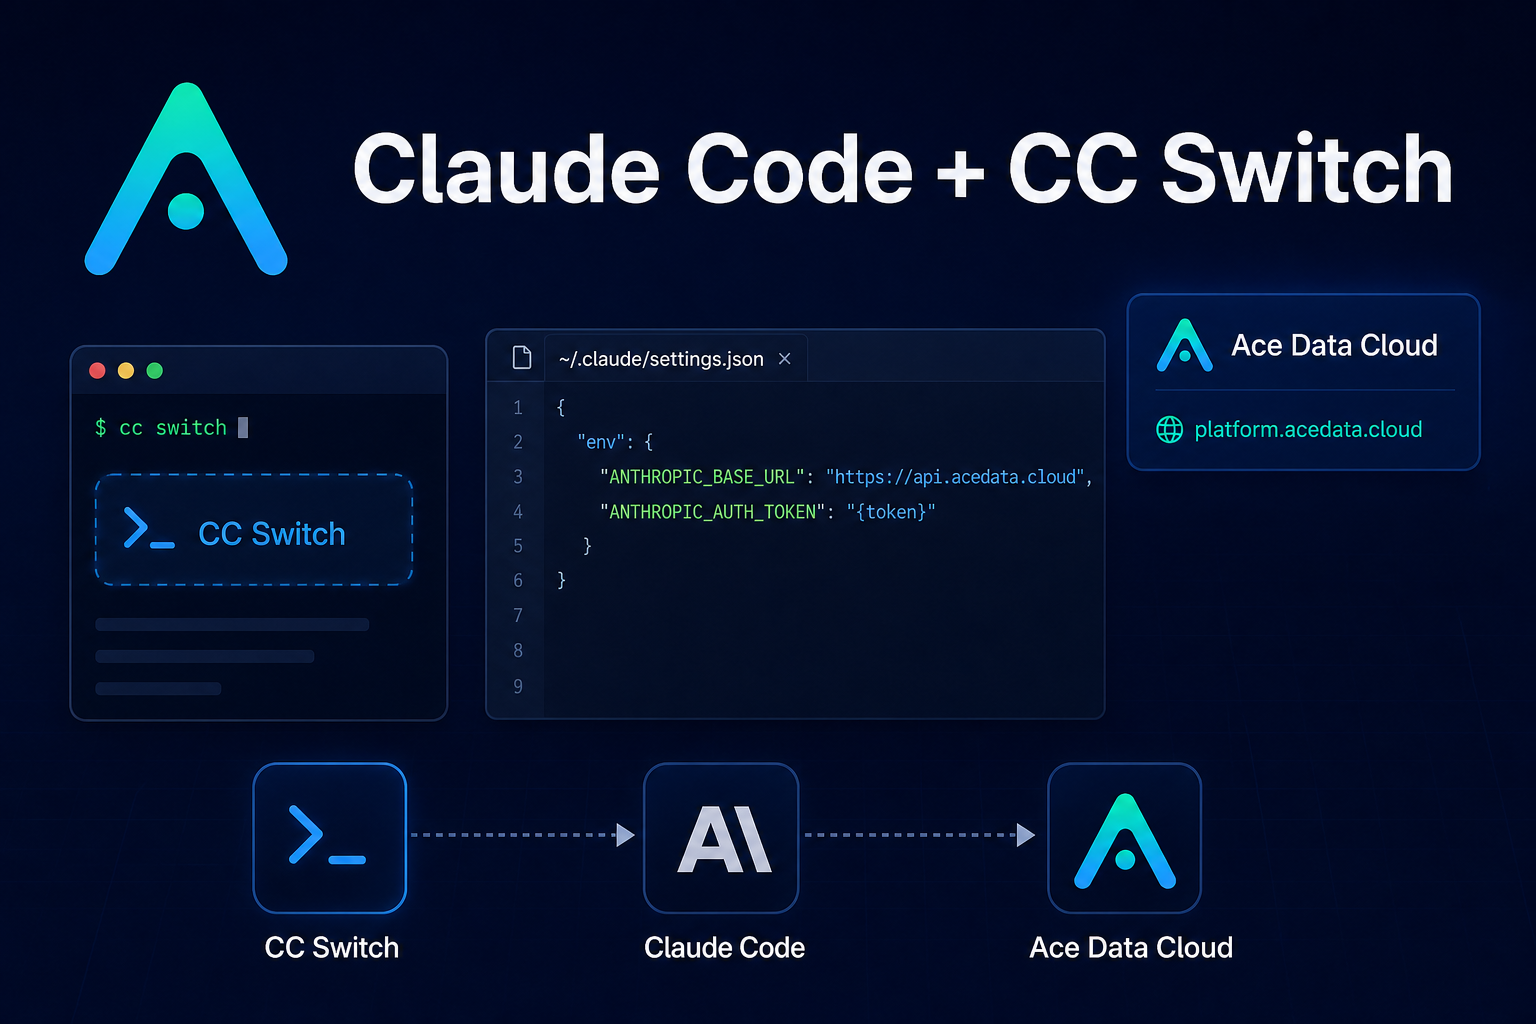
If you use Claude Code across a terminal, VS Code, or remote development setup, the awkward part is often not the model itself but the configuration: where should requests go, where should the token live, and how do you switch providers without editing files by hand?
This guide walks through a practical setup using CC Switch as the graphical configuration manager and Ace Data Cloud as the Anthropic-compatible base URL. The goal is simple: configure Claude Code once, verify the active endpoint, and keep the setup easy to change later.
What you can do
With the setup described in the Ace Data Cloud documentation, you can:
- Manage Claude Code provider configuration through a desktop UI instead of manually editing
settings.json. - Store an Ace Data Cloud provider with
ANTHROPIC_BASE_URLandANTHROPIC_AUTH_TOKEN. - Switch the active Claude Code provider from CC Switch without rewriting your configuration every time.
- Use the same provider configuration from the terminal and the Claude Code VS Code extension, because both read the Claude Code user-level configuration.
- Check the active base URL from Claude Code with
/status.
This is useful if you frequently move between local development, IDE-based coding, and occasional remote SSH work, and you want one place to manage the active Claude Code route.
How it works
Claude Code decides where requests are sent using two environment variables: ANTHROPIC_BASE_URL and ANTHROPIC_AUTH_TOKEN. CC Switch gives you a graphical way to write and switch these values for Claude Code.
In this workflow, CC Switch writes the provider configuration into the Claude Code user-level configuration file, documented as ~/.claude/settings.json. Ace Data Cloud is configured as the base URL:
https://api.acedata.cloudThe provider still uses the Anthropic Messages API format. In CC Switch advanced options, the documentation says to keep the API format as Anthropic Messages, without enabling local routing or format conversion.
Step 1: Get the token ready
Before opening CC Switch, prepare the API token from the Ace Data Cloud console. The token will be used as ANTHROPIC_AUTH_TOKEN. Do not hard-code it into tutorials, screenshots, or public repositories. Treat it like any other API credential.
For the rest of this guide, the token is represented as {token}. Replace that placeholder with your actual token only inside your local configuration.
Step 2: Install and open CC Switch
CC Switch is a cross-platform desktop configuration manager for AI programming tools. The source documentation describes installation options for Windows, macOS, and Linux. On macOS, the documented command is:
brew install --cask cc-switchAfter installation, launch CC Switch. On first launch, it can import an existing CLI configuration as the default provider, which is helpful if you already have a working Claude Code setup and want to avoid overwriting it accidentally.
Step 3: Add Ace Data Cloud as a custom provider
In CC Switch, choose the Claude Code application, click the add provider button, and use the Custom preset. The provider fields from the documentation are:
Name:Ace Data Cloud— the visible provider name.Base URL:https://api.acedata.cloud.API Key / Token: the token copied from your Ace Data Cloud console.
If you prefer editing the JSON configuration directly, the documented shape is:
{
  "env": {
    "ANTHROPIC_AUTH_TOKEN": "{token}",
    "ANTHROPIC_BASE_URL": "https://api.acedata.cloud"
  }
}
This is the most important part of the setup. The base URL points Claude Code requests to Ace Data Cloud, while the auth token identifies your account. The names of the variables stay the standard Claude Code variables, so the setup remains compatible with the Claude Code configuration model.
Step 4: Enable the provider and verify it
After adding the provider, find the Ace Data Cloud provider card in the Claude Code provider list and enable it. The documentation notes that Claude Code supports hot switching, so switching providers takes effect without restarting Claude Code.
To verify from the terminal, start Claude Code:
claudeInside the interactive interface, run:
/statusYou should see the active Anthropic base URL reported as:
Anthropic base URL: https://api.acedata.cloudThat check is worth doing before you begin a real coding session. It confirms that Claude Code is reading the provider written by CC Switch and that the request route is the one you intended.
Using the same setup in VS Code
The same configuration also applies to the Claude Code VS Code extension because the extension and CLI share the Claude Code configuration. Once CC Switch has written the provider for Claude Code, the VS Code extension can reuse it without filling in the same values again.
This is the practical benefit of putting CC Switch in the middle: your terminal and IDE can share one provider definition, and you can switch it from a UI when needed.
Remote SSH notes
Remote development needs one extra consideration. If you are using VS Code Remote - SSH, the remote host cannot automatically read your local environment variables. The documentation describes using the CC Switch local proxy feature, then forwarding that local port to the remote host with SSH RemoteForward. In that setup, the remote Claude Code process can reuse the local provider through the forwarded proxy.
Use this only when you actually need remote development. For a normal local terminal or local VS Code setup, the custom provider configuration above is enough.
Configuration checklist
- CC Switch application is set to Claude Code.
- The provider is created with
Nameset toAce Data Cloud. ANTHROPIC_BASE_URLishttps://api.acedata.cloud.ANTHROPIC_AUTH_TOKENcontains your local token, not the literal placeholder.- The API format remains Anthropic Messages.
/statusin Claude Code showshttps://api.acedata.cloud.
That is the whole setup: keep the provider definition small, verify the active base URL before serious work, and let CC Switch handle the otherwise repetitive configuration edits.
For the full source documentation, see the Ace Data Cloud guide: Claude Code CC Switch Integration Guide.


Comments
Post a Comment