How to Build a Reliable Image Editing Workflow with GPT Image 2
When you build image features into a real product, the hard part is usually not “make something pretty.” It is keeping the parts that matter unchanged while applying a precise edit: replace a background, recolor a product, keep the original camera angle, or run the same edit across a set of reference images.
This guide walks through a practical image editing workflow using the Ace Data Cloud OpenAI image edits endpoint. The goal is to show the moving pieces you need for a builder-friendly integration: a source image, an instruction prompt, a model choice, a predictable output size, and a safe way to handle slower jobs.
What you can do
The image editing API accepts an existing image and a natural-language instruction, then returns an edited image. In the documented examples, the request changes only the mug color and background while preserving the mug, tabletop, camera angle, portrait layout, and soft shadow. That pattern is useful for product photography, marketing asset variants, UI mockups, marketplace thumbnails, and brand-safe visual transformations.
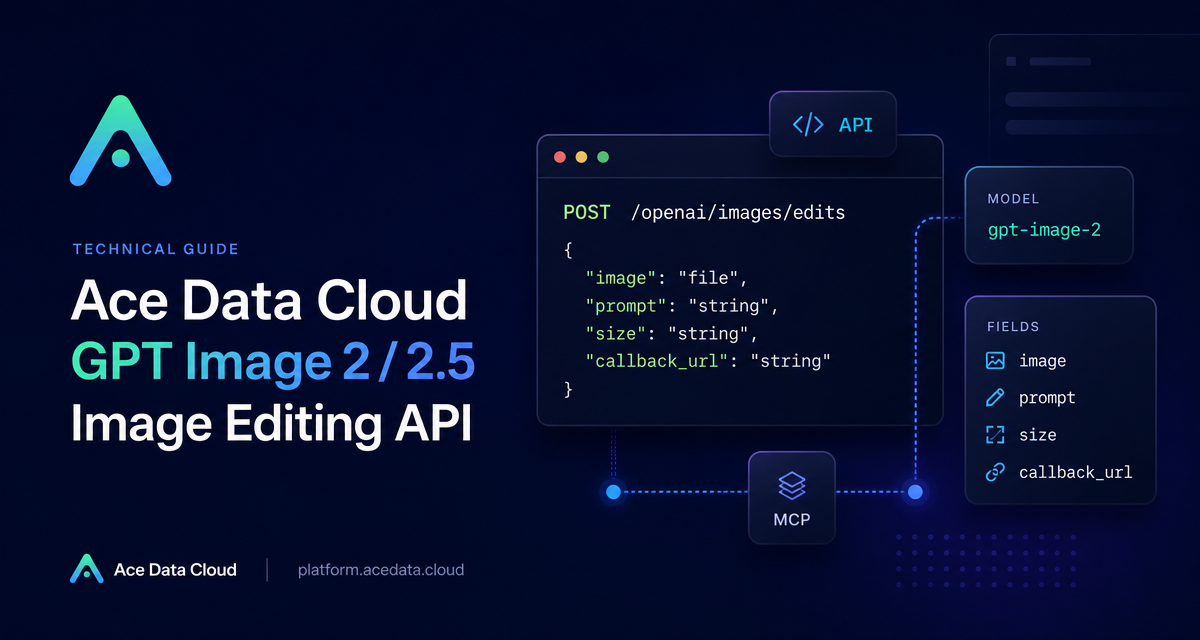
The core endpoint is:
POST https://api.acedata.cloud/openai/images/editsThe common request fields are intentionally small:
model: one ofgpt-image-2,gpt-image-2.5-flare,gpt-image-2.5-sunburst,gpt-image-2:official, orgpt-image-2:reverse.image: in JSON, a single image URL or an array of up to 16 URLs; in multipart requests, one or moreimagefile fields.prompt: the edit instruction.size:autoor a compliantWIDTHxHEIGHT.n: 1–10, with the documented restriction that only 1 is supported whenresponse_format=b64_json.response_format:urlorb64_json.callback_url: an optional asynchronous callback address.
How it works
Think of the API as an editing job rather than a blank-canvas generator. The first reference image establishes the visual source. Your prompt then explains what to preserve and what to change. This matters: a vague instruction like “make it better” leaves too much room for interpretation, while a constrained instruction such as “keep the mug, tabletop, camera angle, portrait layout, and soft shadow unchanged; change only the mug color” gives the model a much narrower edit boundary.
For JSON-based workflows, the image field can point to a hosted URL. For local pipelines, use multipart/form-data and upload the file as image=@input.png. If your use case needs several visual references, the GPT Image series supports up to 16 reference images through repeated multipart image fields or an array of URLs in JSON.
Start with a URL-based edit
A URL-based request is the simplest shape to test from a backend service. Store your input image somewhere accessible, then send the edit instruction with the model and size you want.
curl https://api.acedata.cloud/openai/images/edits   -H "Authorization: Bearer your API Key"   -H "Content-Type: application/json"   -d '{
    "model": "gpt-image-2",
    "image": "https://platform2.cdn.acedata.cloud/gpt-image/d56455e2-e7f7-4bcd-b935-475b0a1e0948_0.png",
    "prompt": "Keep the mug, tabletop, camera angle, portrait layout, and soft shadow unchanged. Change only the mug color from white to vivid orange and the pale cream background to solid dark navy blue. No text and no logo.",
    "size": "1024x1536"
  }'
A successful synchronous response includes success, task_id, trace_id, created, model, data, and usage. The edited image URL is returned inside data[0].url.
{
  "success": true,
  "task_id": "49848451-c624-4df9-9dc2-494018daaf4c",
  "trace_id": "5ac021c2-2891-4eed-bfcf-4c6668ac1be1",
  "created": 1788831893,
  "model": "gpt-image-2",
  "data": [
    {
      "url": "https://platform2.cdn.acedata.cloud/gpt-image/49848451-c624-4df9-9dc2-494018daaf4c_0.png"
    }
  ],
  "usage": {
    "input_tokens": 775,
    "output_tokens": 1372,
    "total_tokens": 2147
  }
}
Upload local images from a build pipeline
If the source image is created inside your app, CI job, or internal design tool, multipart upload is usually cleaner than pushing the file to a public URL first. The documented multipart form keeps the same conceptual fields but sends the image as a file:
curl https://api.acedata.cloud/openai/images/edits -H "Authorization: Bearer your API Key" -F "model=gpt-image-2" -F "image=@input.png" -F "prompt=Replace the background with a bright modern studio"This is a good fit for batch jobs: render a base asset, send it with a constrained prompt, save the returned URL, and attach the trace_id to your own job logs for later debugging.
Choose sizes deliberately
The size field can be auto, but production systems often benefit from explicit dimensions. The documented size rules are: width and height must be multiples of 16, the long side must not exceed 3840, total pixels must be between 655,360 and 8,294,400, and the aspect ratio must not exceed 3:1. If size is omitted or set to auto, the model chooses the aspect ratio based on the prompt and the first reference image.
That means you should decide size based on where the output will be used. A portrait product shot might use 1024x1536. A blog cover or dashboard preview might use a horizontal size that follows the same multiple-of-16 and aspect-ratio constraints.
Handle slower jobs with callbacks
Image edits can take longer than a normal API request. The docs recommend adding callback_url for long tasks:
{
  "callback_url": "https://example.com/webhooks/images"
}
With asynchronous mode, the 200 response can be a compact {"task_id":"..."}, and the final result is sent to the callback when the job completes. If you are building a user-facing workflow, this lets you return immediately, show a pending state, and update the asset when the webhook arrives.
Troubleshooting checklist
400: check image format, image quantity, parameter combinations, and size format.401: check the API key and Bearer header.429: reduce request frequency.504: switch to asynchronous callback.
Error responses include a trace_id. Keep that value in your logs, but never include the API key when reporting an issue.
The small lesson: treat image editing prompts like code. Be explicit about invariants, pass only the references you need, choose output dimensions for the surface you are building, and keep task identifiers in your logs. For the complete field reference, see the Ace Data Cloud GPT Image 2 / 2.5 image editing documentation.


Comments
Post a Comment