How to Build a Practical Image Editing Workflow with GPT Image 2
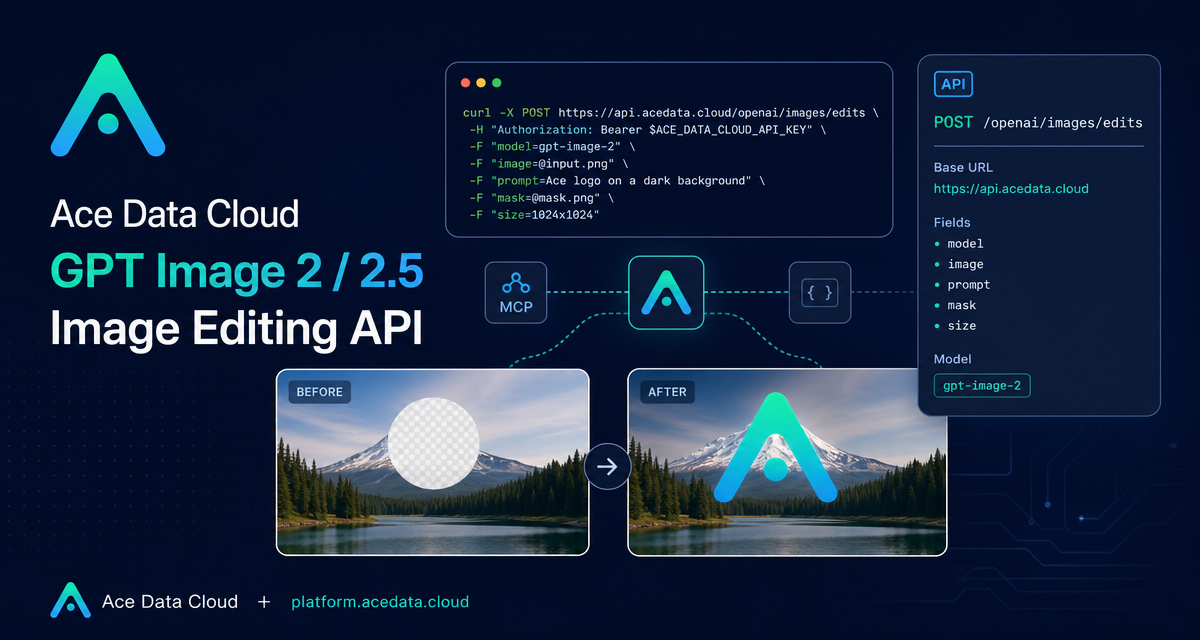
If you have ever tried to automate visual edits across product screenshots, campaign assets, or generated mockups, you know the hard part is not “make a new image.” The hard part is saying exactly what should change, what must stay untouched, and how to make the same workflow reliable enough to run from code.
This guide walks through a practical image editing workflow using the Ace Data Cloud OpenAI Images Edits API. We will focus on what the documented endpoint actually supports: editing from an image URL, uploading local files, using masks for localized edits, choosing the right model variant, and handling long-running tasks without guessing.
What you can do
The editing endpoint is https://api.acedata.cloud/openai/images/edits. At a minimum, you send a model, an image, and a natural-language prompt. For JSON requests, image can be a single URL or an array of URLs. For local files, use multipart/form-data with one or more image file fields.
That makes the API useful for several builder workflows:
- Changing one visual property while preserving composition, lighting, and camera angle.
- Combining up to 16 reference images when the request uses JSON image URLs.
- Uploading local images when your source asset is not publicly hosted.
- Using a PNG
maskto constrain edits to a specific region. - Returning either a URL or base64 JSON through
response_format.
How it works
The simplest path is a JSON request with an image URL. The model reads the reference image, applies your prompt, and returns a result. The documented example uses gpt-image-2, keeps the mug, tabletop, camera angle, portrait layout, and soft shadow unchanged, and changes only the mug color and background color.
Here is the full request shape from the documentation, adapted only to use a placeholder API key:
curl https://api.acedata.cloud/openai/images/edits \
  -H "Authorization: Bearer YOUR_API_KEY" \
  -H "Content-Type: application/json" \
  -d '{
    "model": "gpt-image-2",
    "image": "https://cdn.acedata.cloud/assets/examples/gpt-image/d56455e2-e7f7-4bcd-b935-475b0a1e0948_0-18240dc44b9c.png",
    "prompt": "Keep the mug, tabletop, camera angle, portrait layout, and soft shadow unchanged. Change only the mug color from white to vivid orange and the pale cream background to solid dark navy blue. No text and no logo.",
    "size": "1024x1536"
  }'
A successful synchronous response includes success, task_id, trace_id, created, model, data, and usage. The image URL is returned under data[0].url:
{
  "success": true,
  "task_id": "49848451-c624-4df9-9dc2-494018daaf4c",
  "trace_id": "5ac021c2-2891-4eed-bfcf-4c6668ac1be1",
  "created": 1788831893,
  "model": "gpt-image-2",
  "data": [
    {
      "url": "https://cdn.acedata.cloud/assets/examples/gpt-image/49848451-c624-4df9-9dc2-494018daaf4c_0-b6d780a732ca.png"
    }
  ],
  "usage": {
    "input_tokens": 775,
    "output_tokens": 1372,
    "total_tokens": 2147
  }
}
Choosing a model variant
The documented model choices are intentionally explicit. gpt-image-2 is the default reverse channel and is billed per successfully generated image. gpt-image-2:reverse selects that reverse channel explicitly. gpt-image-2:official uses the official API channel and is billed by actual token usage.
For GPT Image 2.5, gpt-image-2.5-flare focuses on generation speed, while gpt-image-2.5-sunburst focuses on high fidelity and precise control. Each also has an :official variant. In practice, I would start with gpt-image-2 for general editing, test gpt-image-2.5-flare when latency matters, and move to gpt-image-2.5-sunburst when visual precision matters more than speed.
Uploading local files
If the source image is on disk, switch from JSON to multipart/form-data. This is also the path you need when working with masks, because the original image and the mask must be uploaded separately in the same multipart request.
curl https://api.acedata.cloud/openai/images/edits -H "Authorization: Bearer YOUR_API_KEY" -F "model=gpt-image-2" -F "image=@input.png" -F "prompt=Replace the background with a bright modern studio"One important boundary: do not pass a URL original image together with a local mask file. Pure URL editing requests do not support adding a local mask file. If you need masked editing, upload both the image and the mask as local multipart files.
Using a mask for localized edits
A mask is useful when you want the model to change only part of the image. The documented mask rules are strict and worth building into your validation layer:
maskmust be a PNG with an Alpha channel.- The mask must not exceed 4MB.
- The mask dimensions must exactly match the first
image. - Transparent pixels with Alpha value
0indicate areas allowed to be edited. - Non-transparent pixels indicate areas that should be retained.
- Black-and-white RGB images without transparency are not valid masks.
The multipart request looks like this:
curl https://api.acedata.cloud/openai/images/edits \
  -H "Authorization: Bearer YOUR_API_KEY" \
  -F "model=gpt-image-2:official" \
  -F "image=@input.png" \
  -F "mask=@mask.png" \
  -F "prompt=Keep the composition, lighting, and all objects outside the transparent mask unchanged. Inside the masked area, replace the empty tabletop with a small blue ceramic vase."
If you prefer the OpenAI Python SDK style, point base_url to Ace Data Cloud and call client.images.edit:
from openai import OpenAI

client = OpenAI(
    api_key="YOUR_API_KEY",
    base_url="https://api.acedata.cloud/openai",
)

with open("input.png", "rb") as image, open("mask.png", "rb") as mask:
    result = client.images.edit(
        model="gpt-image-2:official",
        image=image,
        mask=mask,
        prompt=(
            "Keep the composition, lighting, and all objects outside the "
            "transparent mask unchanged. Inside the masked area, replace "
            "the empty tabletop with a small blue ceramic vase."
        ),
    )

print(result.data[0].url)
Parameters and failure modes to design for
The common fields are model, image, mask, prompt, size, n, response_format, and callback_url. size can be auto or a compliant WIDTHxHEIGHT. The size rules require width and height to be multiples of 16, the longer side to be no more than 3840, total pixels to be between 655,360 and 8,294,400, and the aspect ratio to be no more than 3:1.
n supports values from 1 to 10, but only 1 is supported when response_format is b64_json. For long-running jobs, include a callback_url; asynchronous requests return a task_id, and the final result is delivered to your callback.
For troubleshooting, map status codes to specific checks: 400 means image format, quantity, parameter combinations, size format, or mask validation; 401 means API key or Bearer header; 429 means request frequency; and 504 is a sign to switch to asynchronous callbacks. Error responses include trace_id, which is the identifier you should share when reporting an issue—never the API key.
A builder-friendly pattern
The workflow I would use in production is simple: validate images and masks before sending, keep prompts explicit about what must remain unchanged, store task_id and trace_id, and use callbacks for anything that may take longer than a normal HTTP request window. That gives you a repeatable editing pipeline instead of a one-off image prompt.
Read the full Ace Data Cloud documentation for the Images Edits endpoint here: OpenAI Images Edits API Integration Guide.


Comments
Post a Comment