How to Build an Image Editing Workflow with OpenAI Images Edits API
If your app accepts user images, sooner or later you need more than one-off prompting: you need a repeatable way to edit an existing image, preserve the parts that matter, and return a result your pipeline can store or show immediately.
What you can do
The OpenAI Images Edits API on Ace Data Cloud gives you a single editing endpoint for several image-editing models. The same interface supports gpt-image-1, gpt-image-2, and the nano-banana family: nano-banana, nano-banana-2-lite, nano-banana-2, and nano-banana-pro.
In practical terms, this lets you build workflows such as:
- turning a light infographic into a dark-mode version while keeping the layout intact;
- restyling a product or interior photo without losing the object arrangement;
- combining multiple reference images into a composed output;
- editing server-side images directly from URLs instead of downloading and re-uploading files.
The endpoint used in the document examples is POST https://api.acedata.cloud/openai/images/edits. For SDK-style usage, the docs also show setting OPENAI_BASE_URL to https://api.acedata.cloud/openai.
How it works
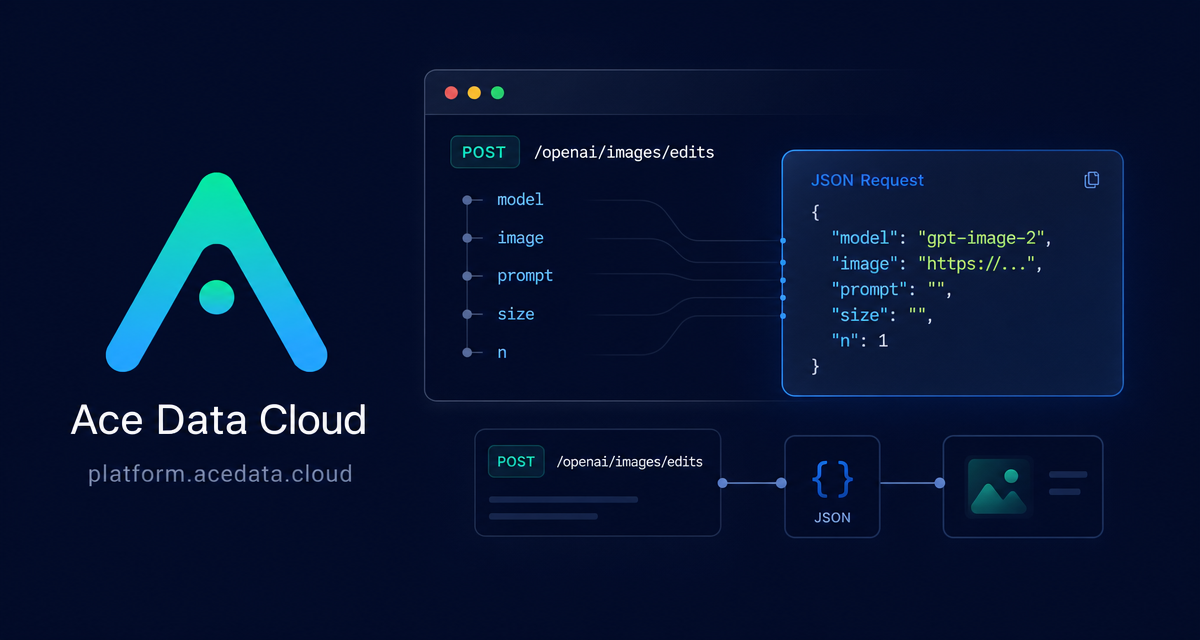
At the simplest level, you send an image plus a natural-language instruction. The important fields are model, image, prompt, and optionally size or n, depending on the model line you choose.
For gpt-image-2, the image field can be a URL string, an array of image URLs, a base64 value such as data:image/png;base64,..., or multipart file input. The GPT Image series can accept up to 16 reference images at the same time. That matters when you are building a real product workflow: a backend can pass an existing CDN URL directly, while a design tool can pass several references for a composed edit.
Use JSON when your images already live on a URL
The most pipeline-friendly path is application/json. You do not need to download the source image locally. Send the image URL, describe the edit, and request an explicit output size if you need predictable dimensions.
curl -X POST "https://api.acedata.cloud/openai/images/edits" \
  -H "Authorization: Bearer {token}" \
  -H "Content-Type: application/json" \
  -d '{
    "model": "gpt-image-2",
    "image": "https://platform.cdn.acedata.cloud/gpt-image/5c9fa635-8794-4c6d-88f8-584d7f4716c6_0.png",
    "prompt": "Convert this infographic to dark mode: dark navy background, light cream text, deep gray rounded module cards with soft shadows. Keep all layout, structure, and module arrangement identical — only invert the color scheme.",
    "size": "1024x1536"
  }'
A successful response follows the shape shown in the documentation: success, task_id, trace_id, created, a data array, and each result containing a url. Your application can persist that URL, attach the task_id to a job record, or use trace_id for debugging.
{
  "success": true,
  "task_id": "cb104e35-af1f-45be-9fac-b62e2b256753",
  "trace_id": "3e5c77c6-6c2e-4bba-a42d-98ea049b58a8",
  "created": 1777048863,
  "data": [
    {
      "revised_prompt": "Convert this infographic to dark mode...",
      "url": "https://platform.cdn.acedata.cloud/gpt-image/cb104e35-af1f-45be-9fac-b62e2b256753_0.png"
    }
  ],
  "elapsed": 83.859
}
Control size deliberately
For gpt-image-2, size can be auto, empty, or a WIDTHxHEIGHT value. Custom sizes must use width and height multiples of 16, keep the long edge at or below 3840, and keep the total pixel count at or below 8,294,400. Values outside those rules return a 4xx error.
The docs list common presets such as 1024x1024, 1536x1024, 1024x1536, 1792x1024, and 1024x1792 for 1K-style outputs, with larger 2K and 4K options. If you omit size, gpt-image-2 treats it like auto: it reads size intent from the prompt when possible, otherwise it falls back to the first reference image.
Use multiple references when the edit depends on context
Single-image edits are enough for recoloring, replacing backgrounds, and preserving layouts. When your target result depends on several objects, pass an array in image. The document uses this pattern for combining multiple product photos into a single gift basket.
import requests

url = "https://api.acedata.cloud/openai/images/edits"
headers = {
    "accept": "application/json",
    "authorization": "Bearer {token}",
    "content-type": "application/json"
}
payload = {
    "model": "gpt-image-2",
    "image": [
        "https://example.com/item1.png",
        "https://example.com/item2.png",
        "https://example.com/item3.png"
    ],
    "prompt": "Combine all the items above into a single 'Relax & Unwind' gift basket on a clean white background, photorealistic, soft natural lighting.",
    "size": "1024x1024"
}

response = requests.post(url, json=payload, headers=headers)
print(response.text)
Know when Nano Banana is different
The nano-banana models use the same /openai/images/edits route, but their supported parameter range is smaller: model, prompt, image, and n. Parameters such as mask, size, and response_format are not supported and are ignored if provided. The return structure follows the OpenAI-style data[].url shape, while created is fixed at 0, b64_json is not returned, and revised_prompt equals the original prompt.
That distinction is useful when designing your abstraction. If your product needs strict output dimensions, build that path around gpt-image-2. If your path is mostly fast instruction-based editing and you only need a returned URL, the nano-banana family can sit behind the same route with fewer parameters.
A small builder pattern
In production, I would keep the integration boring: validate image count before calling the API, choose WIDTHxHEIGHT explicitly for UI assets, store task_id and output url, and keep model-specific parameters in one adapter layer. That way, changing from gpt-image-2 to a nano-banana model is a configuration decision instead of a rewrite.
Read the full API details in the OpenAI Images Edits API Integration Guide.


Comments
Post a Comment