Nexior is an open-source project on GitHub that allows us to deploy our AI application site with one click, including AI Q&A, Midjourney drawing, knowledge base Q&A, artistic QR codes, and more. There is no need to develop AI systems, purchase AI accounts, worry about API support, or configure payment systems. It comes with zero startup costs and allows you to earn income through AI without risk.
This article will introduce the deployment process of the Nexior project on Vercel. Without any programming skills, you can deploy your AI site in a few minutes and easily generate revenue.
Preparation
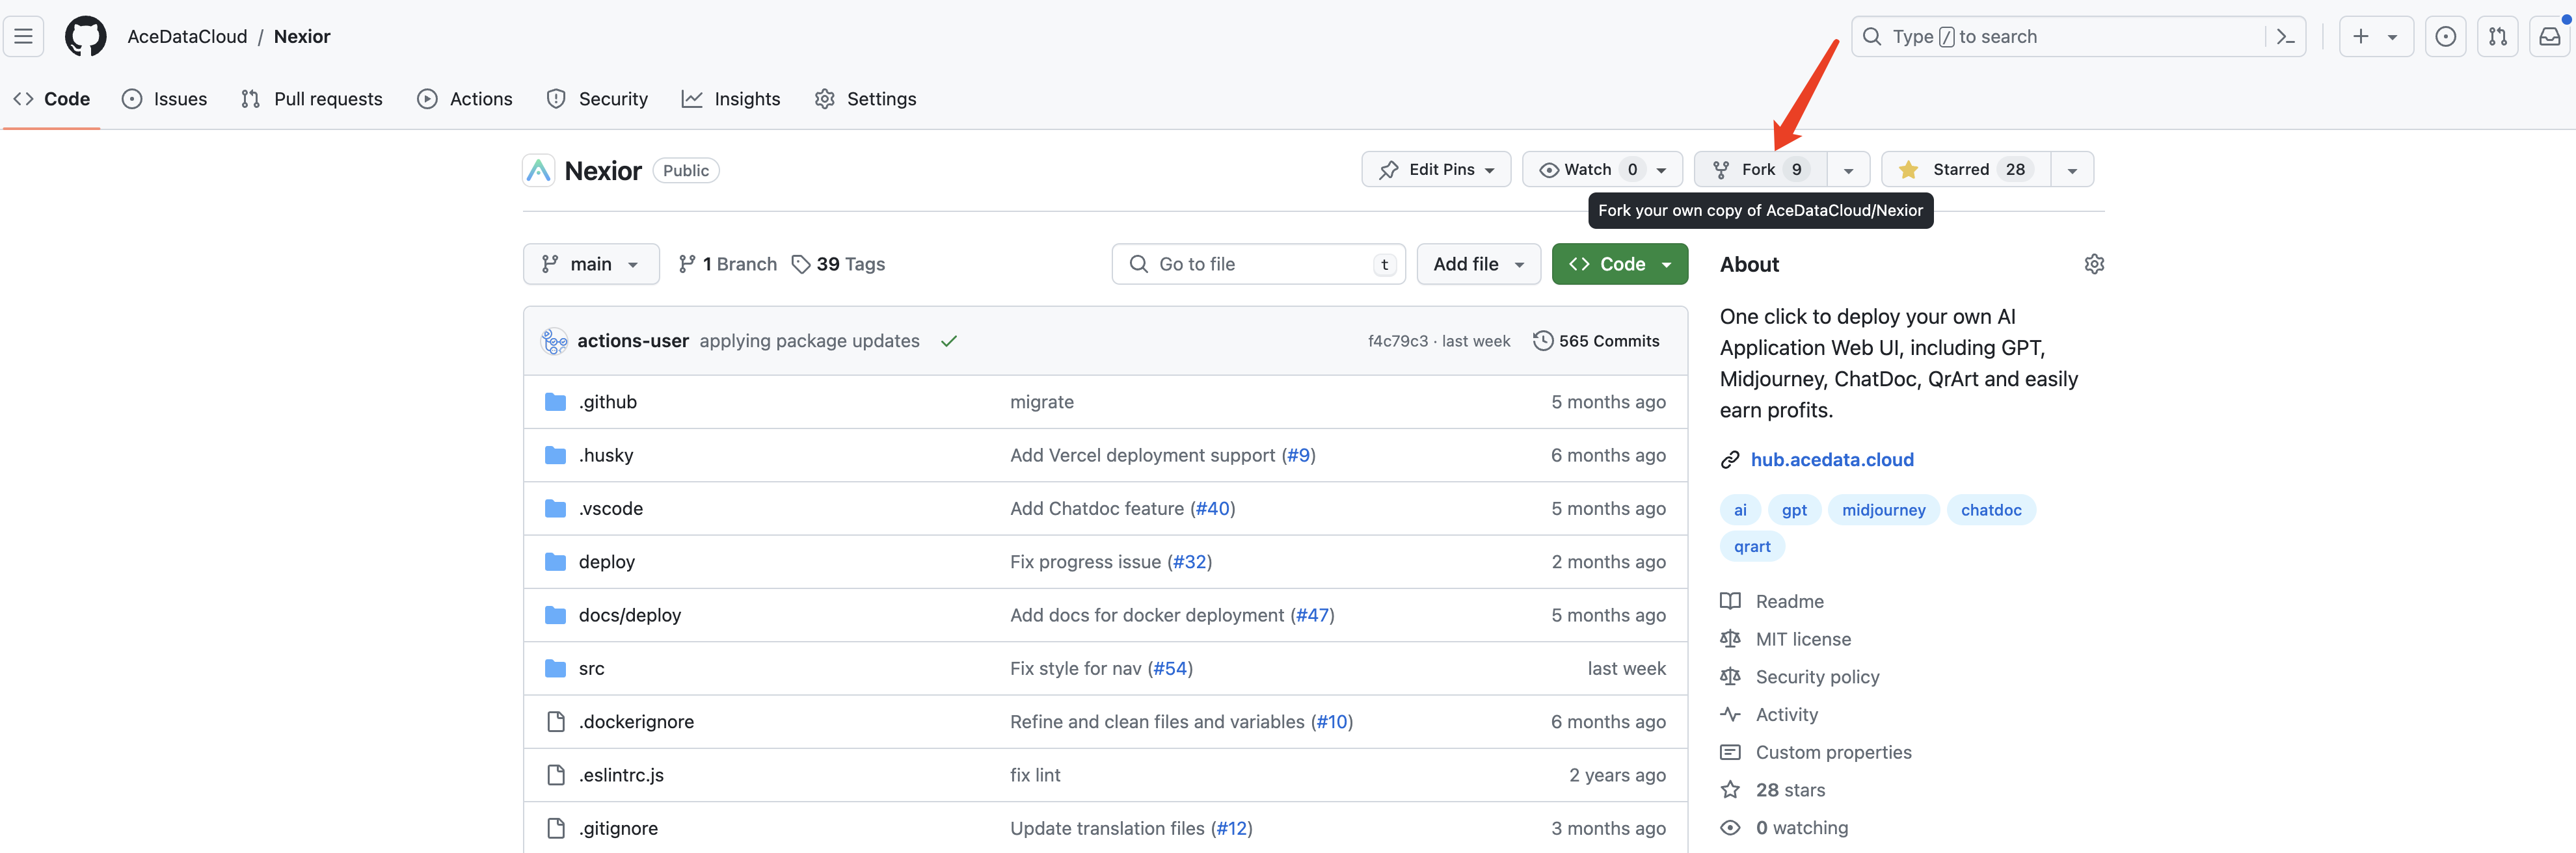
First, open the Nexior GitHub repository at: https://github.com/AceDataCloud/Nexior, then register or log in to your GitHub account. Click Fork to clone the code to your local repository, as shown below:
After completing the Fork, we will get our personal repository, as shown below:
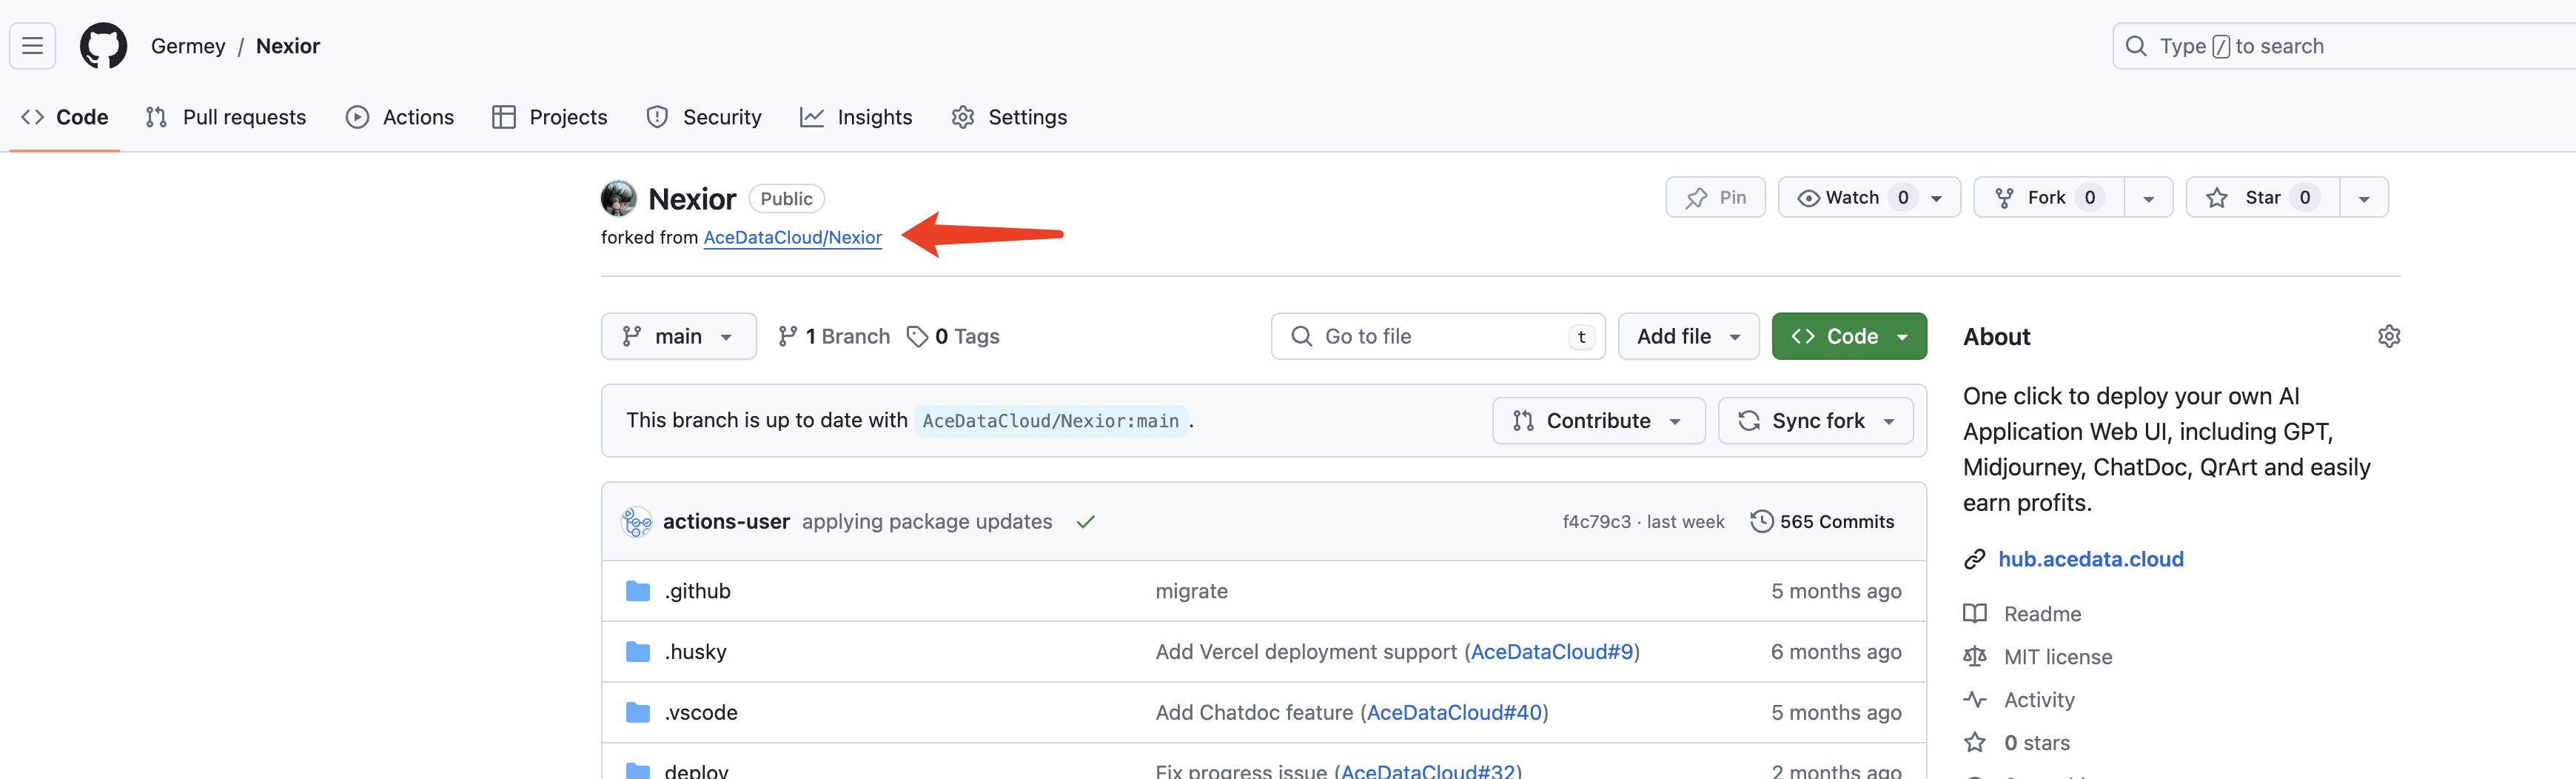
In this example, the account is Germey, so we can see that we have Forked to the Germey user, with a note saying "forked from AceDataCloud/Nexior". The preparation work is now complete.
Vercel Deployment
Vercel is a platform that helps quickly deploy project websites. We can use it to directly interface with GitHub repositories and quickly deploy the source code to the online environment. The following introduces the process of deploying the Nexior project with Vercel.
Open https://vercel.com/ and log in with GitHub.
We will see a page like the one below. Click the Import button, as shown:

At this point, Vercel will display your GitHub repositories. Select the Nexior repository we just Forked, as shown:
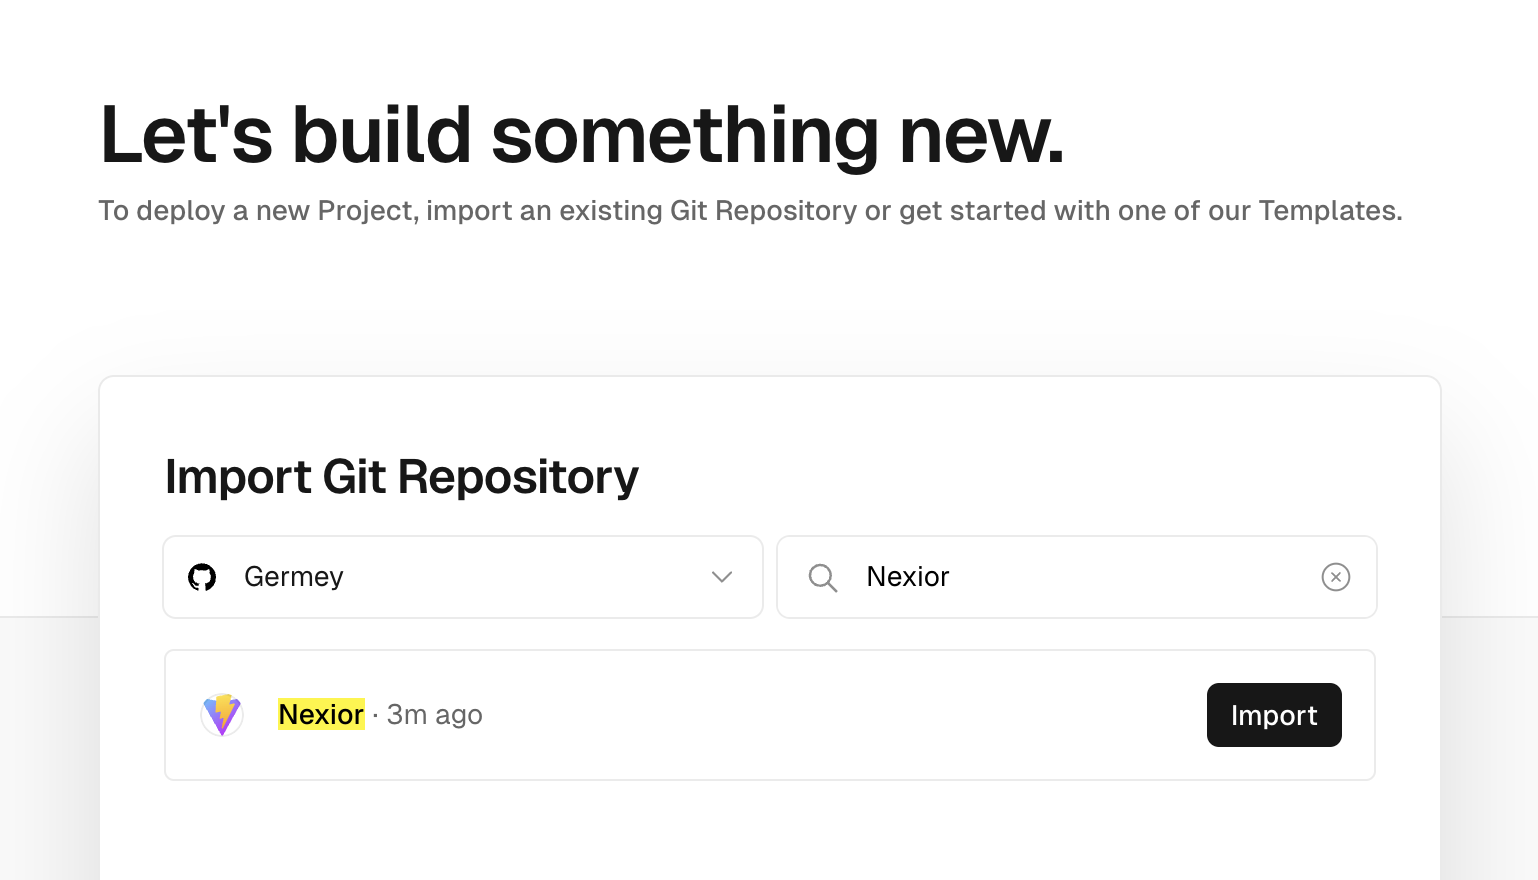
After finding the Nexior repository, click the Import button.
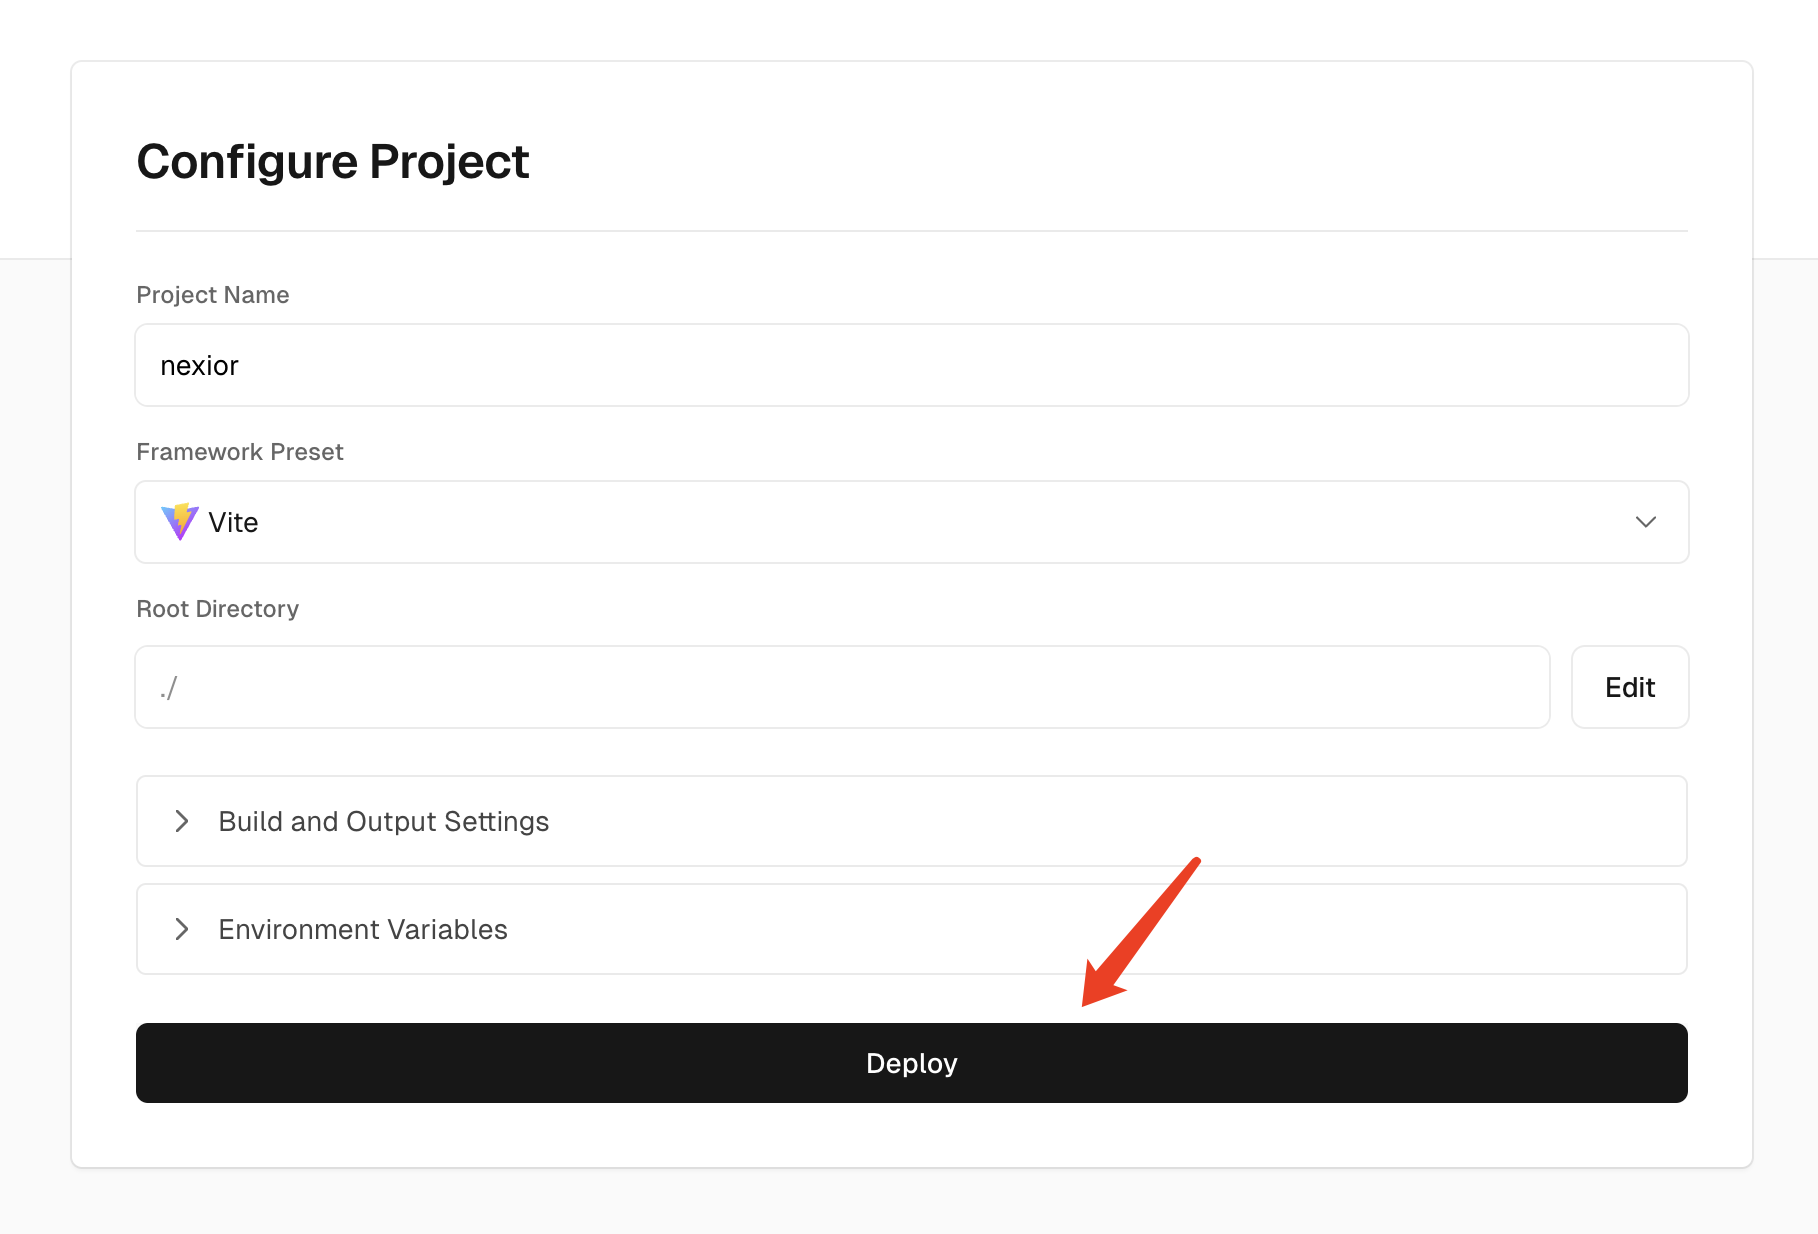
Next, a configuration page will pop up. Keep the default configuration and click the Deploy button, as shown:
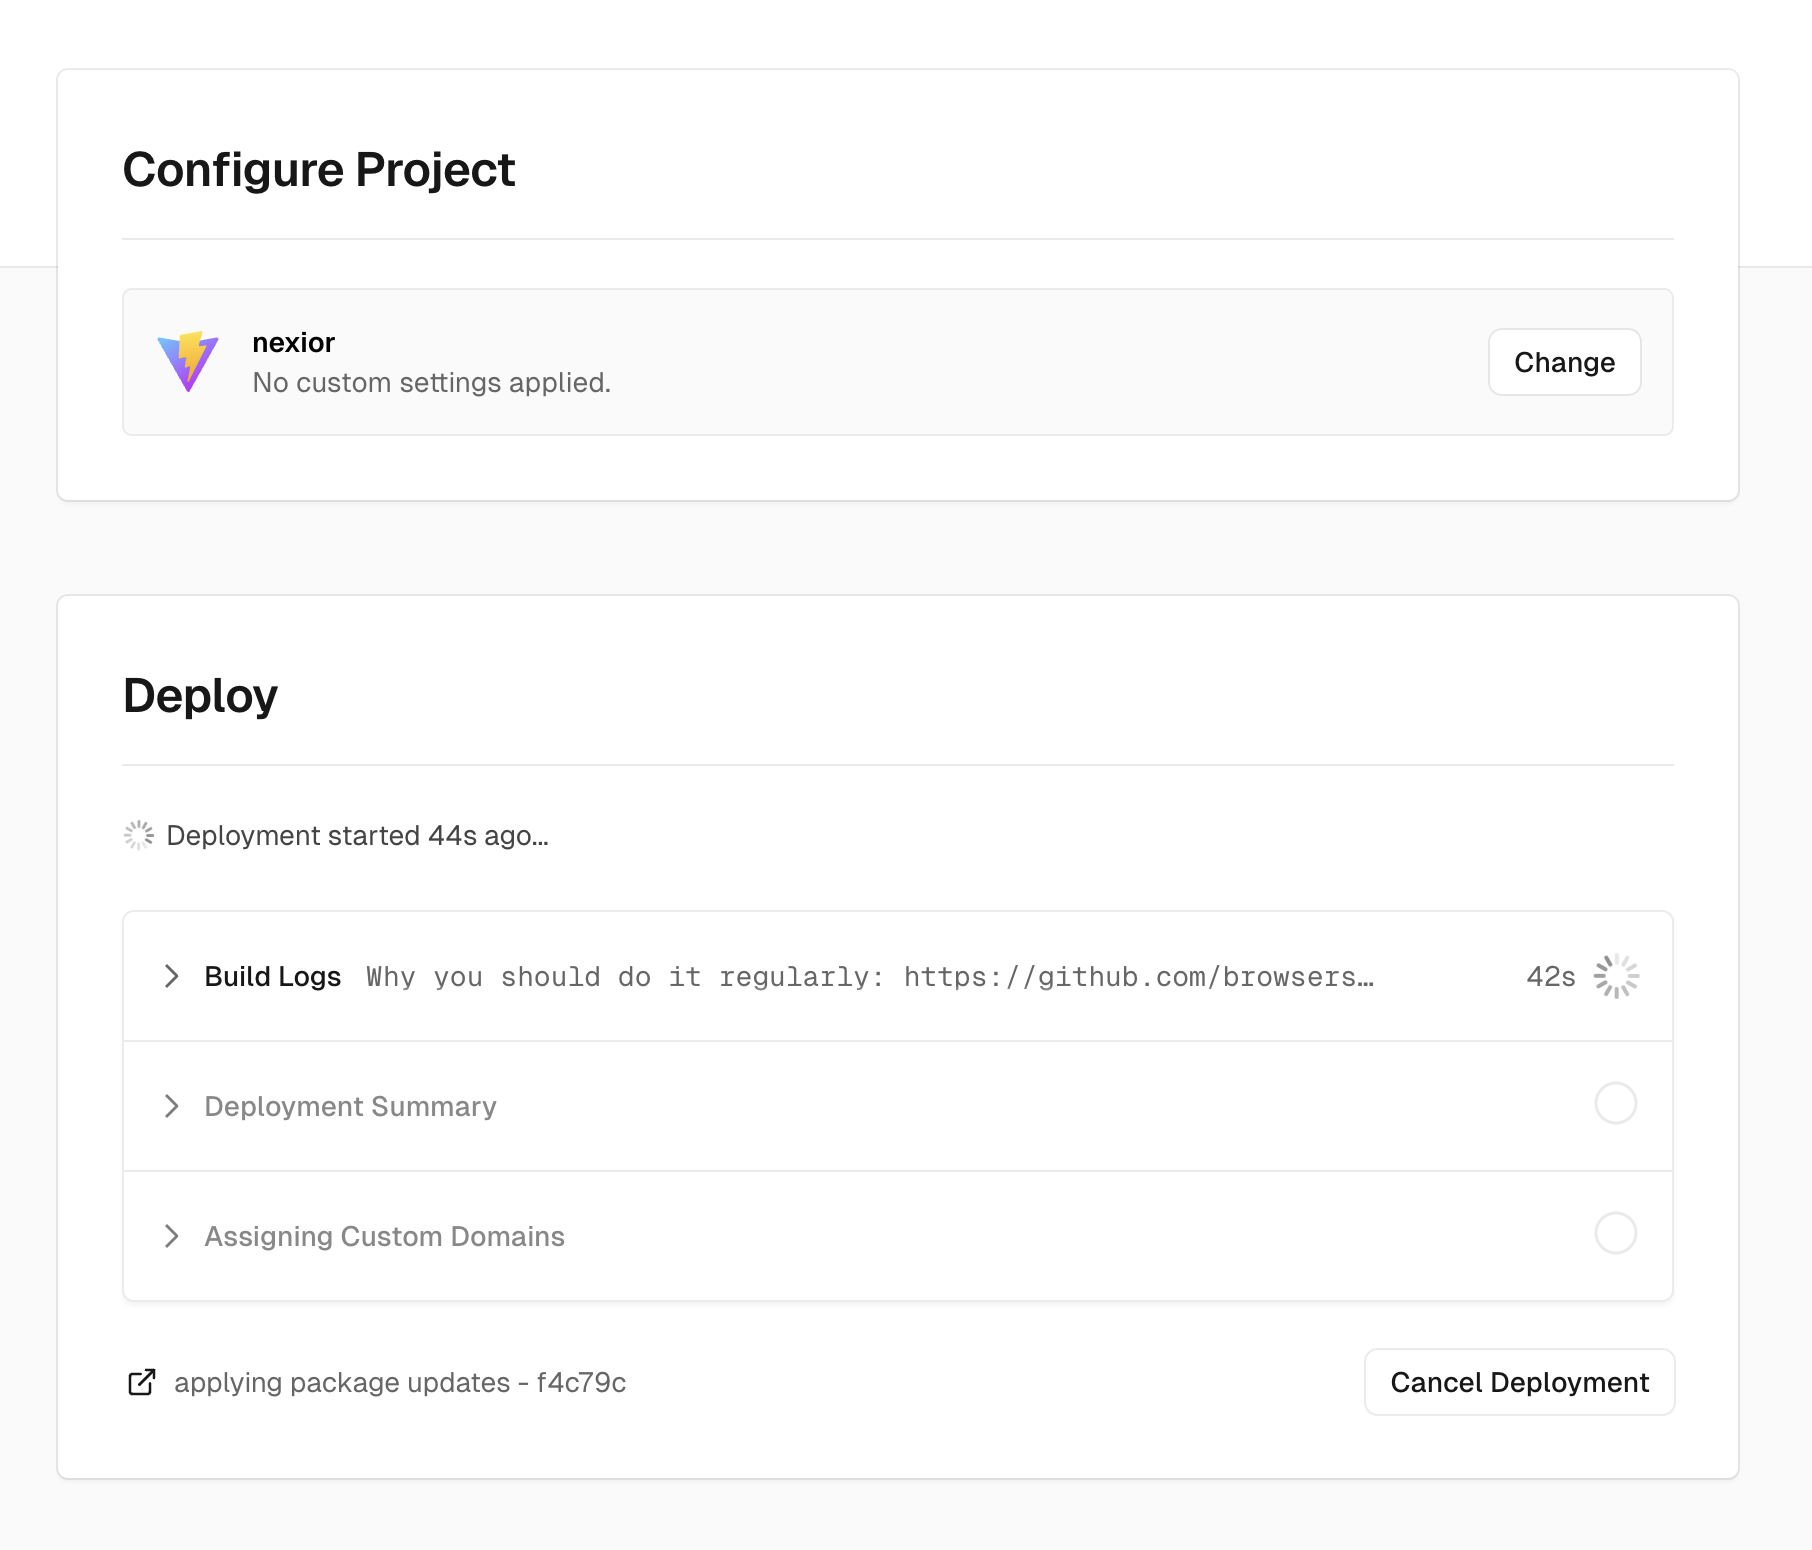
After clicking Deploy, Vercel will start building and deploying the entire project. We do not need to do anything, just wait for about 1-2 minutes, as shown:
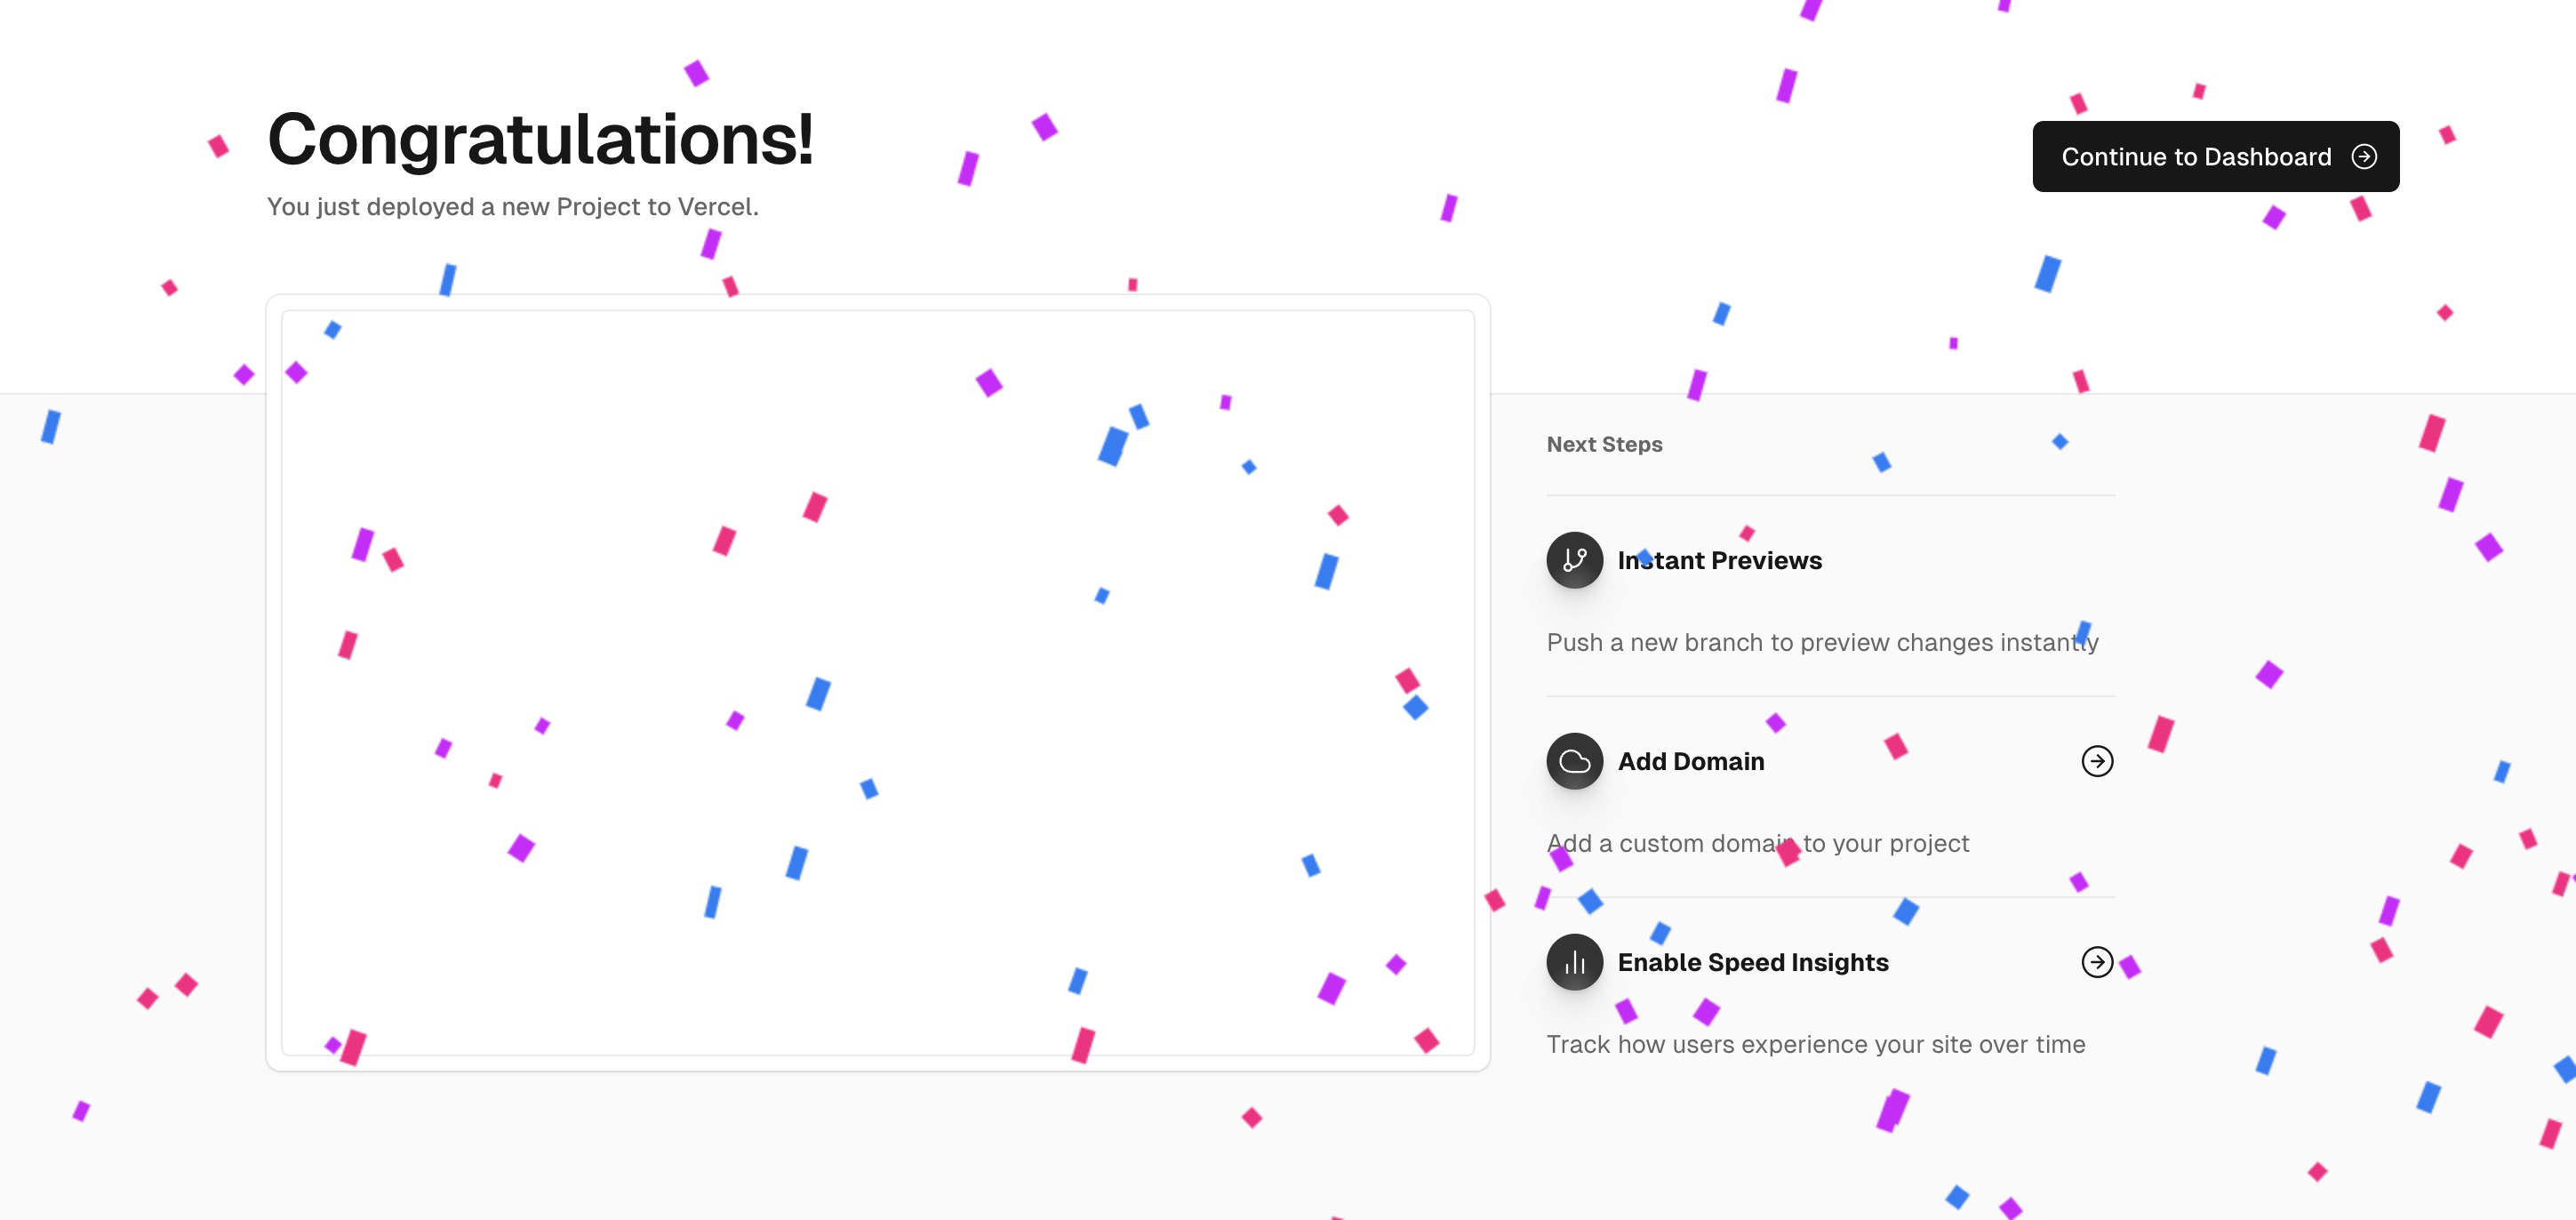
After the deployment is complete, Vercel will pop up a page congratulating you on the successful deployment. At this point, you have successfully deployed the Nexior project to your online environment, as shown:
Click Continue to Dashboard, and we will see the preview domain generated by Vercel, as shown:
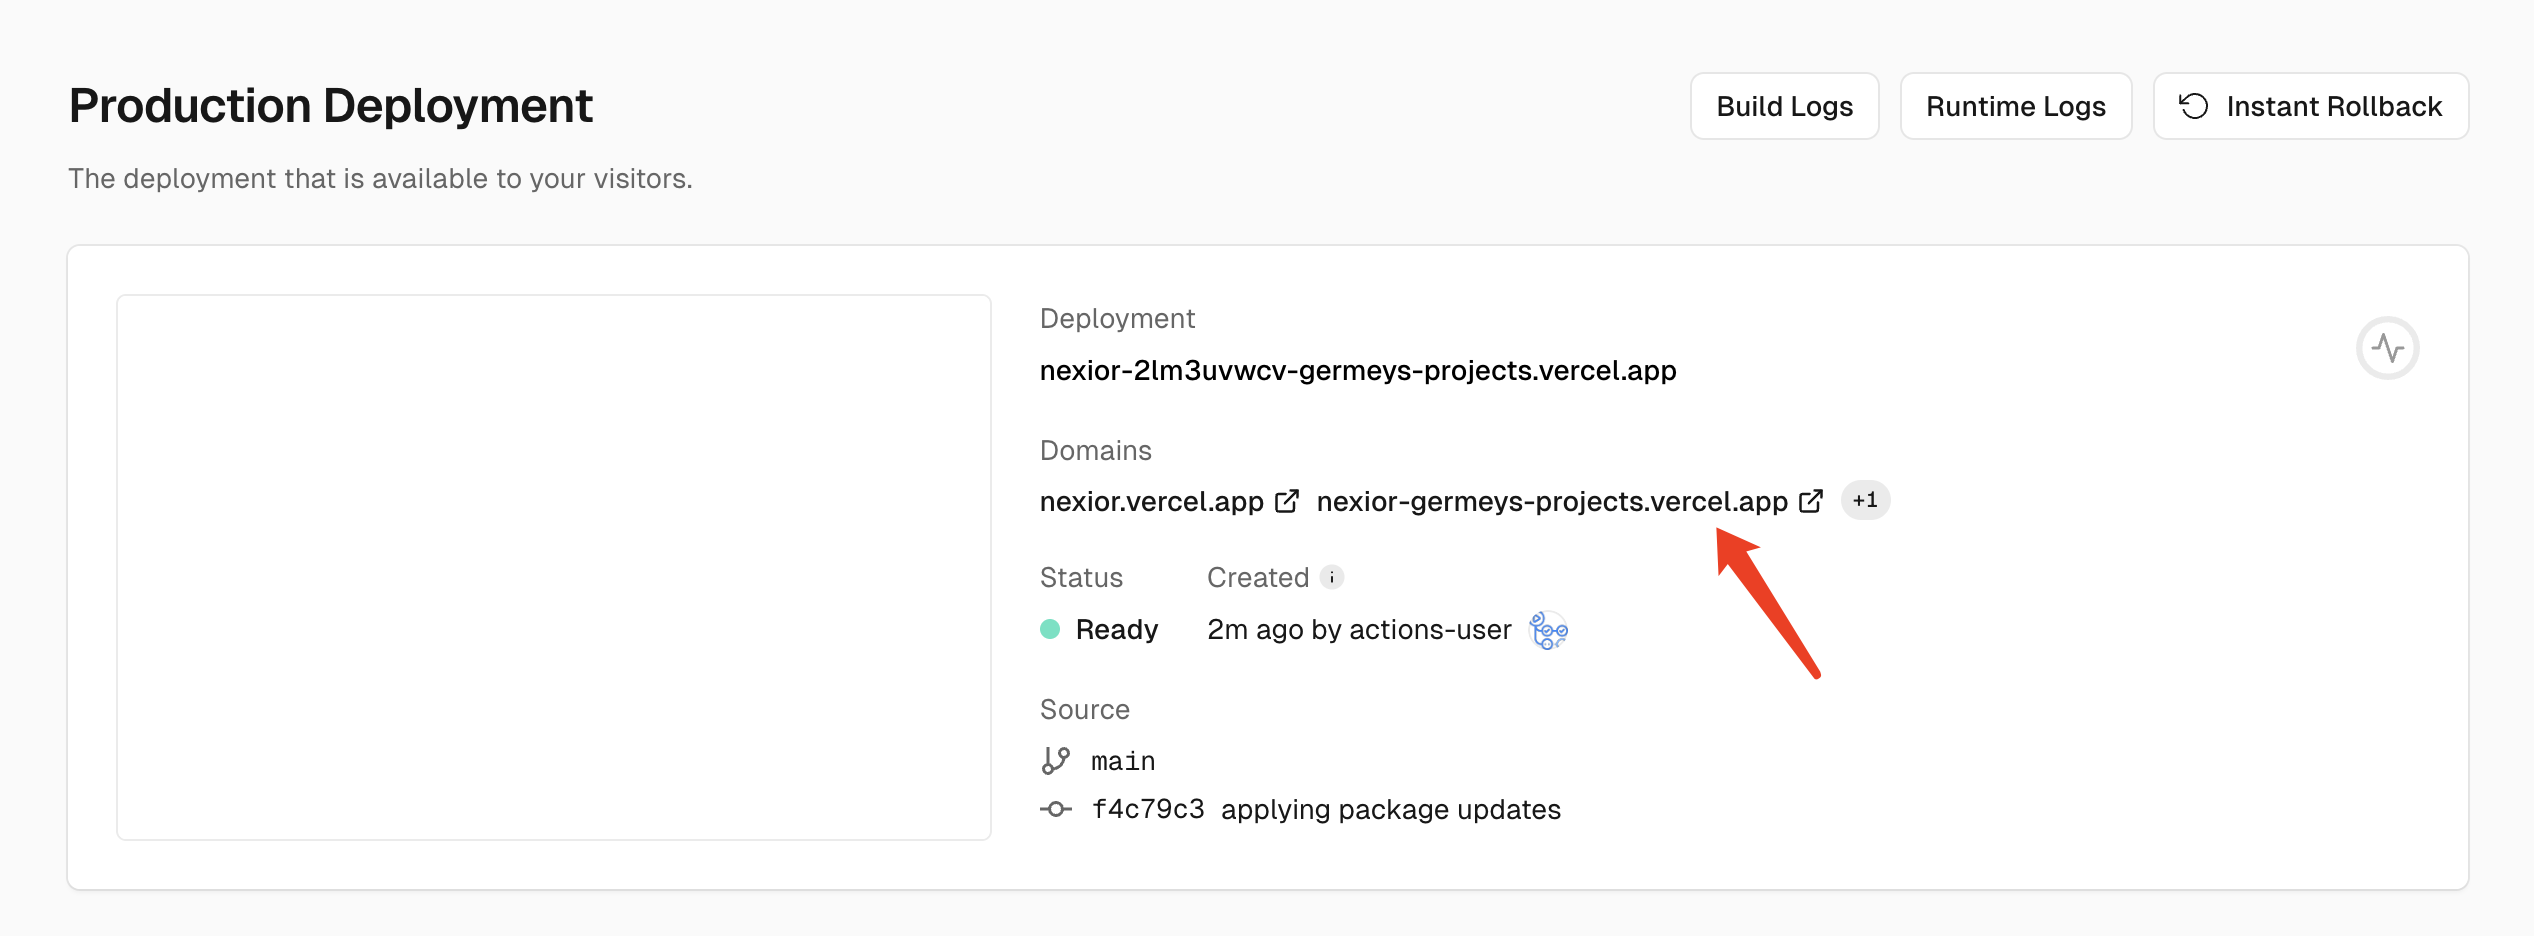
At this point, open this link, for example, the sample address here is https://nexior-germeys-projects.vercel.app/. After opening, we can see the running status of the Nexior project.
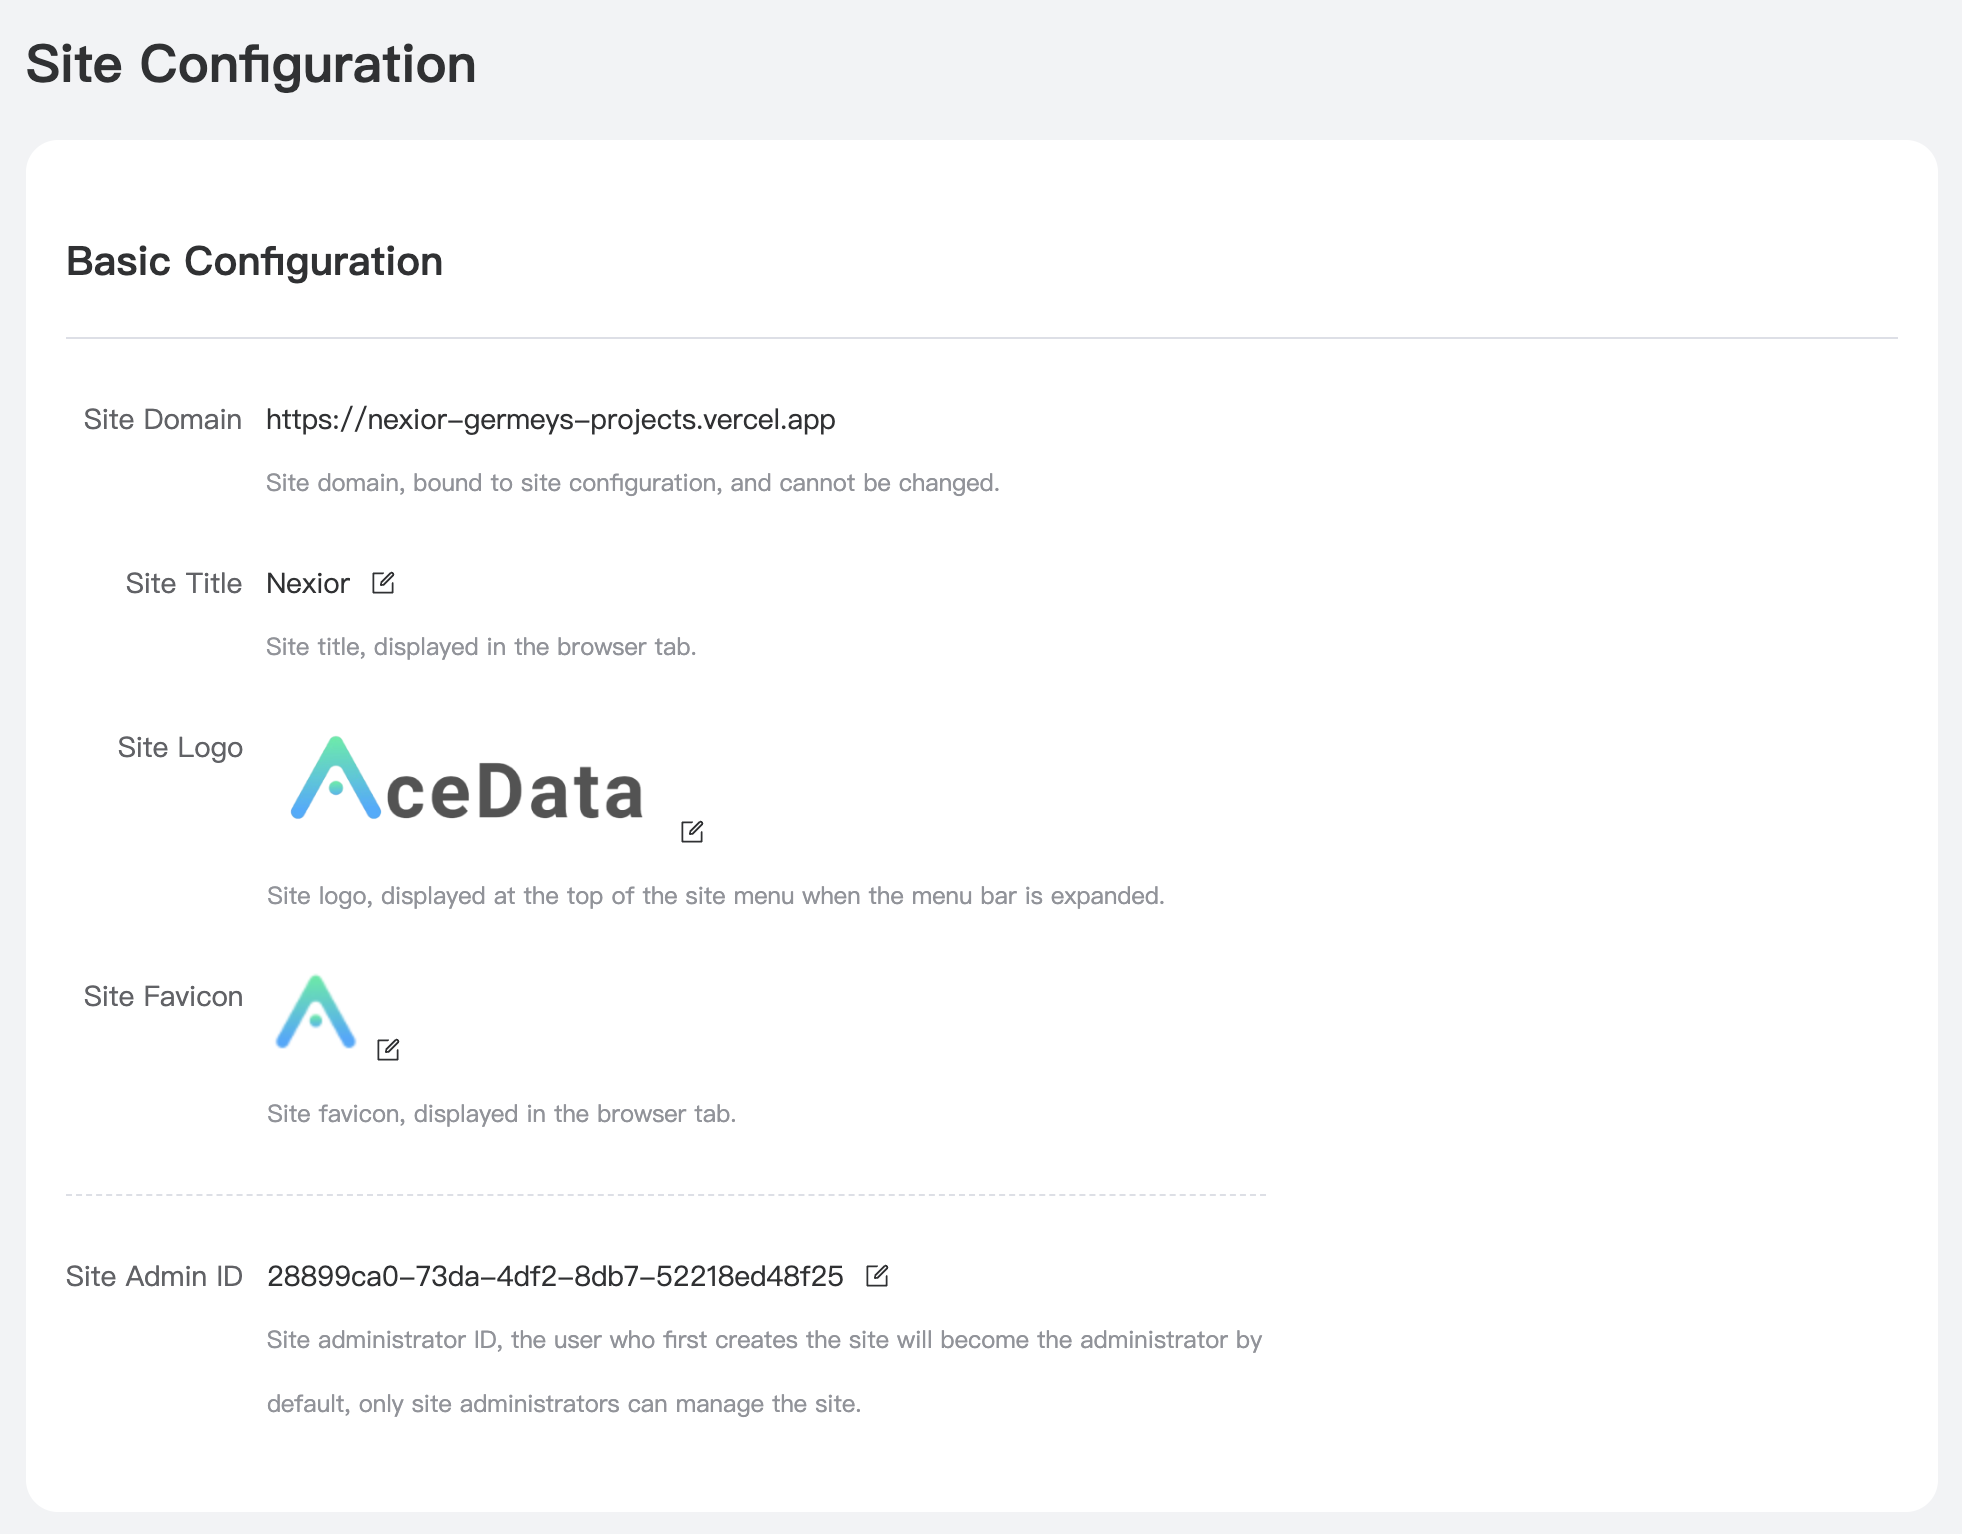
After opening, register and log in, either with an email or GitHub account. After logging in, we will see a configuration page, such as Site Configuration, where we can modify the site's title, Logo, Favicon, administrator, and other information, as shown below:
Another important part is the configuration of distribution and promotion, as shown:
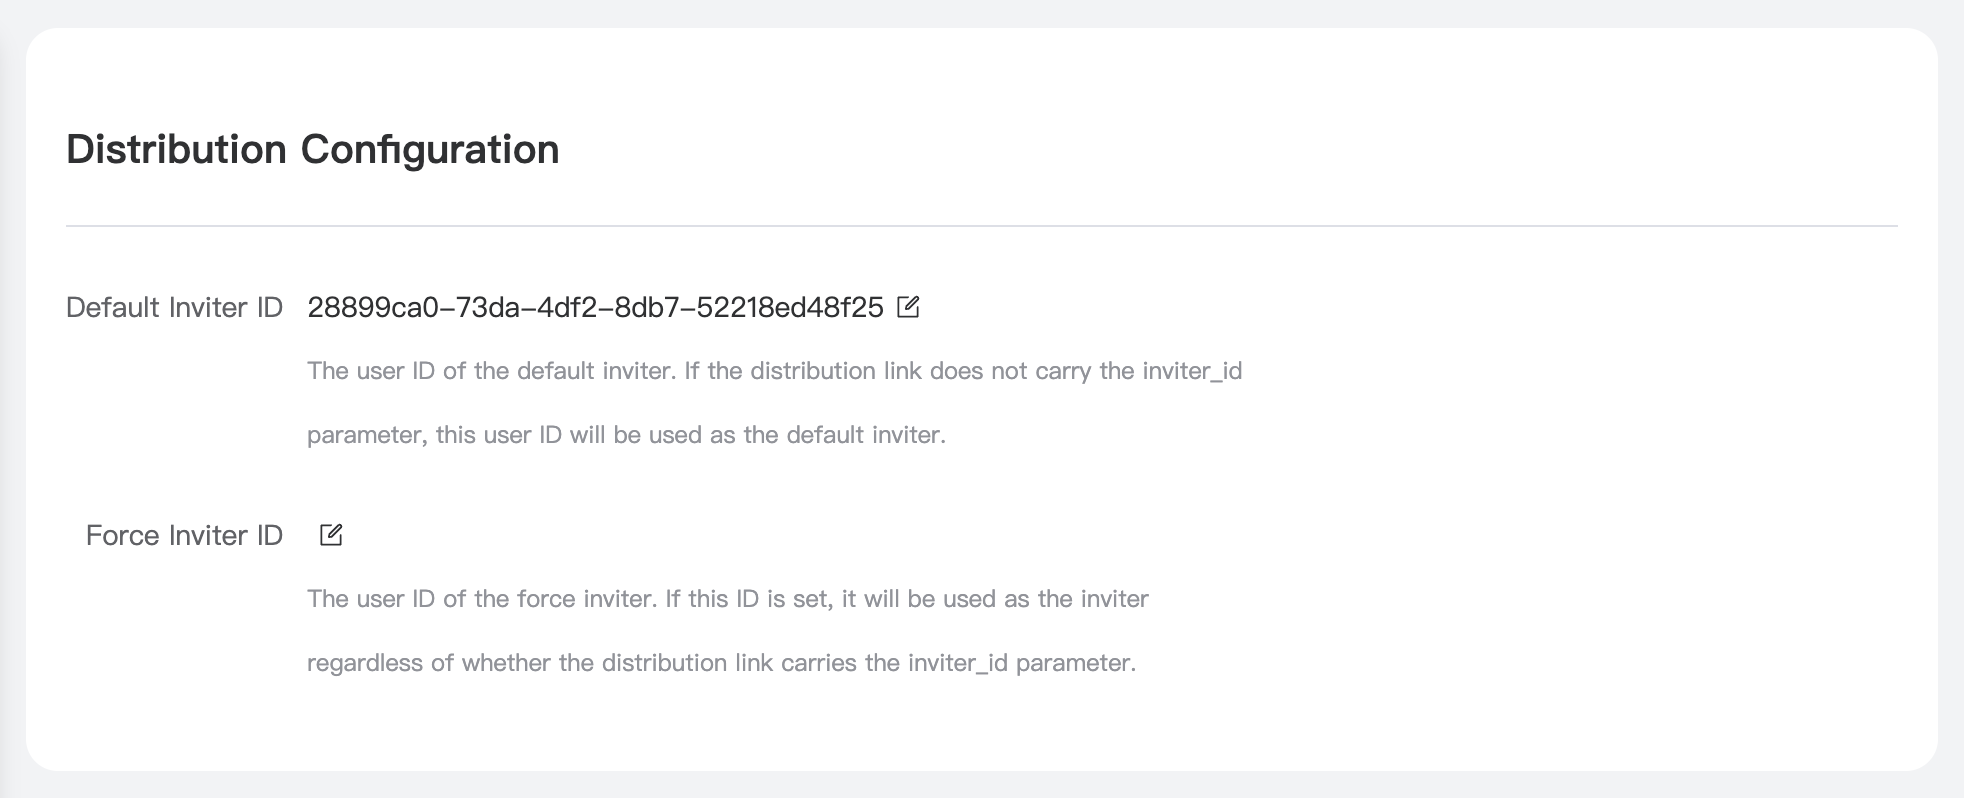
Here we can modify two pieces of information: Default Inviter ID and Mandatory Inviter ID, explained as follows:
Default Inviter ID: If only the Default Inviter ID is set, anyone can distribute and promote the site. The rebates from customers' consumption will go to the inviter. If the site's URL does not carry any promotion information (no inviter_id in the URL), registered users will be bound to this Default Inviter ID by default. Initially, this ID is the site owner's personal ID. Mandatory Inviter ID: If the Mandatory Inviter ID is set, no one else can receive distribution rebates from the site. The backend will not show the distribution promotion entry. All registered users of the site will be bound to this Mandatory Inviter ID, and all consumption rebates will go to the Mandatory Inviter.
Therefore, the choice between these two modes depends on the site owner's promotion strategy.
Another configuration option is the feature switches, as shown:
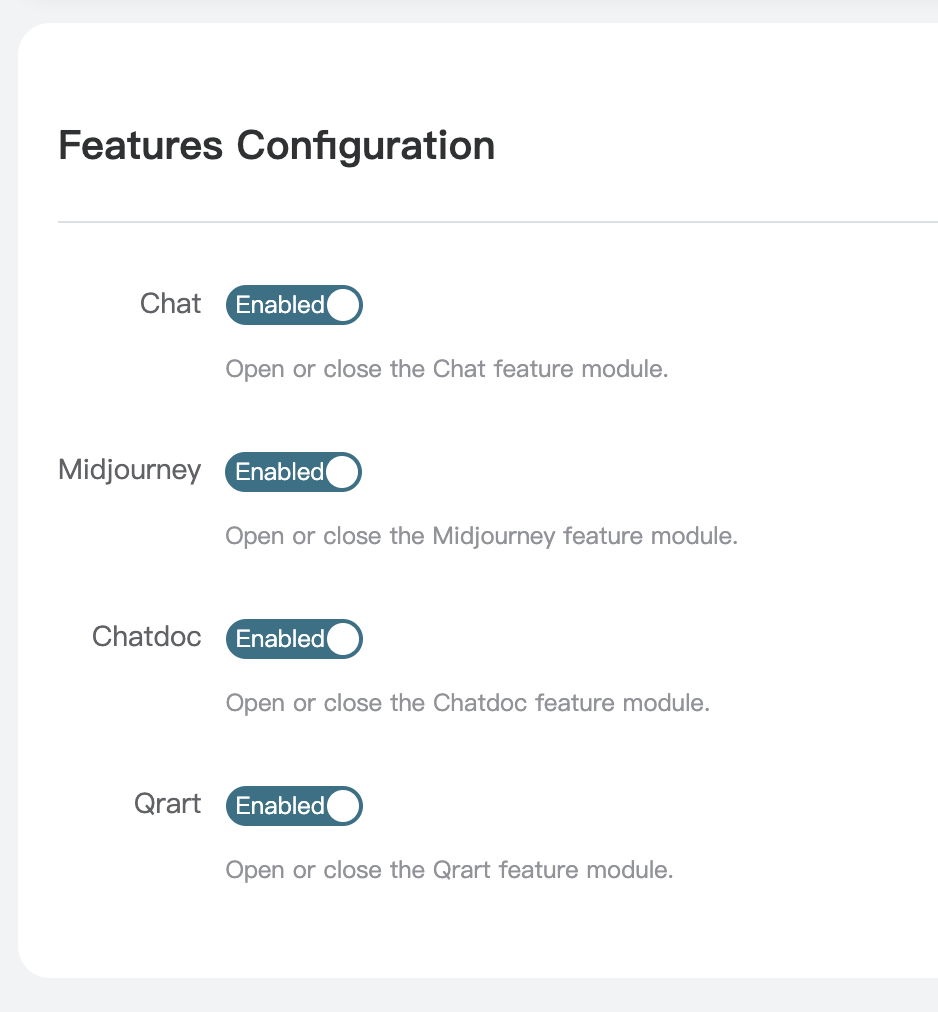
Nexior currently offers several features that the site owner can choose to enable or disable.
Custom Domain
We have successfully deployed a website, but the domain is a subdomain assigned by Vercel, which is not conducive to external promotion. It would be much better if we could change it to our custom domain.
For example, I have a domain https://chictem.com. Below is the configuration for a custom domain.
“If you don't have a domain, you can register one with major domain providers such as Namecheap or GoDaddy. Some domestic service providers in China are also available.
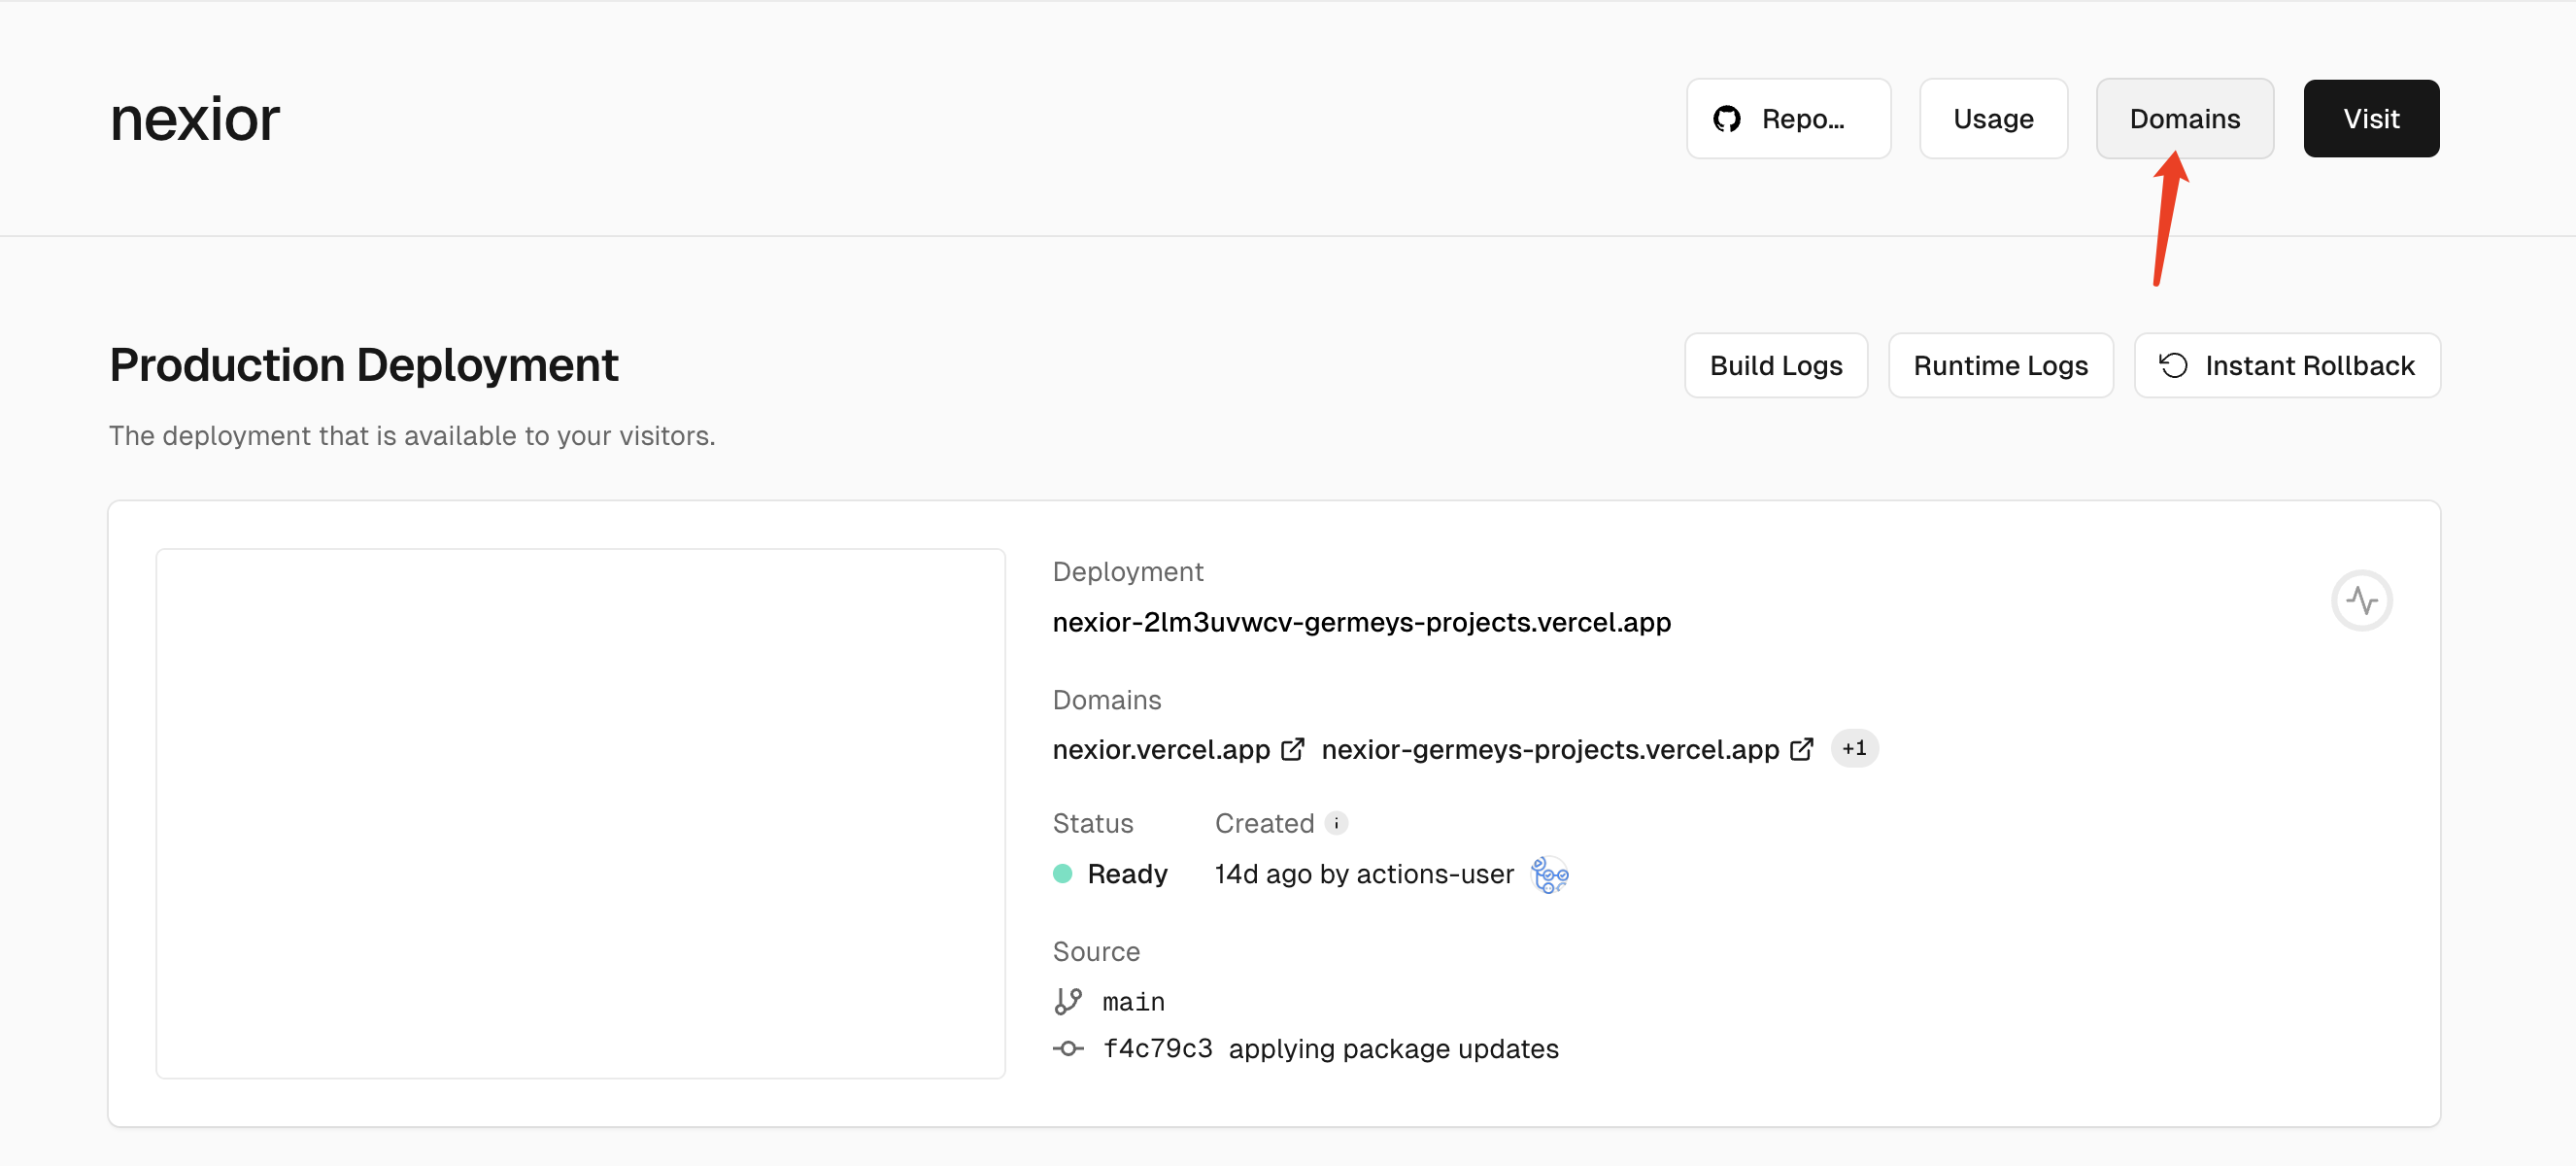
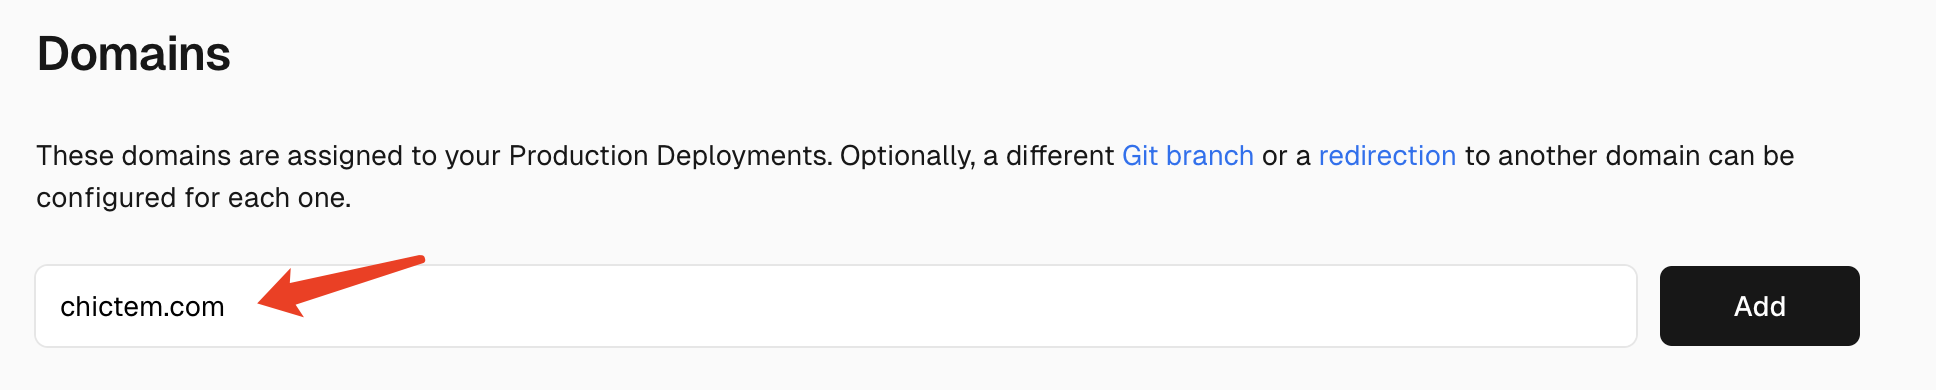
Next, open Vercel's custom domain configuration page:
Enter the custom domain you want to configure here, for example, chictem.com. Do not include the https:// prefix, and click Add:
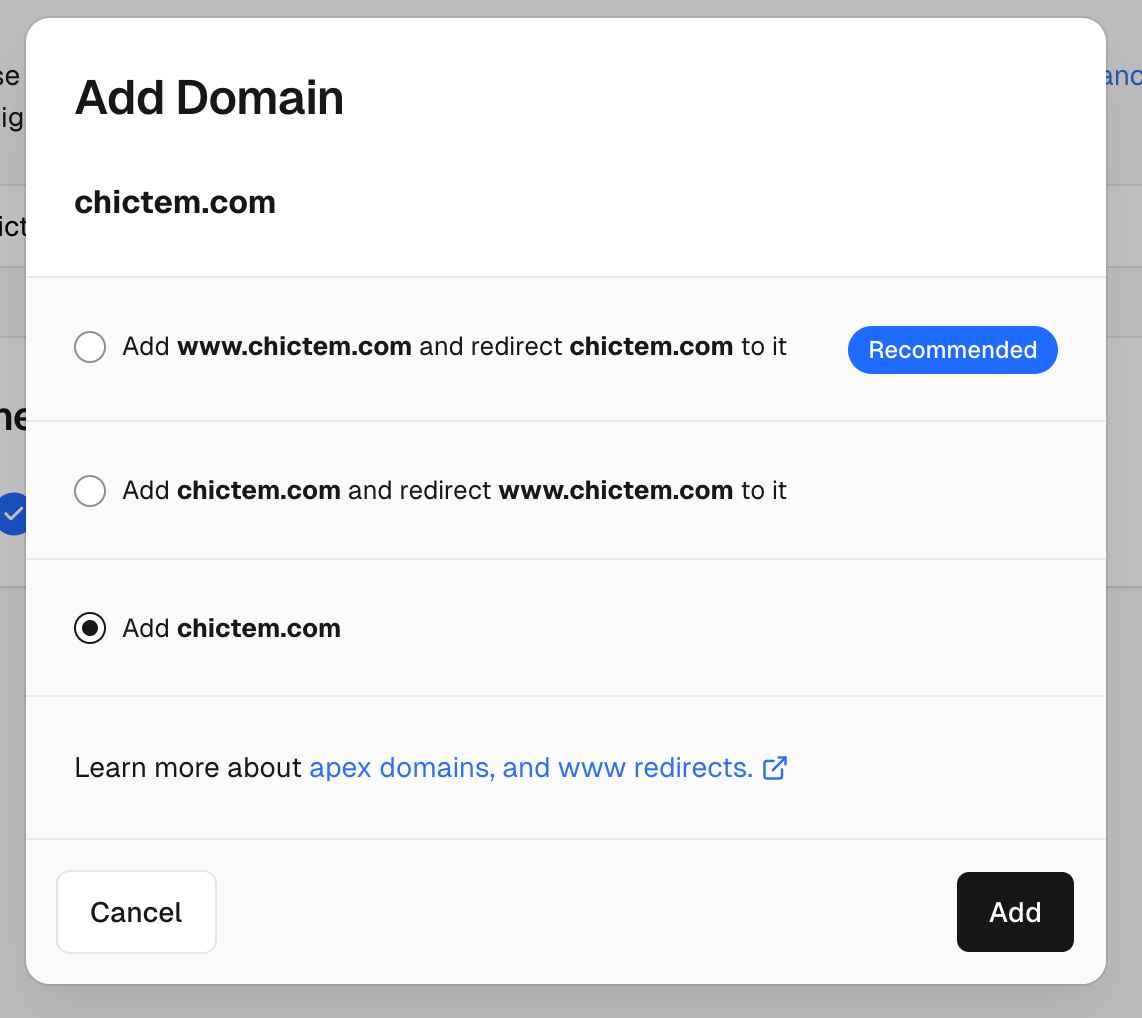
Next, Vercel prompts us to choose the domain configuration options. It recommends adding a domain starting with www, which is optional. Adding it allows the site to be accessed with a www prefix. Here, we directly choose the last option to add the root domain:
After confirmation, we found that there is a DNS to be configured prompt here:
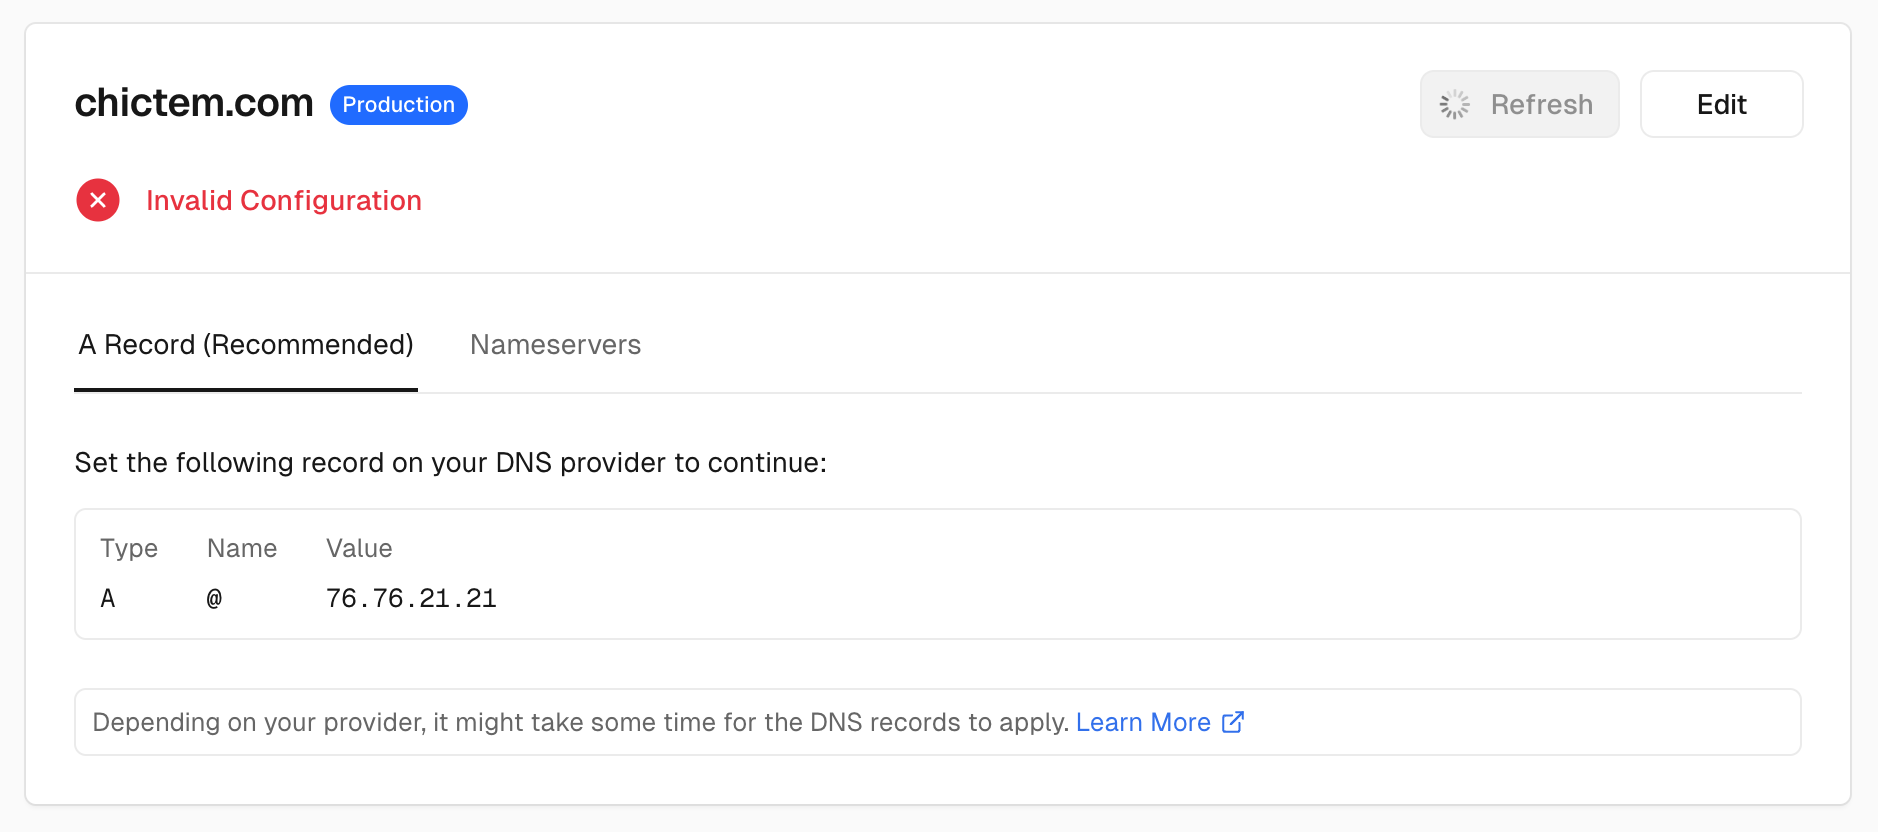
Let's add an A record here and resolve it to 76.76.21.21. At this point, we need to go to the domain name service provider to configure the DNS.
“Note: The domain name service provider depends on which website you purchased the domain name from. Generally speaking, the website backend has an entrance to configure DNS for the domain name you purchased from.
Here is an example of DNS backend configuration:

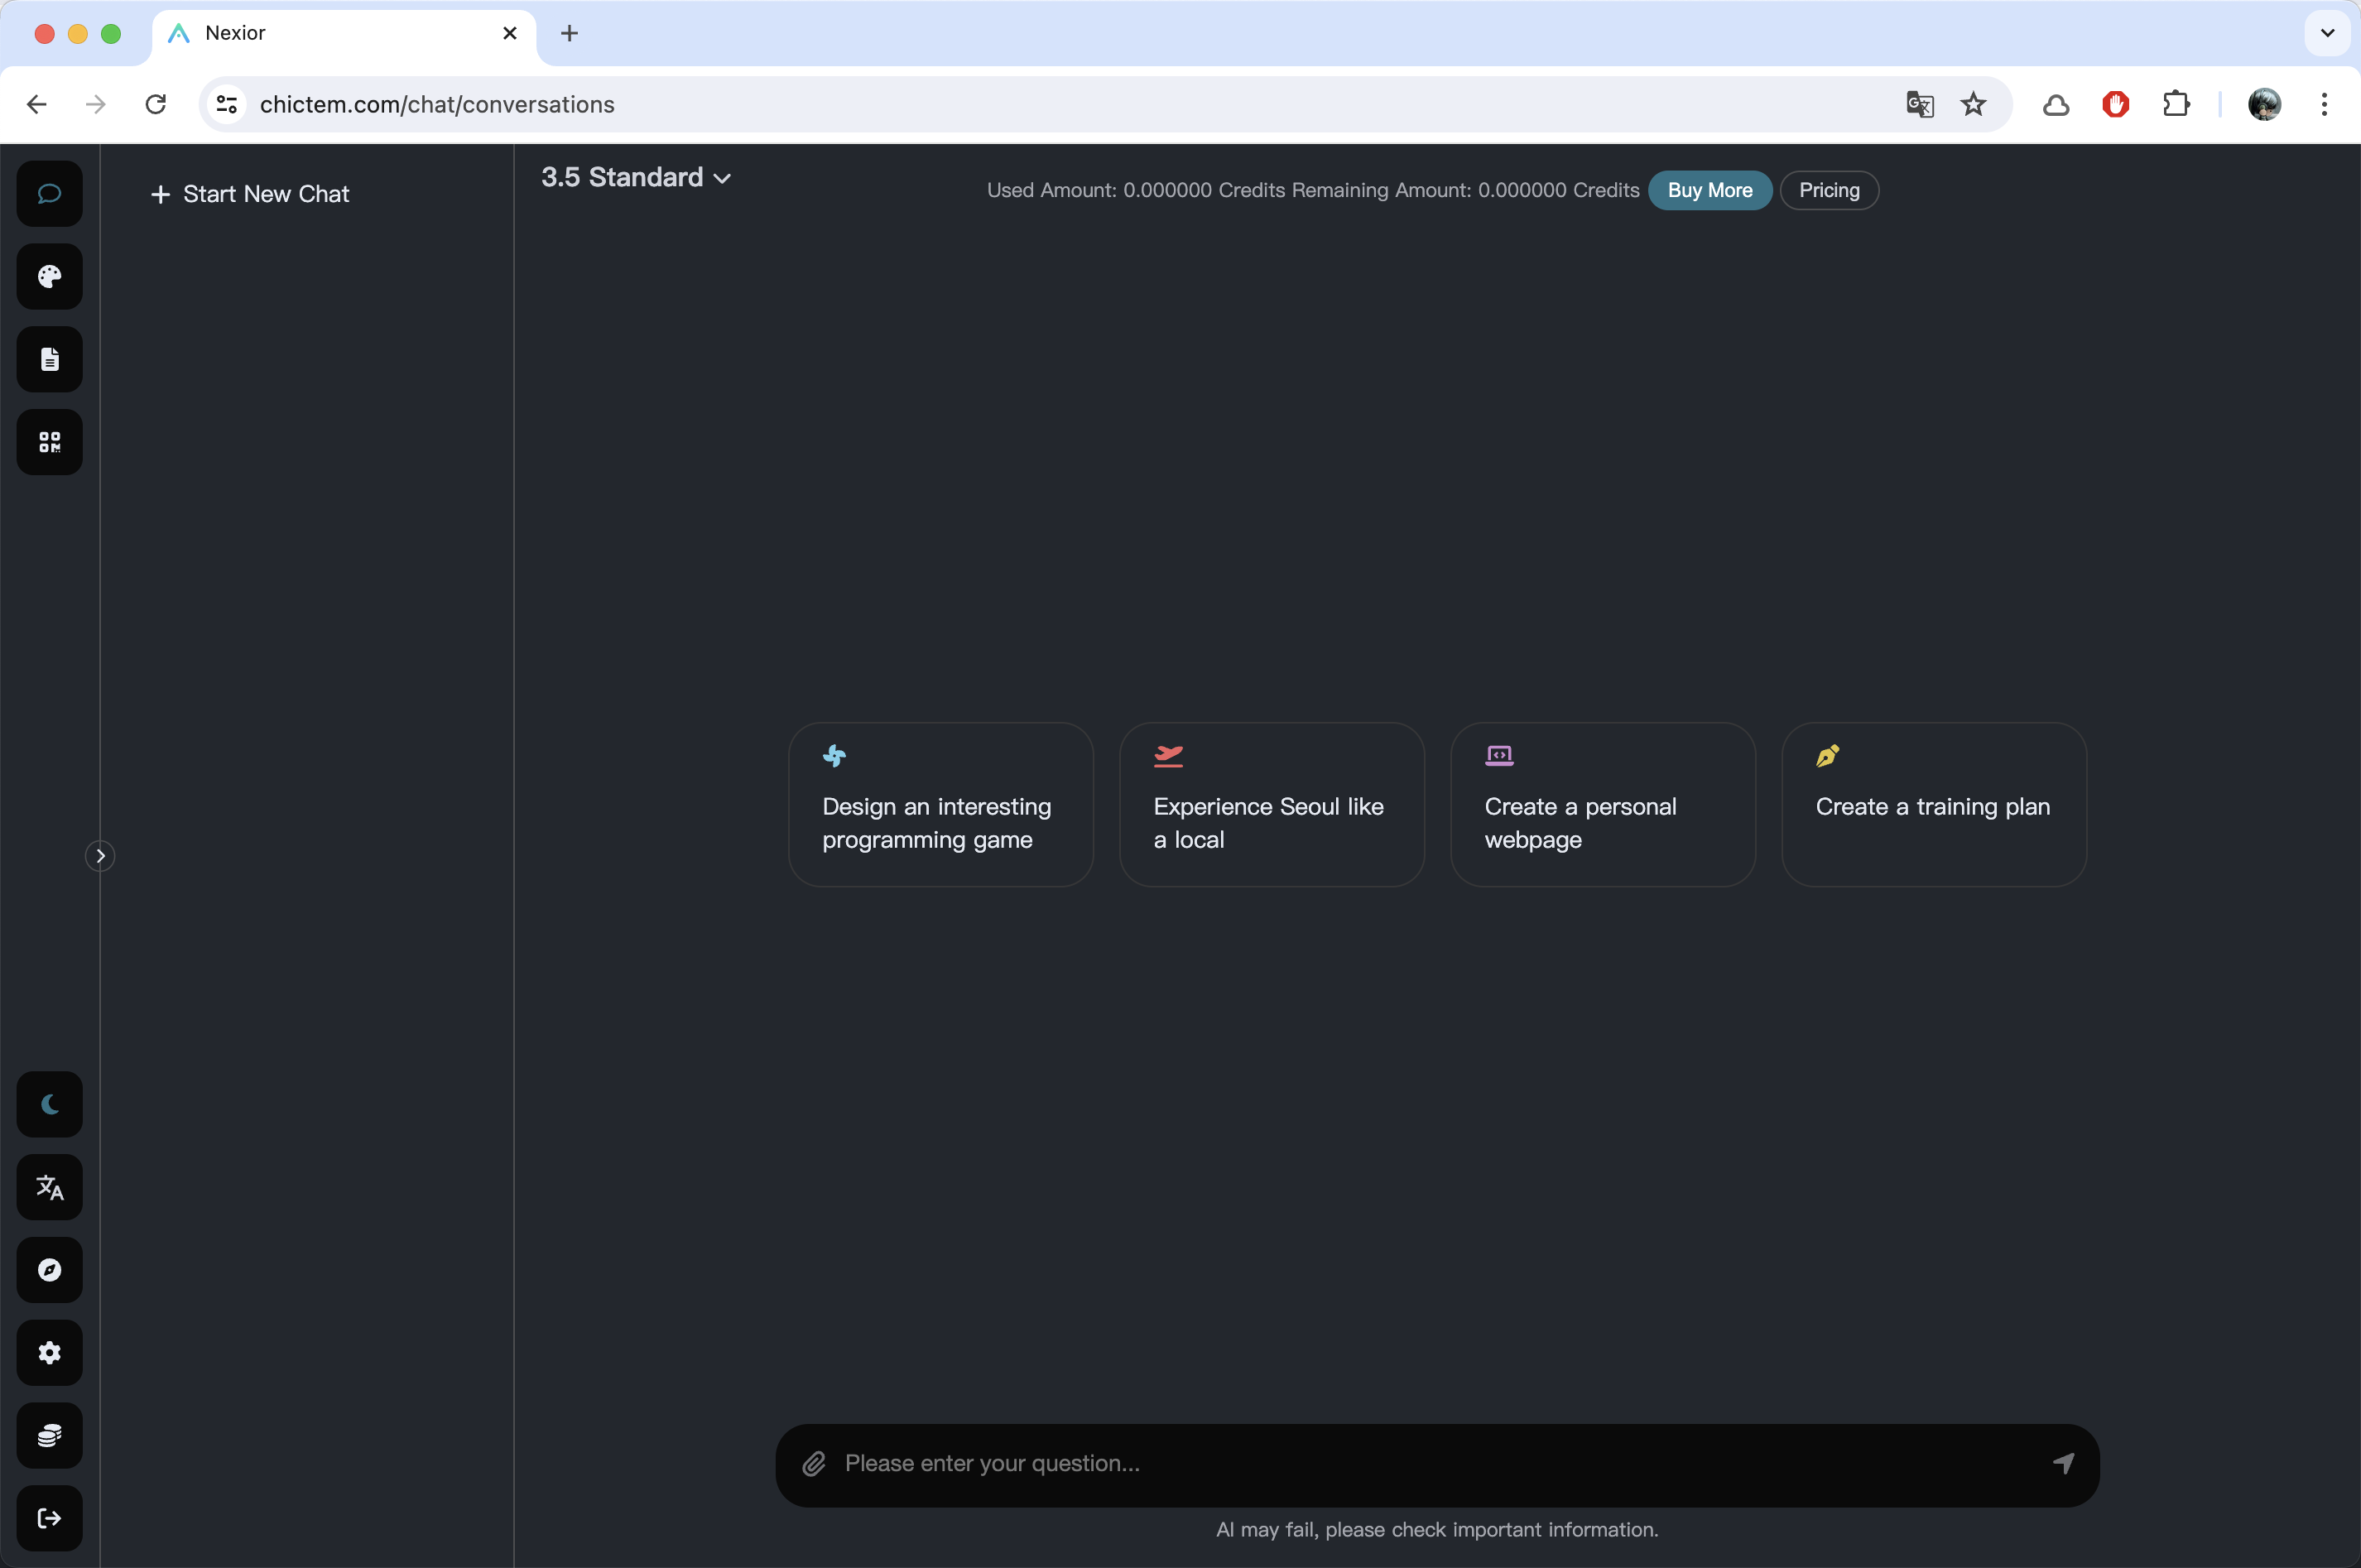
After the configuration is complete, we can access the newly configured website with a custom domain name, as shown in the figure:
“Attention: After configuring a new domain name, please note that we need to go to the site configuration page to reconfigure options such as site title and logo, as this configuration is bound to the domain name. After enabling the new domain name, we need to configure the site again.
code update
Because Nexior's source code is constantly updated, there may be new features or bug fixes, and the code will be directly synchronized to the source code repository.https://github.com/AceDataCloud/Nexior
What should we do if we want to synchronize and update the latest code on our deployed site?
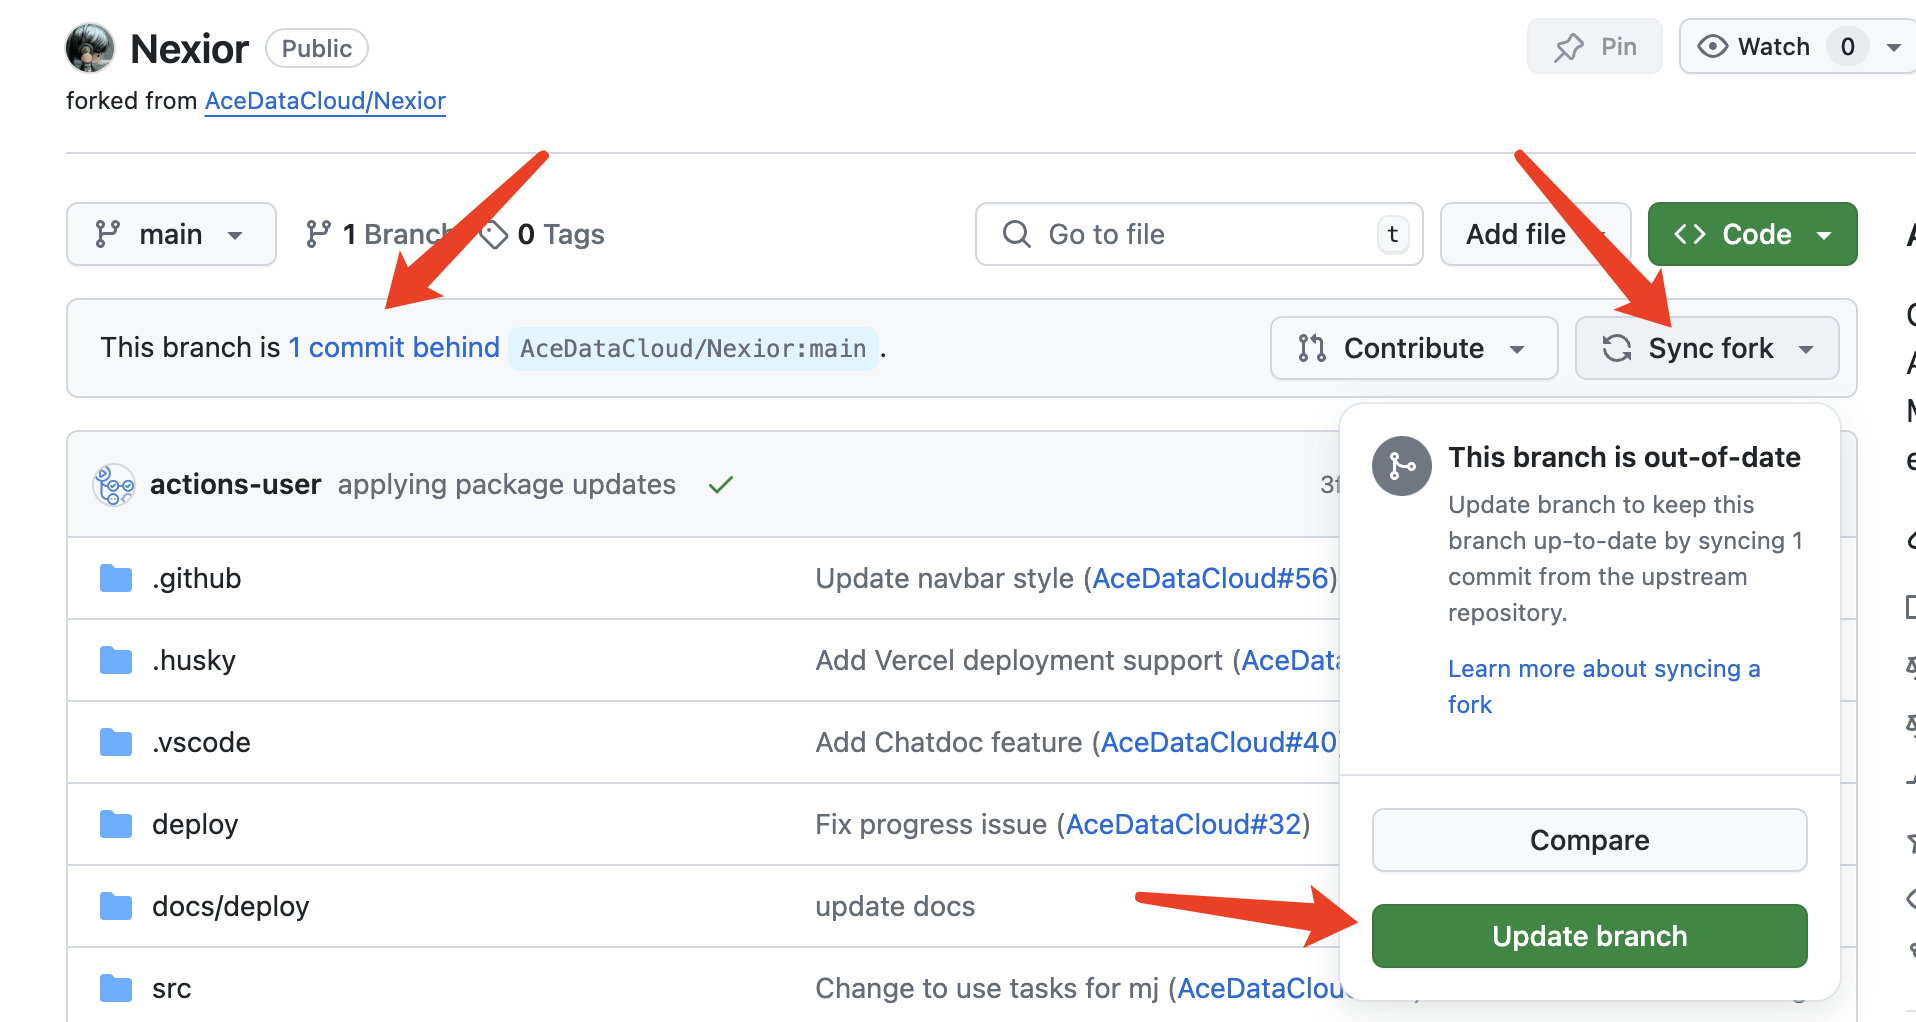
It's actually quite simple. Going back to GitHub, we can see that our original Fork code repository is now several versions behind the official Nexior source code. We can simply click the Sync fork button and then click the Update branch
After clicking, the code of our fork repository will be updated. After the code is updated, the website on Vercel's end will also be automatically updated. After a moment of refreshing the webpage, we will find that the website has been updated.
earn money
Now that we have a custom domain name, after configuring the above content, we can share this site and make money!
All users who have paid bills will have a portion converted into revenue and deposited into the distributor's account, which can be withdrawn by adding customer service at that time.
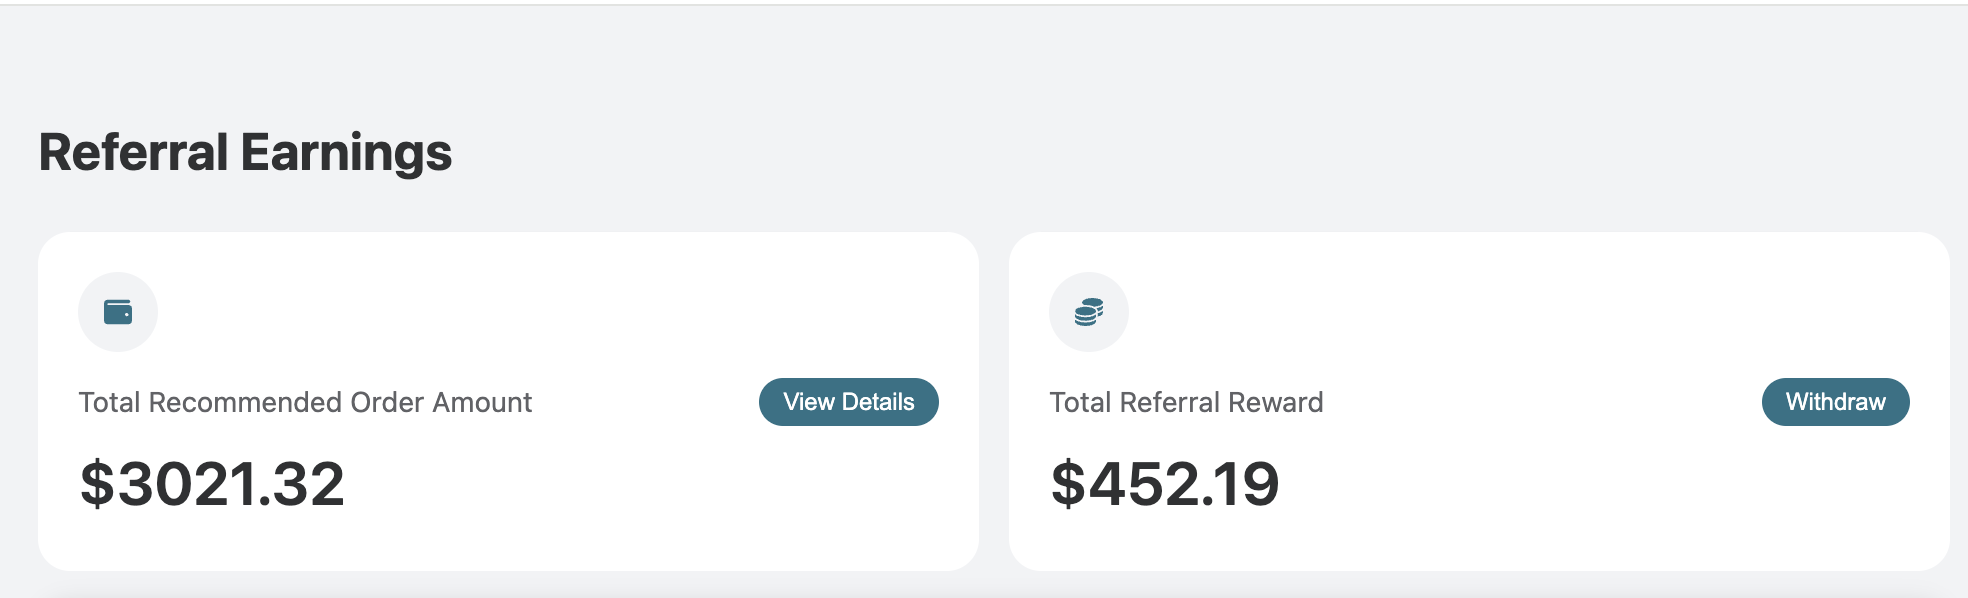
Entering the distribution interface, you can view the current number of invitations, total distribution amount, total rewards, etc. at any time, and simply add customer service to withdraw.
Comments
Post a Comment