Getting Started with Nano Banana MCP for Image Generation in Your AI Client
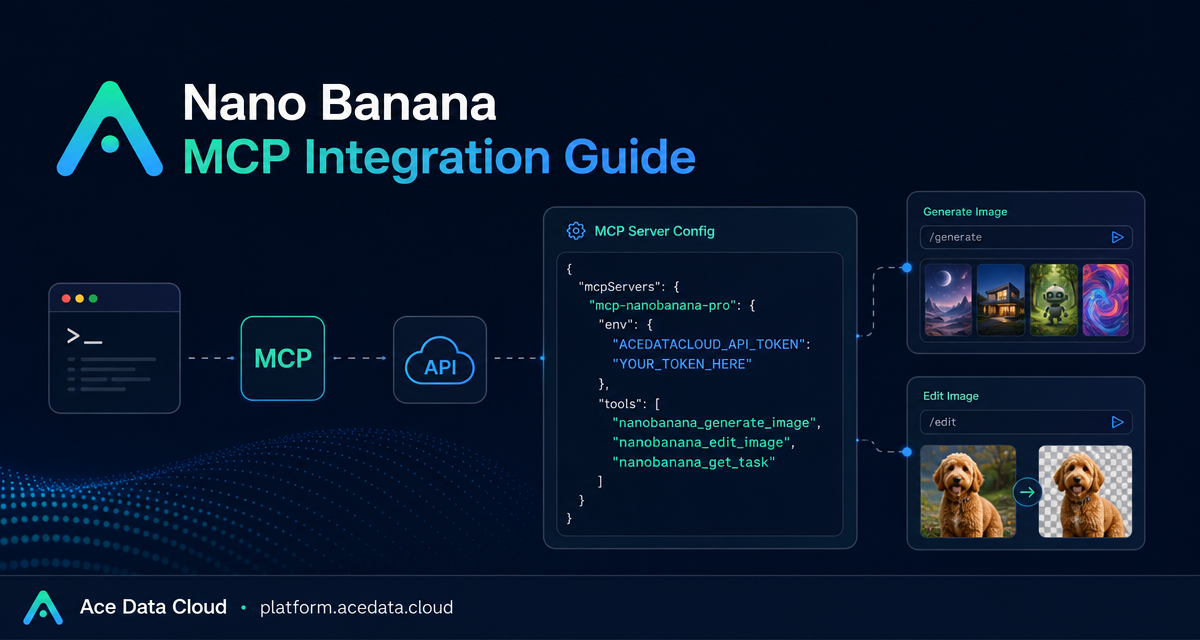
If your image workflow keeps bouncing between a chat client, a design tool, and a separate API console, an MCP server gives you a cleaner path: keep the conversation in your AI client and expose image-generation tools as callable actions.
What you can do
The Nano Banana MCP server described in the Ace Data Cloud documentation is built for AI clients such as Claude Desktop, VS Code, and Cursor. Once configured, it lets your assistant call image tools through the Model Context Protocol instead of asking you to copy prompts into a separate UI.
The documented tool surface is intentionally small:
nanobanana_generate_imagefor generating images from text prompts.nanobanana_edit_imagefor editing or combining existing images.nanobanana_get_taskfor checking the status of one generation task.nanobanana_get_tasks_batchfor checking multiple task statuses together.
The same guide also lists practical scenarios: image generation, image editing, virtual try-on, product placement, and multi-model support across nano-banana, nano-banana-2, and nano-banana-pro. That makes it useful for builders who want to prototype creative workflows directly inside the editor or chat client where product decisions are already happening.
How it works
MCP, or Model Context Protocol, is a standardized way for AI models to call external tools. In this workflow, the AI client starts the Nano Banana MCP server locally. The server receives tool calls from the client and uses your Ace Data Cloud API token through the ACEDATACLOUD_API_TOKEN environment variable.
That separation is important. Your prompt remains conversational, while the tool boundary stays explicit. The model can ask to generate, edit, or query a task, but the available actions are limited to the tools exposed by the configured MCP server.
Install the MCP server
The recommended installation path in the documentation is the Python package mcp-nanobanana-pro:
pip install mcp-nanobanana-proAfter installation, the server can be started with the mcp-nanobanana-pro command. If you prefer working from source, the documentation also provides the repository flow:
git clone https://github.com/AceDataCloud/NanoBananaMCP.git
cd NanoBananaMCP
pip install -e .
For most teams, the package install is simpler. Source installation is still useful if you want to inspect the MCP implementation, test changes, or run a local editable checkout while debugging client configuration.
Configure Claude Desktop
Claude Desktop reads MCP server configuration from a JSON file. On macOS, the documented path is ~/Library/Application Support/Claude/claude_desktop_config.json. On Windows, it is %APPDATA%\Claude\claude_desktop_config.json.
Add a server entry named nanobanana and pass your token as an environment variable:
{
  "mcpServers": {
    "nanobanana": {
      "command": "mcp-nanobanana-pro",
      "env": {
        "ACEDATACLOUD_API_TOKEN": "Your API Token"
      }
    }
  }
}
If you do not want to install the package ahead of time, the guide also supports a uvx configuration:
{
  "mcpServers": {
    "nanobanana": {
      "command": "uvx",
      "args": ["mcp-nanobanana-pro"],
      "env": {
        "ACEDATACLOUD_API_TOKEN": "Your API Token"
      }
    }
  }
}
After saving the file, restart Claude Desktop so it reloads the MCP configuration. From that point, you can ask for image work in natural language, while the client routes supported actions to the Nano Banana MCP tools.
Use it from VS Code or Cursor
For editor-based workflows, create .vscode/mcp.json in your project root. The documented VS Code and Cursor configuration uses a servers object rather than Claude Desktop's mcpServers object:
{
  "servers": {
    "nanobanana": {
      "command": "mcp-nanobanana-pro",
      "env": {
        "ACEDATACLOUD_API_TOKEN": "Your API Token"
      }
    }
  }
}
The uvx variant follows the same structure:
{
  "servers": {
    "nanobanana": {
      "command": "uvx",
      "args": ["mcp-nanobanana-pro"],
      "env": {
        "ACEDATACLOUD_API_TOKEN": "Your API Token"
      }
    }
  }
}
This is a good fit when image generation is part of a product build: landing-page mockups, product placement concepts, visual regression ideas, onboarding illustrations, or quick creative variants while you are already editing code.
Prompt it like a tool, not a magic box
Once configured, the guide suggests using natural-language requests such as generating a watercolor landscape, placing a product in a café scene, trying clothing on a person, or generating a high-quality portrait with nano-banana-pro. In practice, you will get better results if you make the intended tool behavior obvious:
- For new assets, describe the subject, style, composition, and output intent.
- For edits, provide the source image context and state what should change.
- For product placement, describe the product, scene, lighting, and placement constraints.
- For longer runs, ask the client to check progress with
nanobanana_get_task.
The main builder takeaway is simple: MCP turns image generation into a repeatable tool inside the environment where you already plan, write, and revise. You still need clear prompts and a valid API token, but you no longer need to leave your AI client for every image iteration.
Read the full Ace Data Cloud guide here: Nano Banana MCP Integration Guide.


Comments
Post a Comment