A Practical Guide to Using Ace Data Cloud MCP Servers in Claude Code
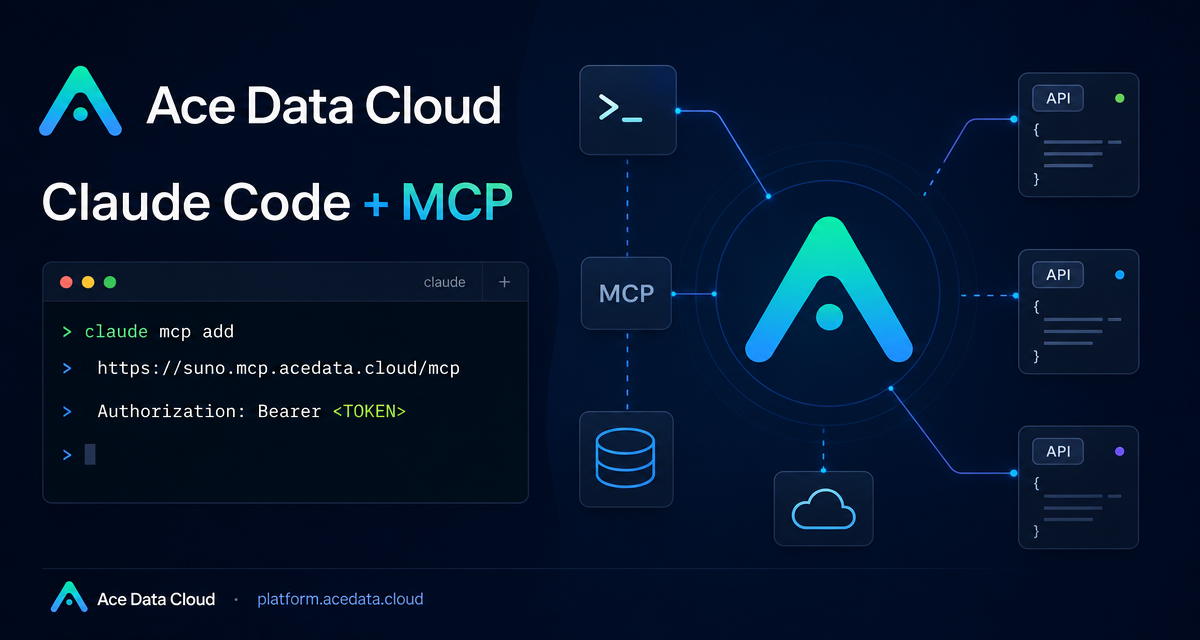
If your coding assistant already lives in the terminal, the next practical step is to let it call external tools without leaving that workflow.
The Ace Data Cloud guide for Claude Code focuses on a simple idea: connect managed remote MCP servers to Claude Code so common creation and research tasks can happen from the same command-line session where you write, debug, and refactor code.
What you can do
Once MCP is configured, Claude Code can call tool servers for jobs that normally interrupt development flow. The documented examples include generating a product hero image while writing a README, producing background music while recording a tutorial, searching recent trends while drafting a technical blog, and shortening links while preparing release notes.
The guide lists remote MCP server URLs for several capability areas:
- Music:
Sunoathttps://suno.mcp.acedata.cloud/mcp - Images:
Midjourney,Flux,Seedream, andNanoBanana - Video:
Luma,Veo, andSeedance - Search:
Serp - Utilities:
ShortURL
The important implementation detail is that each server is configured as an HTTP MCP server and authenticated with an Authorization header.
How it works
Claude Code supports adding MCP servers from the terminal. In the Ace Data Cloud setup, each server has a remote URL, and requests include a bearer token in the header. The basic shape is:
claude mcp add <name> --transport http <remote_mcp_url> \
  -H "Authorization: Bearer <your-token>"
Two small details from the documentation are worth keeping in mind. First, -H must be uppercase; lowercase -h is interpreted as help. Second, if you do not specify a scope, Claude Code uses the default local scope, which only applies to the current directory. You can add -s user for all projects, or -s project when you want a project-level configuration.
Add a focused subset first
You do not need to connect every server on day one. A builder-friendly approach is to start with the two or three tools that match your current workflow. For example, a technical writing workflow might begin with search and image generation:
# Real-time search from Claude Code
claude mcp add serp --transport http https://serp.mcp.acedata.cloud/mcp \
  -H "Authorization: Bearer <your-token>"

# Image generation / editing workflow
claude mcp add flux --transport http https://flux.mcp.acedata.cloud/mcp \
  -H "Authorization: Bearer <your-token>"
For a tutorial or demo workflow, you might add music and video-related servers instead:
claude mcp add suno --transport http https://suno.mcp.acedata.cloud/mcp \
  -H "Authorization: Bearer <your-token>"

claude mcp add veo --transport http https://veo.mcp.acedata.cloud/mcp \
  -H "Authorization: Bearer <your-token>"
After adding servers, confirm that Claude Code can see them:
claude mcp listThe guide says the configured servers should appear as http type MCP servers. If you only added a subset, expect to see only that subset.
Use project configuration when the workflow belongs to the repo
For repeatable team workflows, the documentation also shows a project-level .mcp.json file. The fields are direct and easy to review in code:
{
  "mcpServers": {
    "suno": {
      "type": "http",
      "url": "https://suno.mcp.acedata.cloud/mcp",
      "headers": { "Authorization": "Bearer <your-token>" }
    },
    "serp": {
      "type": "http",
      "url": "https://serp.mcp.acedata.cloud/mcp",
      "headers": { "Authorization": "Bearer <your-token>" }
    }
  }
}
This format is useful when the toolchain is part of the project: for example, a docs repository that regularly researches topics, creates illustrations, and shortens reference links. The security note is simple: never commit a real token to a public repository. The source guide recommends adding .mcp.json to .gitignore, asking each teammate to fill in their own token, or using environment-variable placeholders.
Turn the tools into a real workflow
The practical value appears when you ask Claude Code to chain tools. A content workflow from the guide looks like this in plain language:
Use Google Search to find the latest AI video generation technology trends, write a technical blog outline based on the search results, use Flux to generate an illustration for the blog, and use ShortURL to shorten key reference links.
That is the difference between a disconnected tool list and a useful terminal workflow. The model can research, draft, create supporting assets, and return links without requiring you to jump between tabs.
Troubleshooting checklist
If a single MCP server does not work, start with the documented checks:
- Run
claude mcp listand confirm the server is online. - Remove and re-add the server with
claude mcp remove <name>followed by the relevantclaude mcp addcommand. - Check your Ace Data Cloud balance if tool calls still fail.
Also remember the configuration precedence described in the guide: a project-level .mcp.json takes precedence over the global Claude configuration.
Where to go next
The best way to adopt MCP in Claude Code is to start with one workflow you already perform every week: technical research, README visuals, release-note links, or demo assets. Add only the relevant servers, verify them with claude mcp list, and then let Claude Code coordinate the steps from your terminal.
Read the full Ace Data Cloud documentation here: Claude Code with Ace Data Cloud MCP.


Comments
Post a Comment