How to Use a Telegram Account Proxy for MCP and REST Automation
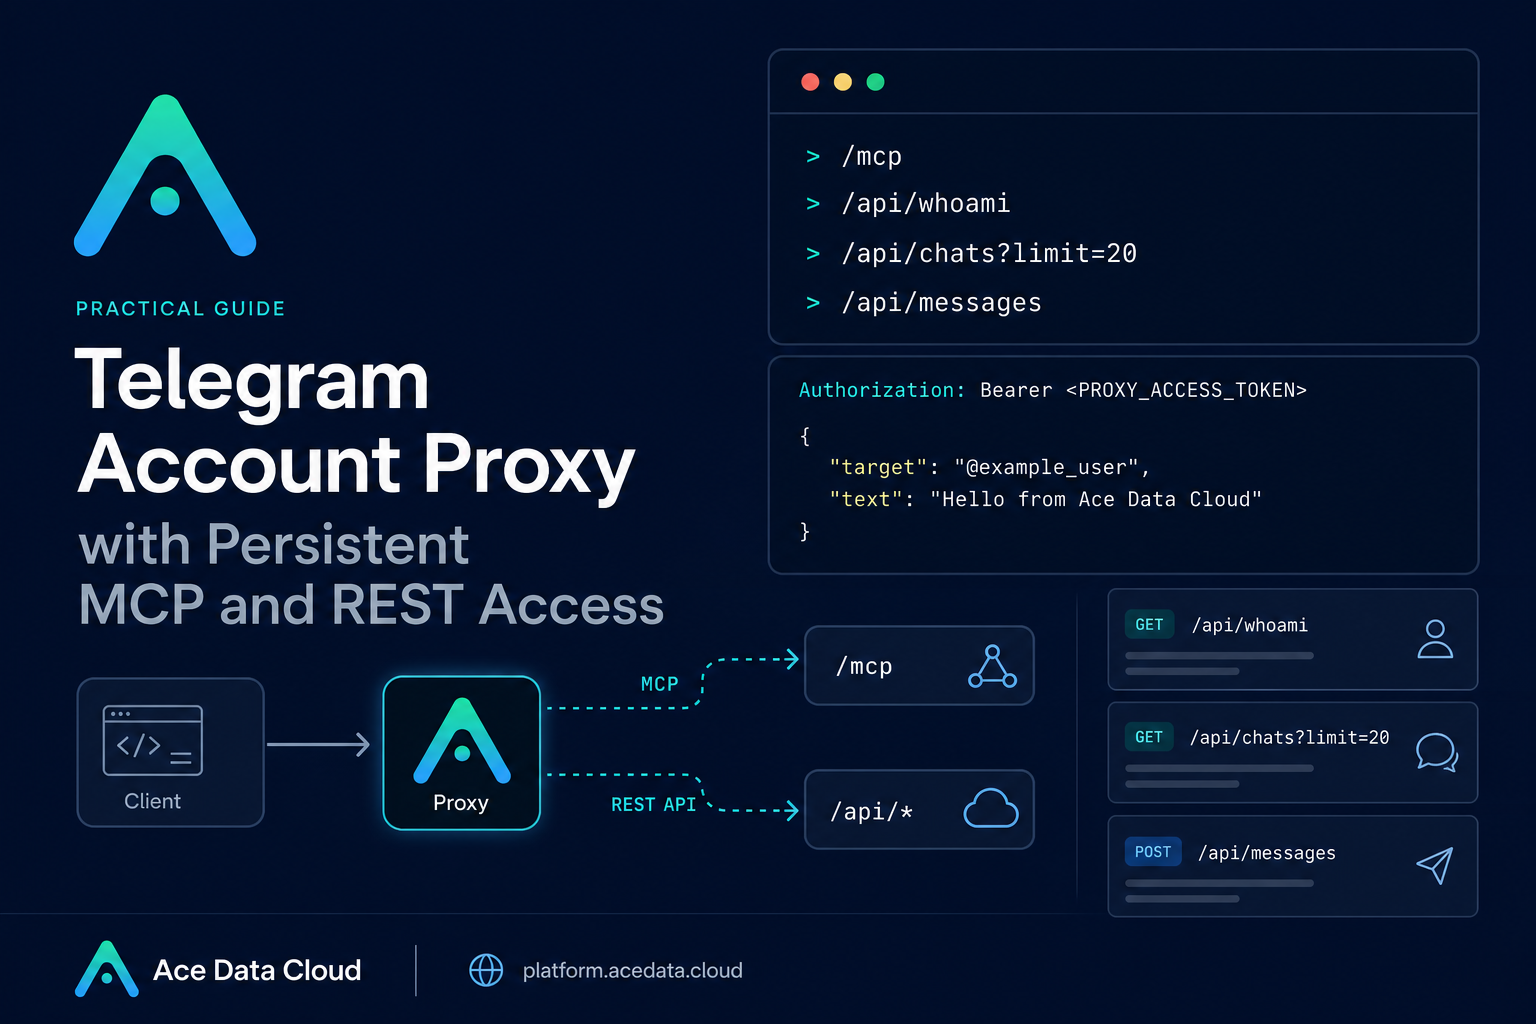
If you have ever tried to automate a personal Telegram workflow, you probably hit the same boundary quickly: bot accounts are not the same as your own account, and many useful conversations live in your personal chat list. A Telegram Account Proxy gives builders a safer, more explicit way to connect a personally authorized Telegram account to automation through persistent MCP and REST interfaces.
This guide walks through the practical shape of that workflow: how login works, how to configure MCP, how to call the REST endpoints, and where to put guardrails before sending messages.
What you can do
The Telegram Account Proxy is designed around one authorized personal account per proxy instance. Each instance has its own persistent volume, so the login session can survive restarts or upgrades after the account is connected.
From the documented interface, you can:
- Connect a personal Telegram account by scanning a login QR code.
- Use an exclusive MCP endpoint at
/mcpwith a Bearer token. - Call REST endpoints to inspect the authorized account, list recent chats, and send a message.
- Use
targetas a session ID, username, or exact session name when sending messages.
This is not the Telegram Bot API. It is a personal account authorization service, so it should only be used with accounts you own and explicitly authorize. It is also not a tool for spam, bulk cold outreach, or bypassing Telegram restrictions.
How it works
The proxy instance acts as a dedicated bridge between your Telegram account and automation clients. In the Ace Data Cloud console, you create a Telegram account proxy instance. When the instance is ready, the console can generate a login QR code. You then open Telegram, go to Settings → Devices → Link Desktop Device, and scan the code.
If the Telegram account has two-step verification enabled, the console asks for the Telegram two-step verification password. The important operational detail is that the password is submitted directly to your tenant instance and is not saved in the platform configuration.
After login succeeds, the instance reuses the persistent login state after restart or upgrade. If you log out, the Telegram session for that instance is revoked.
Configure MCP access
Once the instance is ready, the console shows an exclusive MCP address and a Bearer access token. The documented MCP client configuration looks like this:
{
  "mcpServers": {
    "telegram": {
      "url": "https://telegram-bot-xxxxxxxxxxxx.app.acedata.cloud/mcp",
      "headers": {
        "Authorization": "Bearer <PROXY_ACCESS_TOKEN>"
      }
    }
  }
}
Treat <PROXY_ACCESS_TOKEN> like an account password. According to the documentation, all login, REST, and MCP interfaces must carry this token, except /health.
For a builder workflow, MCP is the most convenient path when you want an AI coding agent or desktop client to read from and act on Telegram through a structured tool interface. Keep the MCP server entry scoped to the environment that needs it, and avoid pasting the token into shared project files.
Check the authorized account
Before wiring up any automation, start with a read-only sanity check. The /api/whoami endpoint returns the currently authorized account for the proxy instance:
curl https://telegram-bot-xxxxxxxxxxxx.app.acedata.cloud/api/whoami -H "Authorization: Bearer $PROXY_ACCESS_TOKEN"This is a simple but useful deployment check. If your scheduler, worker, or local script cannot call /api/whoami, it should not proceed to message reads or sends.
List recent chats for context
The next practical endpoint is /api/chats. The documentation shows a limit query parameter for listing recent sessions:
curl "https://telegram-bot-xxxxxxxxxxxx.app.acedata.cloud/api/chats?limit=20" -H "Authorization: Bearer $PROXY_ACCESS_TOKEN"In an internal assistant, this step is where you typically build context. For example, you might ask the user to pick a session, map an exact session name to a workflow, or store a session ID in your own configuration. The key is to separate discovery from action: list chats first, then decide whether a later step is allowed to send anything.
Send a message with explicit targeting
Sending uses POST /api/messages with JSON. The documented body contains target and text:
curl -X POST https://telegram-bot-xxxxxxxxxxxx.app.acedata.cloud/api/messages -H "Authorization: Bearer $PROXY_ACCESS_TOKEN" -H "Content-Type: application/json" -d '{"target":"me","text":"Hello from my Telegram proxy"}'The target value can be a session ID, username, or exact session name. For production automation, the documentation recommends controlling sending frequency and requiring explicit confirmation before sending to third parties. That is a good default: make read operations easy, but make write operations deliberate.
A small builder pattern
A practical implementation can be as small as three stages:
- Call
/api/whoamiwhen your worker starts, and fail closed if authorization is missing. - Call
/api/chats?limit=20only when you need recent session context. - Call
/api/messagesonly after your app has selected a target and confirmed the message text.
This keeps the automation understandable. The proxy provides the connection; your app still owns policy, confirmation, rate control, and logging.
Wrapping up
The Telegram Account Proxy is useful when you need a persistent, personally authorized Telegram connection that works with both MCP clients and REST scripts. Start with read-only checks, keep the Bearer token private, and treat message sending as a confirmed action rather than a background side effect.
Read the source documentation here: Telegram Account Proxy User Guide.


Comments
Post a Comment