How to Use NanoBanana MCP with Claude Code for Terminal-Based Image Editing
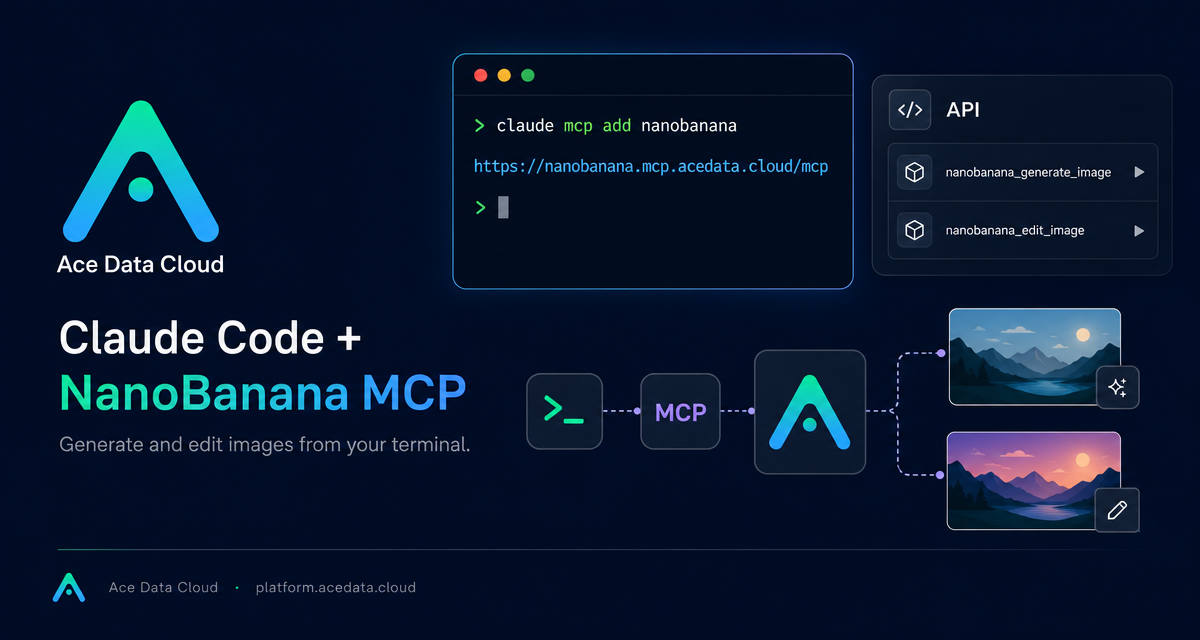
Image work often breaks a builder's flow: you are in the terminal, but the next step requires opening a separate image tool, uploading references, copying prompts, downloading results, and then returning to the project. NanoBanana MCP gives Claude Code a practical way to keep that loop inside the terminal, especially when you need to generate, edit, or compose images while building a product page, docs site, or UI mockup.
What you can do
The documented NanoBanana MCP integration exposes two tools to Claude Code:
nanobanana_generate_imagefor text-to-image generation.nanobanana_edit_imagefor image editing, including multi-image input.
The interesting part is not only generation. The documentation describes NanoBanana as understanding image content well enough to use two images together: for example, taking an object from image A and placing it naturally into the scene of image B. In day-to-day builder work, that makes the tool useful for tasks like composing product mockups, cleaning screenshots, or creating illustrations that match an existing visual direction.
How it works
Claude Code connects to NanoBanana through an MCP server hosted at https://nanobanana.mcp.acedata.cloud/mcp. You add the server with the Claude Code CLI and pass an AceData Cloud API token through an HTTP Authorization header.
The core command from the documentation is:
claude mcp add nanobanana --transport http https://nanobanana.mcp.acedata.cloud/mcp -H "Authorization: Bearer YOUR_TOKEN"Two small details matter here. First, -H must be uppercase, because lowercase -h is interpreted as --help, not as a header parameter. Second, if you omit -s, Claude Code uses the default local scope, which only applies in the directory where the command is run.
Choose the right Claude Code scope
The integration supports three practical configuration scopes. Pick the one that matches how you work:
local: use no-sflag or pass-s local. The configuration is stored in~/.claude.jsonand is only effective in the current project directory.user: pass-s user. The configuration is stored in~/.claude.jsonand becomes available globally across projects.project: pass-s project. The configuration is written to.mcp.jsonin the project root, so it can be shared with a team through the repository.
For a solo experiment, local is usually enough. For a personal workstation, user avoids repeating setup in every repo. For a team project, project is the cleanest option, but do not commit real tokens to a public repository. The documentation recommends using environment-variable placeholders such as ${ENV_VAR} plus environment variables instead.
Verify the connection
After adding the MCP server, run:
claude mcp listYou should see nanobanana marked as ✓ Connected. That check is worth doing before you start prompting, because it separates setup problems from prompt quality problems. If the server is not connected, re-check the MCP URL, the uppercase -H header flag, and whether your token was provided in the expected bearer-token format.
Use case 1: multi-image composition
A common design task is combining a foreground object with a different scene. Because nanobanana_edit_image supports multiple image URLs as input, you can ask Claude Code to reason about the relationship between the images instead of manually masking and blending assets.
Use nanobanana_edit_image with these two image URLs.
Put the phone from the first image onto the desk in the second image,
adjusting angle and lighting so it looks natural.
This is useful for landing-page mockups, campaign images, internal design reviews, and quick product visualization. The key is to describe the role of each image: which one contains the object, which one contains the target scene, and what should be preserved.
Use case 2: clean screenshots before publishing
Docs and changelogs often need screenshots, but screenshots may contain a watermark, test text, or visual noise. The documented example is direct and practical:
Edit this image to remove the text watermark in the bottom right corner,
filling the background.
For builder content, this can save time when preparing clean tutorial images. Keep the instruction narrow: tell the model what to remove, where it is, and what kind of background should replace it.
Use case 3: generate a page illustration from the terminal
When you need a small illustration for a product page, error page, or docs section, use nanobanana_generate_image directly from your Claude Code session:
Generate an illustration of a small dinosaur crouching next to a crack
in the ground looking down, for use on a 404 page.
That kind of prompt is specific enough to be useful but not overloaded. You can refine style, aspect ratio, and context in follow-up instructions inside the same Claude Code workflow.
A practical setup pattern
If you are adding this to a real project, I would start with a local setup, verify the connection, and run one edit task against non-sensitive images. Once the workflow proves useful, move to -s user for your own machine or -s project for a shared team configuration. For team configs, keep secrets out of git and rely on environment variables for the token.
The main advantage is simple: image generation and editing become part of the same terminal conversation where you are already writing code, docs, and implementation notes. You still need to review outputs carefully, but you do not need to leave the builder loop for every visual iteration.
Read the full setup notes in the Claude Code + NanoBanana MCP documentation.


Comments
Post a Comment