How to Use NanoBanana MCP in Claude Code for Terminal-Based Image Workflows
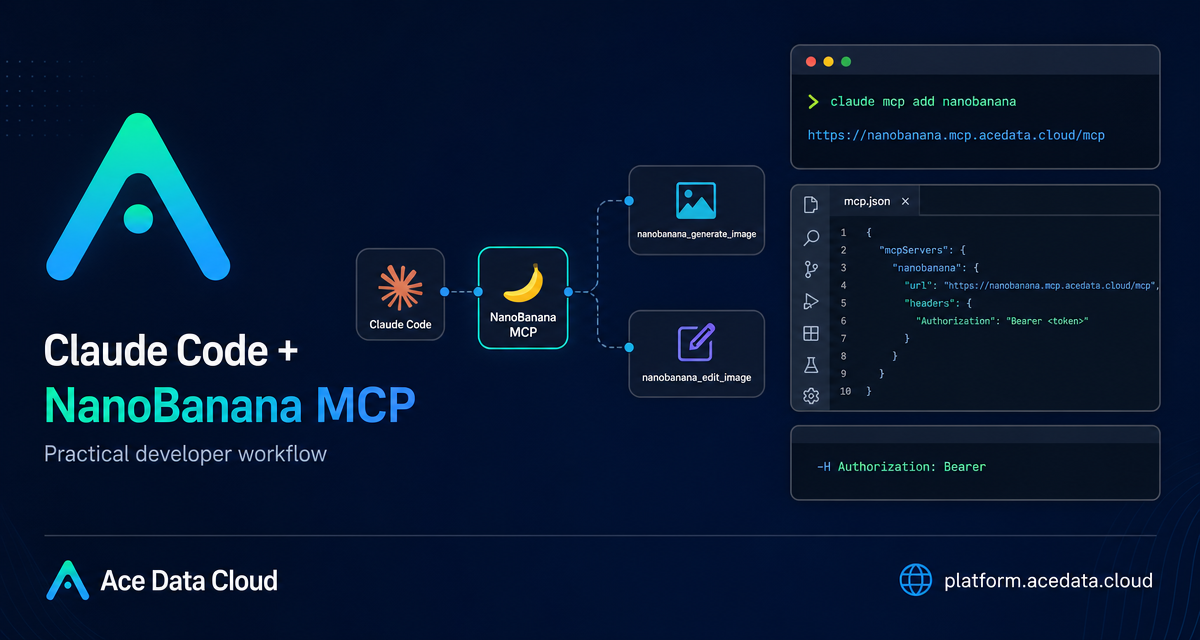
If you are working inside a terminal and suddenly need to generate an illustration, clean up a screenshot, or combine elements from two reference images, the usual flow is awkward: leave the coding session, open a web app, upload files, copy results back, and then return to the task. The NanoBanana MCP setup for Claude Code gives you a cleaner path: keep the conversation in the terminal and let Claude Code call an image generation/editing tool when the task needs it.
What you can do
The documented NanoBanana MCP integration exposes two tools inside Claude Code:
nanobanana_generate_imagefor text-to-image generation.nanobanana_edit_imagefor image editing, including multi-image input.
The practical difference is that this is not only a prompt-to-picture workflow. The source guide describes NanoBanana as understanding image content: for example, you can provide two image URLs and ask it to move an object from image A into the scene of image B while adapting angle and lighting. That makes it useful for builder tasks such as product mockups, documentation illustrations, small UI assets, 404-page artwork, and cleaning up screenshots before publishing them.
How it works
Claude Code talks to the NanoBanana MCP server over HTTP. You add the server once with claude mcp add, pass your Ace Data Cloud token as an HTTP authorization header, and then use natural language in Claude Code sessions. The MCP server URL documented for this integration is:
https://nanobanana.mcp.acedata.cloud/mcpThe key point is that the terminal remains the control plane. Claude Code receives your instruction, decides when the NanoBanana tool is relevant, and invokes either image generation or image editing through the MCP connection.
Configure NanoBanana MCP in Claude Code
After you have an Ace Data Cloud API token, add the MCP server from your terminal. Replace YOUR_TOKEN with your actual token:
claude mcp add nanobanana --transport http https://nanobanana.mcp.acedata.cloud/mcp -H "Authorization: Bearer YOUR_TOKEN"One small detail matters: the guide explicitly notes that -H must be uppercase. Lowercase -h is interpreted as --help, not as a header parameter. If the command looks correct but the server never connects, check that first.
Once added, verify the connection:
claude mcp listYou should see nanobanana marked as ✓ Connected. That confirmation is worth checking before you start debugging prompts, image URLs, or permissions.
Choose the right scope
Claude Code supports different MCP configuration scopes. If you omit -s, the default scope is local, which only applies in the directory where you ran the command. The guide recommends being explicit about scope because it changes where the config is stored and who can use it.
local: use no-sor-s local. The config is stored in~/.claude.jsonand applies only to the current project directory.user: use-s user. The config is stored in~/.claude.jsonand is available globally across your projects.project: use-s project. The config is written to.mcp.jsonin the project root and can be shared with the team.
For a personal machine, -s user is convenient. For a repo where teammates should have the same MCP server available, -s project is the better fit. The important security rule from the guide is simple: do not commit real tokens to public repositories. If you share a project config, use environment-variable placeholders rather than hard-coded secrets.
claude mcp add nanobanana --transport http https://nanobanana.mcp.acedata.cloud/mcp -H "Authorization: Bearer $ACEDATA_CLOUD_TOKEN" -s projectUse it for real image tasks
Once the server is connected, the workflow becomes conversational. You can ask for a new illustration:
Generate an illustration of a small dinosaur crouching next to a crack in the ground looking down, for use on a 404 page.You can also use the editing tool when an existing image needs cleanup:
Edit this image to remove the text watermark in the bottom right corner, filling the background.The most interesting case is multi-image composition. The documented example is to put the phone from the first image onto the desk in the second image, adjusting angle and lighting so it looks natural. That is exactly the kind of small visual operation that interrupts technical writing or product prototyping when you do it manually.
A practical builder workflow
Here is a simple way to use the integration in a documentation project:
- Keep your article, README, or landing page open in the same project directory.
- Ask Claude Code to identify where an image would clarify the explanation.
- Use
nanobanana_generate_imagefor a fresh visual, ornanobanana_edit_imagewhen you already have screenshots or references. - Save the resulting image URL or asset reference alongside the content.
- Review the image manually before publishing, especially when it contains UI text or product details.
This keeps the image work close to the code and writing context. You are not replacing judgment; you are removing the friction between “this section needs a visual” and “I have a usable draft image to evaluate.”
Wrap-up
NanoBanana MCP is a good example of MCP being useful for more than data lookup. In Claude Code, it turns image generation and editing into terminal-native capabilities: one server URL, one authorization header, two focused tools, and natural-language instructions for common visual tasks. If your workflow already lives in Claude Code, this is a practical way to add image work without breaking concentration.
Read the full setup guide here: Claude Code integration with NanoBanana MCP.


Comments
Post a Comment