How to Use Aider CLI with an OpenAI-Compatible API
If you already use Aider to make code changes from the terminal, the practical question is often simple: how do you point it at the model endpoint your team actually uses without changing the rest of your workflow?
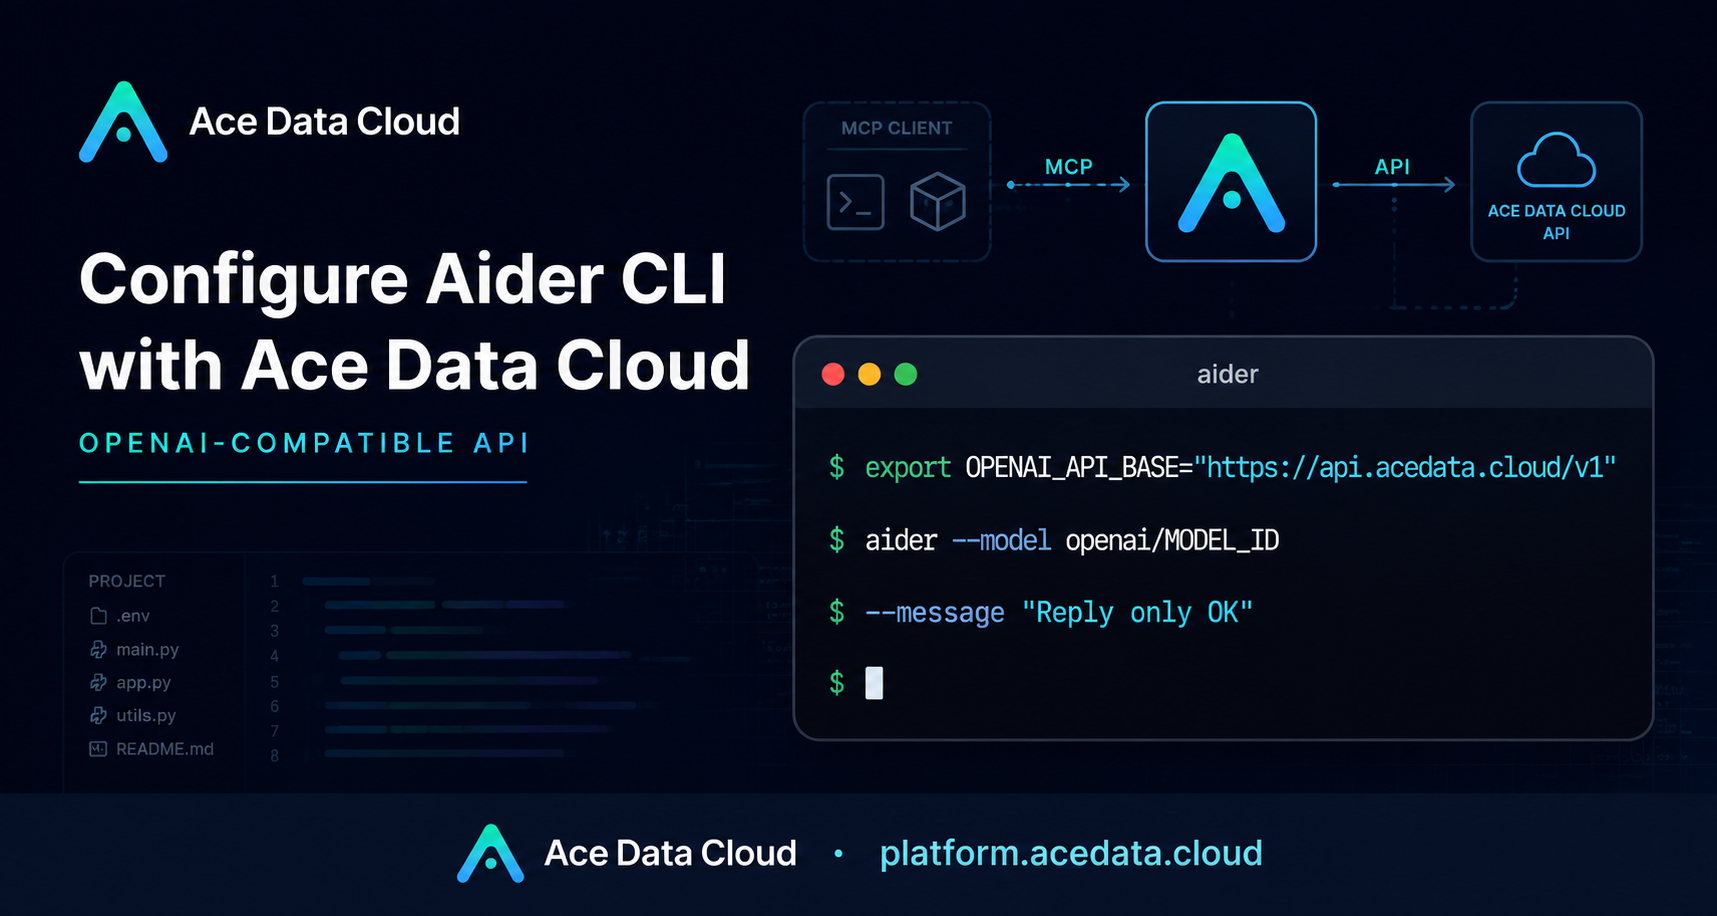
This guide walks through configuring Aider CLI with Ace Data Cloud through an OpenAI-compatible API. The goal is intentionally narrow: set the base URL, pass an API token, choose a model through Aider's openai/ prefix, and verify that the CLI can make a minimal request before you use it on a real repository.
What you can do
Aider connects to OpenAI-compatible APIs through LiteLLM's openai/ model prefix. In this setup, Ace Data Cloud provides the API base URL, and Aider remains the command-line coding assistant you run in your project directory.
- Use Aider CLI with an OpenAI-compatible endpoint.
- Set
OPENAI_API_BASEtohttps://api.acedata.cloud/v1. - Set
OPENAI_API_KEYfrom your localACEDATACLOUD_API_KEY. - Run Aider with
--model openai/MODEL_ID. - Perform a small verification request with
--message "Reply only OK".
The important constraint is that MODEL_ID is not a placeholder for any random model name. Replace it with the model selected in the Coding configuration wizard. Treat the model ID shown there as the source of truth for the value you pass to Aider.
How it works
Aider's OpenAI-compatible path is built around two pieces of configuration: an API base URL and an API key. The base URL tells the client where to send requests. The key authenticates the request. The openai/ prefix tells LiteLLM that this model should be handled as an OpenAI-compatible provider.
For this document, the base URL is:
https://api.acedata.cloud/v1The Aider command uses the model in this form:
openai/MODEL_IDThat split is useful because it keeps provider routing separate from the actual model name. You can keep your terminal workflow stable while changing the selected model through the configuration wizard when needed.
Configure your shell
Start by exporting the two environment variables in the same terminal session where you plan to launch Aider:
export OPENAI_API_BASE="https://api.acedata.cloud/v1"
export OPENAI_API_KEY="$ACEDATACLOUD_API_KEY"
aider --model openai/MODEL_ID
There are three details worth checking before you run this in a large codebase.
OPENAI_API_BASEincludes the/v1suffix.OPENAI_API_KEYresolves to a real token in your shell.MODEL_IDexactly matches the model chosen in the Coding configuration wizard.
If any of these are wrong, Aider may start correctly but fail when it sends the first request. Keeping the setup in a single terminal session makes debugging much easier because you can immediately inspect which command you launched and which model string you passed.
Persist the configuration carefully
The same options can also be stored in a local .env file or in .aider.conf.yml. That is convenient when you switch between repositories or open new terminal sessions often.
The safety rule is simple: do not commit real tokens. If you keep project-level examples, store placeholders rather than secrets. A pattern that works well is to commit documentation that names the required variables, while keeping the actual ACEDATACLOUD_API_KEY in your local environment or an ignored file.
For example, your team notes can say that Aider expects OPENAI_API_BASE, OPENAI_API_KEY, and a model passed as openai/MODEL_ID. The actual token should remain local to the developer or the secure runtime that launches the CLI.
Verify with a tiny request
Before asking Aider to edit files, run a minimal message-only check:
aider --model openai/MODEL_ID --message "Reply only OK"This is a low-risk test. It checks that Aider can route the request, authenticate, call the selected model, and receive a response. If this command works, you can move on to normal repository tasks with more confidence.
If you are using a model Aider has not seen before, it may warn that model metadata is missing. The setup document calls out an important distinction: missing model metadata is not the same thing as an authentication failure. Do not immediately rotate tokens just because you see a metadata warning.
Troubleshooting the common failures
Most setup issues fall into a few predictable buckets.
- 401 response: check the token. Confirm that
OPENAI_API_KEYis set and that it contains the expected Ace Data Cloud API token. - 404 response: check the model ID and the base URL. In particular, confirm that the base URL is
https://api.acedata.cloud/v1and thatMODEL_IDmatches the wizard-selected model. - Unknown model metadata warning: treat it as a model metadata issue first, not proof that authentication failed.
When debugging, reduce the moving parts. Use the exact verification command above, keep the same terminal session, and change only one thing at a time: token, base URL, or model ID. That makes it much easier to identify the real cause.
Where this fits in a builder workflow
This setup is useful when you want Aider's terminal-native editing loop but need the model call to go through a specific OpenAI-compatible endpoint. You still work from the repository, review diffs, and decide what to keep. The configuration simply tells Aider where to send model requests and how to name the selected model.
Once the minimal --message test succeeds, try it on a small change first: a README cleanup, a unit-test update, or a narrow refactor. That keeps the first real run observable and easy to review.
For the source setup notes and the exact command snippets, read the Ace Data Cloud document: Aider CLI Setup Guide.


Comments
Post a Comment