How to Run Claude Code from Your Terminal with Ace Data Cloud
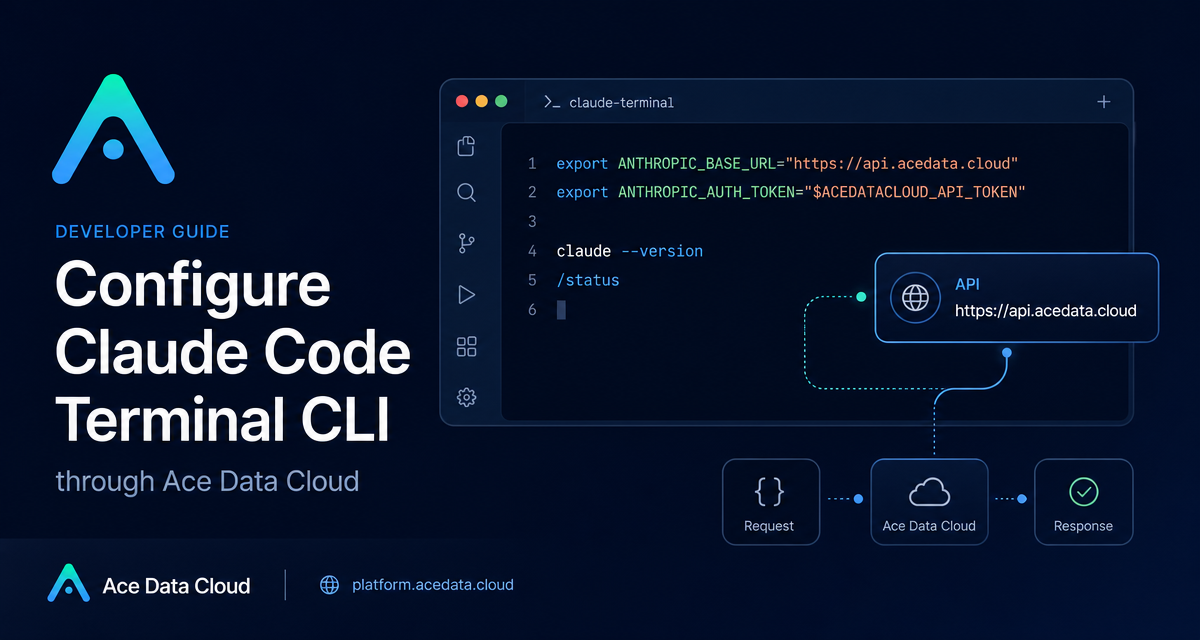
If you already use the terminal as your development cockpit, the fastest way to bring an AI coding agent into your workflow is to run it where your repository, shell history, and tools already live.
What you can do
Claude Code provides a terminal CLI named claude. From a project directory, it can read code, modify files, run commands, explain errors, and help with development tasks. The Ace Data Cloud setup keeps the native Claude Code experience intact while changing the underlying API base URL to https://api.acedata.cloud.
In practice, this gives you a straightforward workflow:
- Open any repository in your terminal.
- Start an interactive coding session with
claude. - Ask one-off questions such as reviewing a recent diff.
- Verify that Claude Code is using the Ace Data Cloud endpoint with
/status. - Optionally set default model environment variables for Opus, Sonnet, Haiku, and sub-agents.
How it works
Claude Code natively uses the Anthropic Messages API protocol. Ace Data Cloud exposes a compatible proxy at https://api.acedata.cloud, so Claude Code does not need a local proxy process or a separate plugin.
The request path is simple. Claude Code reads ANTHROPIC_BASE_URL and ANTHROPIC_AUTH_TOKEN from your shell environment or from a project-level .claude/settings.local.json file. When the base URL is set to https://api.acedata.cloud, requests go to Ace Data Cloud. The platform uses your API token for identity verification, checks quota, forwards the request to an available Claude Code service channel, and records usage after the request completes.
Install the CLI
Claude Code supports macOS, Linux, Windows, and WSL. The native installer is the recommended path because it installs the claude command and handles later updates.
On macOS, Linux, or WSL:
curl -fsSL https://claude.ai/install.sh | bashOn Windows PowerShell:
irm https://claude.ai/install.ps1 | iexOn Windows CMD:
curl -fsSL https://claude.ai/install.cmd -o install.cmd && install.cmd && del install.cmdIf you prefer npm and already have Node.js 18 or higher installed, you can install the CLI this way:
npm install -g @anthropic-ai/claude-codeAfter installation, reopen your terminal and check that the command is available:
claude --versionIf your shell prints command not found, the current terminal session probably has not loaded the updated PATH. Close and reopen the terminal, or check the path instructions printed by the installer.
Configure it globally for your shell
If you want every project to use Ace Data Cloud by default, put the configuration in your shell startup file, such as ~/.zshrc, ~/.bashrc, or ~/.bash_profile.
export ACEDATACLOUD_API_TOKEN="{token}"
export ANTHROPIC_BASE_URL="https://api.acedata.cloud"
export ANTHROPIC_AUTH_TOKEN="$ACEDATACLOUD_API_TOKEN"
Replace {token} with the API token from your Ace Data Cloud console. Then reload the shell configuration:
source ~/.zshrcThis is the cleanest setup when you work across several repositories and want a consistent terminal experience.
Configure it for only one project
For teams or client projects, you may not want a global setting. In that case, create .claude/settings.local.json in the project root:
{
  "env": {
    "ANTHROPIC_AUTH_TOKEN": "{token}",
    "ANTHROPIC_BASE_URL": "https://api.acedata.cloud"
  }
}
The settings.local.json file is intended for local credentials. Do not put real tokens in a team-shared .claude/settings.json. Add the local file to .gitignore so personal tokens are not committed.
If an older ANTHROPIC_API_KEY is already present in the same environment where you start Claude Code, unset it rather than assigning an empty string:
unset ANTHROPIC_API_KEYAfter changing this configuration, restart Claude Code. If you use the same project through VS Code, reload the VS Code window as well, because the extension reads the project-level configuration too.
Start a session and verify the endpoint
Move into a repository and start the interactive CLI:
cd /path/to/your/project
claude
A practical first prompt is:
Explain the directory structure of this projectYou can also run a one-time command without staying in the interactive interface:
claude "Help me check the recent git diff for possible bugs"For a print-and-exit style task, use -p:
claude -p "Summarize the purpose of README.md"Inside Claude Code, run:
/statusThe status output should show:
Auth token: ANTHROPIC_AUTH_TOKEN
Anthropic base URL: https://api.acedata.cloud
If the base URL is not https://api.acedata.cloud, the terminal did not load the intended configuration. Re-check your shell file or project settings, then restart the terminal session.
Optional: choose default model variables
Claude Code can choose model levels by task type, but the documented configuration also supports default model variables. Add them only if you want consistent model routing:
export ANTHROPIC_DEFAULT_OPUS_MODEL="claude-opus-4-8"
export ANTHROPIC_DEFAULT_SONNET_MODEL="claude-sonnet-4-6"
export ANTHROPIC_DEFAULT_HAIKU_MODEL="claude-haiku-4-5-20251001"
export CLAUDE_CODE_SUBAGENT_MODEL="claude-sonnet-4-6"
ANTHROPIC_DEFAULT_OPUS_MODEL is for complex reasoning and difficult coding tasks. ANTHROPIC_DEFAULT_SONNET_MODEL is for everyday code reading and routine changes. ANTHROPIC_DEFAULT_HAIKU_MODEL is for lighter tasks, and CLAUDE_CODE_SUBAGENT_MODEL controls the model used when Claude Code creates sub-agents.
A small builder-friendly habit
Before asking the agent to change code, start with a read-only prompt such as Explain the directory structure of this project or Summarize the purpose of README.md. It gives you a quick sanity check that the CLI is running in the right directory and that the API configuration is working. Once /status confirms the base URL, you can move into diff review, bug hunting, or targeted edits.
For the full source documentation, see the Claude Code Terminal CLI Integration Guide.


Comments
Post a Comment