How to Run Claude Code CLI Through Ace Data Cloud in Your Terminal
When a coding agent works best inside your existing terminal, the setup details matter: one stale environment variable or one committed token can turn a simple workflow into an hour of debugging.
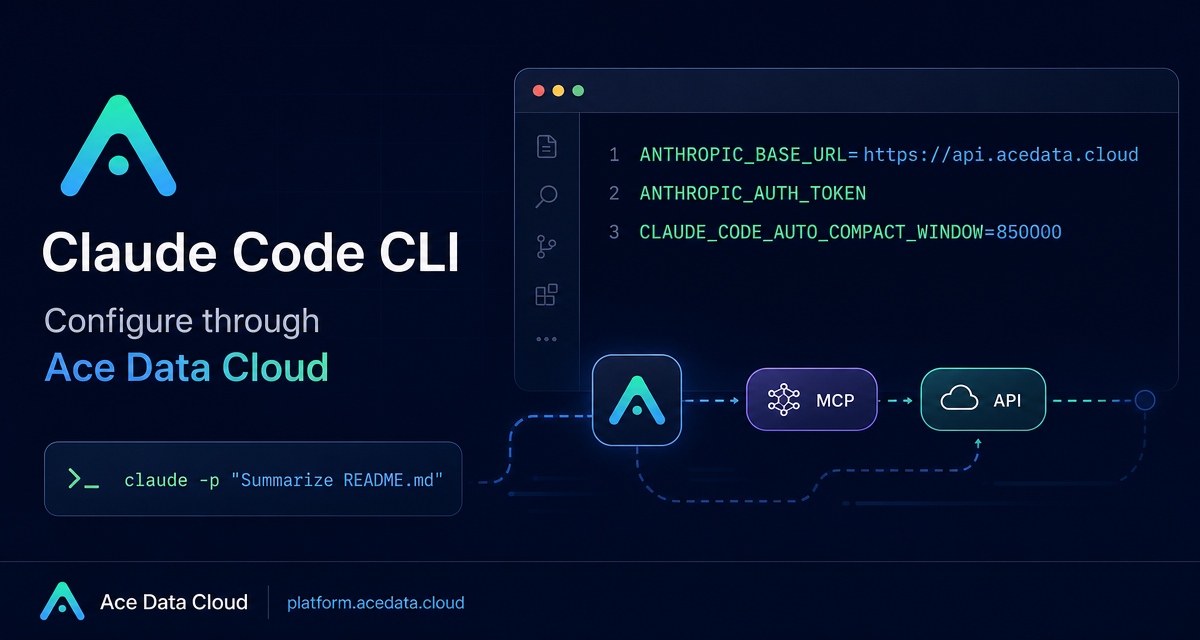
This guide walks through a practical way to run the Claude Code CLI in a local project while routing its API traffic through Ace Data Cloud. The goal is not to replace how you use claude; it is to keep the native CLI experience while pointing the underlying Anthropic-compatible request flow at https://api.acedata.cloud.
What you can do
With the terminal setup in place, you can open any project directory and use Claude Code to inspect, explain, and modify code from the command line. The documented workflow supports:
- Installing the
claudecommand on macOS, Linux, Windows, and WSL. - Configuring Claude Code globally through shell environment variables.
- Configuring a single repository through
.claude/settings.local.json. - Starting an interactive session with
claude, or running one-off prompts withclaude "..."andclaude -p "...". - Verifying that the CLI is actually using
ANTHROPIC_BASE_URL=https://api.acedata.cloud.
How it works
Claude Code reads connection settings from environment variables or from a local Claude settings file. The two core values are ANTHROPIC_BASE_URL and ANTHROPIC_AUTH_TOKEN. When ANTHROPIC_BASE_URL is set to https://api.acedata.cloud, Claude Code sends its requests to Ace Data Cloud instead of the default Anthropic service.
The documented flow is straightforward:
- Claude Code loads
ANTHROPIC_BASE_URLandANTHROPIC_AUTH_TOKEN. - The CLI sends requests to
https://api.acedata.cloud. - Ace Data Cloud authenticates the request using your API token.
- The platform forwards the request to an available Claude Code service channel and records usage after completion.
The important builder takeaway is that you do not need a local proxy program or a custom Claude Code plugin for this path. You keep the same claude command and change the API service it talks to.
Install the CLI first
If you do not already have Claude Code installed, use one of the documented install paths. On macOS, Linux, or WSL, the native installer is:
curl -fsSL https://claude.ai/install.sh | bashOn Windows PowerShell:
irm https://claude.ai/install.ps1 | iexOn Windows CMD:
curl -fsSL https://claude.ai/install.cmd -o install.cmd && install.cmd && del install.cmdIf you prefer npm and already have Node.js 18 or higher, the npm route is also supported:
npm install -g @anthropic-ai/claude-codeAfter installation, reopen your terminal and verify that the executable is available:
claude --versionIf the shell says command not found, the terminal session probably has not loaded the new PATH. Close and reopen the terminal, or review the path instructions printed by the installer.
Option 1: configure every project from your shell
For a developer workstation where you want all projects to use Ace Data Cloud by default, put the configuration in your shell profile, such as ~/.zshrc, ~/.bashrc, or ~/.bash_profile:
export ACEDATACLOUD_API_TOKEN="{token}"
export ANTHROPIC_BASE_URL="https://api.acedata.cloud"
export ANTHROPIC_AUTH_TOKEN="$ACEDATACLOUD_API_TOKEN"
export CLAUDE_CODE_AUTO_COMPACT_WINDOW="850000"
Replace {token} with the API token from your Ace Data Cloud console. The CLAUDE_CODE_AUTO_COMPACT_WINDOW value sets the automatic compaction trigger window to about 850,000 tokens. It reserves room for tool results and final answers; it does not change the model context limit.
Reload the shell profile after saving it:
source ~/.zshrcUse the file that matches your shell. If you edited ~/.bashrc, source that file instead.
Option 2: configure only one repository
Sometimes you want a safer project-local setup: one repository uses Ace Data Cloud, while the rest of your machine keeps its existing defaults. In that case, create .claude/settings.local.json in the project root:
{
  "env": {
    "ANTHROPIC_AUTH_TOKEN": "{token}",
    "ANTHROPIC_BASE_URL": "https://api.acedata.cloud",
    "CLAUDE_CODE_AUTO_COMPACT_WINDOW": "850000"
  }
}
Keep real credentials out of shared configuration. The documented recommendation is to store personal tokens only in .claude/settings.local.json or in local environment variables, not in a team-shared .claude/settings.json. Add the local settings file to .gitignore so it does not get committed by accident.
If your shell already has an older ANTHROPIC_API_KEY, remove it from the same environment where you launch Claude Code:
unset ANTHROPIC_API_KEYThe note in the documentation is worth following literally: unset the variable rather than replacing it with an empty string, then restart Claude Code. If you are using the VS Code extension against the same project, fully reload the VS Code window too.
Start a session and verify the route
Move into a project and start an interactive Claude Code session:
cd /path/to/your/project
claude
From there, you can ask the agent to inspect the repository:
Explain the directory structure of this projectFor one-off tasks, pass the prompt directly:
claude "Help me check the recent git diff for possible bugs"Or print the result and exit with -p:
claude -p "Summarize the purpose of README.md"To confirm the CLI is using the intended base URL, enter /status inside Claude Code:
/statusYou should see values similar to:
Auth token: ANTHROPIC_AUTH_TOKEN
Anthropic base URL: https://api.acedata.cloud
If the base URL is not https://api.acedata.cloud, the current terminal did not load the expected configuration. Recheck the shell profile or project settings file, then restart the terminal session.
A small operational checklist
- Use shell-level configuration when you want a default for all projects.
- Use
.claude/settings.local.jsonwhen the setting should stay local to one repository. - Never commit real API tokens into shared repo files.
- Run
/logoutinside Claude Code if an old official Anthropic login is cached locally and you want a clean switch. - Use
/statusbefore debugging higher-level model behavior; first verify the request route.
That is the whole setup: install the CLI, set the base URL and auth token, keep credentials local, and verify the route before doing real work. For the full source documentation, see the Claude Code Terminal Setup Guide.


Comments
Post a Comment