How to Run Claude Code CLI Through Ace Data Cloud in Your Terminal
If you already live in the terminal, the most useful coding assistant is often the one that can inspect the project you are standing in, explain a failure, and help you make a small change without forcing you into a separate UI.
What you can do
The Claude Code CLI lets you run claude from a project directory and ask it to read code, modify files, run commands, explain errors, and help with development tasks. Ace Data Cloud fits into that workflow by letting Claude Code send its Anthropic-compatible requests to https://api.acedata.cloud instead of the default Anthropic service.
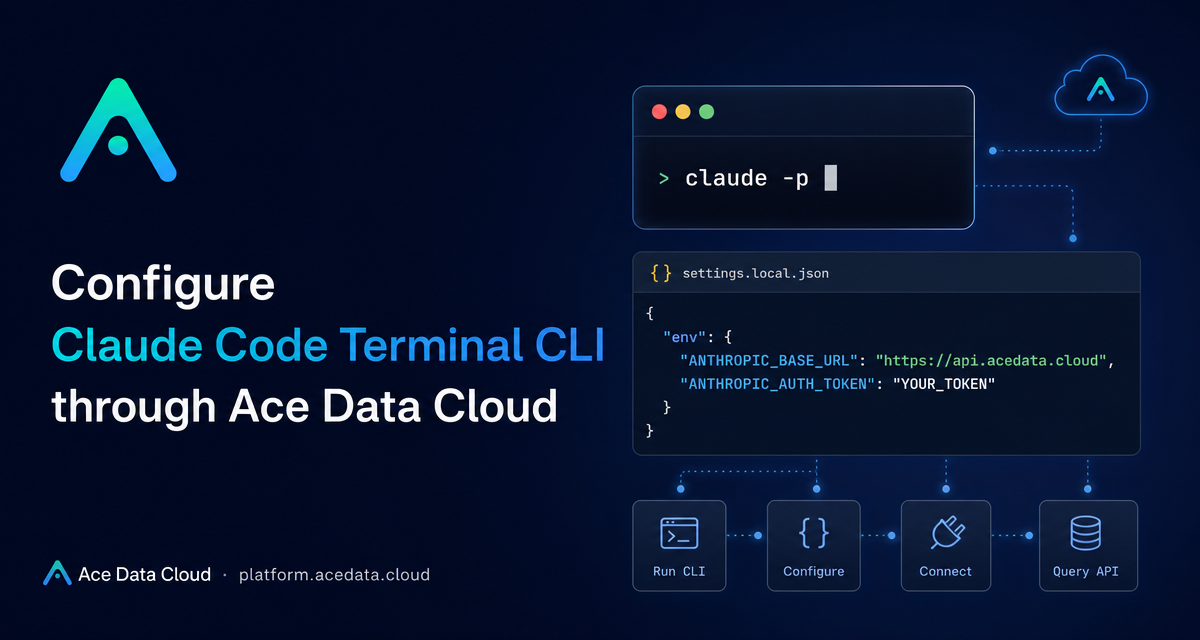
In practice, this means you keep the native Claude Code terminal experience while changing only the authentication token and base URL used underneath. The same setup can be applied globally through your shell profile, or locally per project through .claude/settings.local.json.
How it works
Claude Code reads its connection settings from environment variables or from a project-level settings file. When ANTHROPIC_BASE_URL is set to https://api.acedata.cloud, Claude Code sends requests directly to Ace Data Cloud. Ace Data Cloud then verifies your API token, checks quota, forwards the request through an available Claude Code service channel, and records usage after the request completes.
The important detail for builders is that there is no local proxy program or extra plugin in this documented path. You still start sessions with the normal claude command.
Install Claude Code
Claude Code supports macOS, Linux, Windows, and WSL. The documented native installation method installs the claude command and handles later updates.
On macOS, Linux, or WSL:
curl -fsSL https://claude.ai/install.sh | bashOn Windows PowerShell:
irm https://claude.ai/install.ps1 | iexOn Windows CMD:
curl -fsSL https://claude.ai/install.cmd -o install.cmd && install.cmd && del install.cmdIf you prefer npm and already have Node.js 18 or higher, you can install the package globally:
npm install -g @anthropic-ai/claude-codeAfter installation, reopen your terminal and verify the command:
claude --versionIf the shell says command not found, the usual cause is that the current terminal has not loaded the updated PATH. Close and reopen the terminal, or check the path notes printed by the installer.
Configure it globally with shell environment variables
Use this approach when you want all local projects to use Ace Data Cloud by default. Add the documented variables to a shell configuration file such as ~/.zshrc, ~/.bashrc, or ~/.bash_profile:
export ACEDATACLOUD_API_TOKEN="{token}"
export ANTHROPIC_BASE_URL="https://api.acedata.cloud"
export ANTHROPIC_AUTH_TOKEN="$ACEDATACLOUD_API_TOKEN"
Replace {token} with the API token from your Ace Data Cloud console. Then reload the shell configuration, for example:
source ~/.zshrcThis is the simplest setup for a personal machine where you expect every claude session to use the same provider configuration.
Configure it per project
For teams, experiments, or mixed environments, a project-local configuration is often safer. In the project root, create .claude/settings.local.json:
{
  "env": {
    "ANTHROPIC_AUTH_TOKEN": "{token}",
    "ANTHROPIC_BASE_URL": "https://api.acedata.cloud"
  }
}
The documentation specifically warns not to put a real token in team-shared .claude/settings.json. Personal credentials should live in the ignored .claude/settings.local.json file or in local environment variables. It is also a good idea to add this file to .gitignore.
If an older ANTHROPIC_API_KEY is still set in the same shell or system environment where you start Claude Code or VS Code, unset it instead of writing an empty string:
unset ANTHROPIC_API_KEYAfter cleaning or changing configuration, restart Claude Code. If you use the VS Code extension in the same project, reload the VS Code window as well, because the extension also reads the project-level configuration.
Start a session and verify the connection
Move into a project directory and start an interactive session:
cd /path/to/your/project
claude
Then ask a practical first question:
Explain the directory structure of this projectFor one-off tasks, pass the prompt directly:
claude "Help me check the recent git diff for possible bugs"If you want Claude Code to print a result and exit, use -p:
claude -p "Summarize the purpose of README.md"Inside Claude Code, run /status to verify the active configuration:
/statusThe expected status should show Auth token: ANTHROPIC_AUTH_TOKEN and Anthropic base URL: https://api.acedata.cloud. If the base URL is different, the current terminal has not loaded the intended configuration.
Optional: choose default models
Claude Code can choose model levels based on task type, but the guide also documents environment variables for setting default model names:
export ANTHROPIC_DEFAULT_OPUS_MODEL="claude-opus-4-8"
export ANTHROPIC_DEFAULT_SONNET_MODEL="claude-sonnet-4-6"
export ANTHROPIC_DEFAULT_HAIKU_MODEL="claude-haiku-4-5-20251001"
export CLAUDE_CODE_SUBAGENT_MODEL="claude-sonnet-4-6"
Use ANTHROPIC_DEFAULT_OPUS_MODEL for complex reasoning and planning tasks, ANTHROPIC_DEFAULT_SONNET_MODEL for everyday coding and reading code, ANTHROPIC_DEFAULT_HAIKU_MODEL for faster lightweight work, and CLAUDE_CODE_SUBAGENT_MODEL for Claude Code sub-agents. If you are unsure, skip these variables and let Claude Code use its default selection.
Wrap-up
The cleanest part of this setup is that it does not change how you use Claude Code day to day. You still run claude, ask it to inspect a repository, and use claude -p for small terminal tasks. The only operational change is where Claude Code sends Anthropic-compatible requests and which token it uses.
Read the full Ace Data Cloud setup notes here: Claude Code Terminal CLI Integration Guide.


Comments
Post a Comment