How to Generate Production-Ready Images with the OpenAI Images API
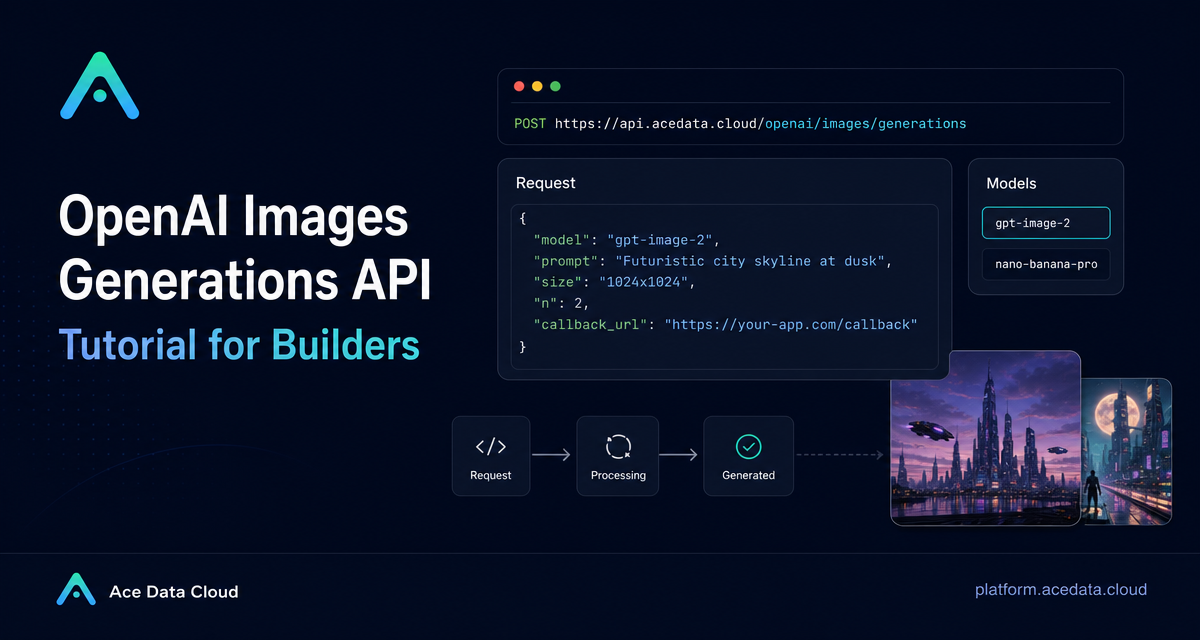
Image generation becomes much easier to ship when every model behind your product can be called through one predictable API shape. Instead of wiring separate integrations for poster generation, product mockups, social creatives, or illustration workflows, you can send a prompt, choose a model, and read back a hosted image URL.
This guide walks through the OpenAI Images Generations API on Ace Data Cloud from a builder’s point of view: what the endpoint does, how to structure requests, which parameters matter, and how to design a small workflow you can safely put behind an internal tool or customer-facing feature.
What you can do
The API supports several image generation model families through the same endpoint: dall-e-3, gpt-image-1, gpt-image-2, and the nano-banana series, including nano-banana, nano-banana-2-lite, nano-banana-2, and nano-banana-pro.
That makes it useful for product builders who need more than a demo prompt box. You can build workflows such as:
- Generating social images or blog illustrations from structured briefs.
- Creating posters, menus, cards, and infographics where English text rendering matters.
- Testing multiple aspect ratios for ads, product pages, and mobile layouts.
- Switching between model families by changing only the
modelfield.
For gpt-image-2, the returned image URL is hosted on platform.cdn.acedata.cloud and can be opened directly or embedded into a page. The response follows the familiar image-generation shape with a data array containing objects such as url and, when available, revised_prompt.
How it works
The core endpoint is:
POST https://api.acedata.cloud/openai/images/generationsRequests use JSON and a bearer token in the authorization header. At minimum, you provide a model and a prompt. For production work, you will usually also choose size, sometimes n, and, for longer jobs, callback_url.
The simplest mental model is:
- Pick the model for the job.
- Write a prompt that describes subject, style, composition, and constraints.
- Choose an output canvas with
size. - Read the generated image from
data[].url.
Choosing a model
If your workflow depends on composition accuracy, clearer text, or high-resolution canvases, start with gpt-image-2. The documentation describes it as stronger at following complex instructions, understanding counting and positional relationships, rendering English and numbers clearly, and supporting multiple aspect ratios across 1K, 2K, and 4K tiers.
You can also select line variants by changing the model name. gpt-image-2:official uses the official channel and supports true 2K / 4K resolution. gpt-image-2:reverse is equivalent to the default gpt-image-2 line. If you do not need to explicitly choose a line, gpt-image-2 is the practical default.
The nano-banana family is available through the same endpoint. This is useful when you want to test a Gemini-based image model without changing your transport layer. The important implementation detail is that Nano Banana supports only a narrower parameter set: model, prompt, size, and n. Parameters such as quality, style, response_format, background, and output_format are not supported for that family and are ignored.
Working with size and aspect ratio
For gpt-image-2, size can be auto or a string in WIDTHxHEIGHT format, such as 1024x1024, 2048x1152, or 3840x2160. Custom dimensions must be multiples of 16 on both sides, the long side must be no more than 3840, and the total pixel count must be no more than 8,294,400. Invalid formats or out-of-range values return client-side errors.
The recommended sizes cover common production ratios:
1024x1024,2048x2048, or2880x2880for square assets.1792x1024,2048x1152, or3840x2160for 16:9 covers and video thumbnails.1024x1792,1152x2048, or2160x3840for vertical mobile images.
If you pass size: "auto", the platform can infer the canvas from explicit pixels or ratios in the prompt, common naming conventions such as paper, print, ad, device, photography, or film, and finally composition inference. If you need exact constraints for a downstream layout, pass a concrete WIDTHxHEIGHT value instead.
A minimal Python request
Here is a compact request that generates a 16:9 blog header with gpt-image-2:
import requests

url = "https://api.acedata.cloud/openai/images/generations"

headers = {
    "accept": "application/json",
    "authorization": "Bearer {token}",
    "content-type": "application/json"
}

payload = {
    "model": "gpt-image-2",
    "prompt": "A clean developer-tool illustration: dark terminal window, API request card, small generated image previews, deep navy background, crisp typography, modern SaaS style.",
    "size": "1792x1024"
}

response = requests.post(url, json=payload, headers=headers)
print(response.text)
A successful response contains a data array. Each item can include the generated url and a revised_prompt:
{
  "created": 1777048800,
  "data": [
    {
      "revised_prompt": "...",
      "url": "https://platform.cdn.acedata.cloud/gpt-image/example_0.png"
    }
  ]
}
Generating more than one image
The n parameter lets supported models return multiple images in one request. For gpt-image-2, values from 1 to 10 are supported. The same is documented for gpt-image-1, gpt-image-1.5, and the nano-banana family. dall-e-3 supports only n = 1.
One caveat matters for implementation: response_format=b64_json supports only n=1. If you request multiple images, use the default URL return format and process each data[].url.
{
  "model": "gpt-image-2",
  "prompt": "Three distinct layout directions for a SaaS feature announcement card, no brand names, clean UI mockup style.",
  "size": "1024x1024",
  "n": 3
}
Using asynchronous callbacks
For larger or slower generations, especially 4K work, avoid holding a client connection open. The documentation notes that a 4K call can take several minutes and recommends using callback_url for asynchronous handling. In practice, this means your app can submit the generation job, return control to the user, and let a webhook endpoint receive the result when the image is ready.
{
  "model": "gpt-image-2",
  "prompt": "A high-resolution product hero image for a developer dashboard, deep navy, clean charts, realistic desktop monitor.",
  "size": "3840x2160",
  "callback_url": "https://example.com/webhooks/image-ready"
}
Keep the webhook small: validate the request, persist the response payload, and let your application fetch or display the returned image URL from storage.
Where this fits in a builder workflow
The most useful pattern is to treat image generation as a deterministic service boundary. Your product collects a brief, normalizes it into a prompt, chooses model and size based on the target surface, and stores the returned data[].url. If a user asks for alternatives, increase n where the chosen model supports it. If the target is 4K, use callback_url.
That keeps the integration simple while still giving you room to experiment with gpt-image-2 for instruction-heavy assets and nano-banana-pro for a different model family behind the same API shape.
Read the full reference in the OpenAI Images Generations API integration guide.


Comments
Post a Comment