How to Generate and Edit Images from Claude Code with NanoBanana MCP
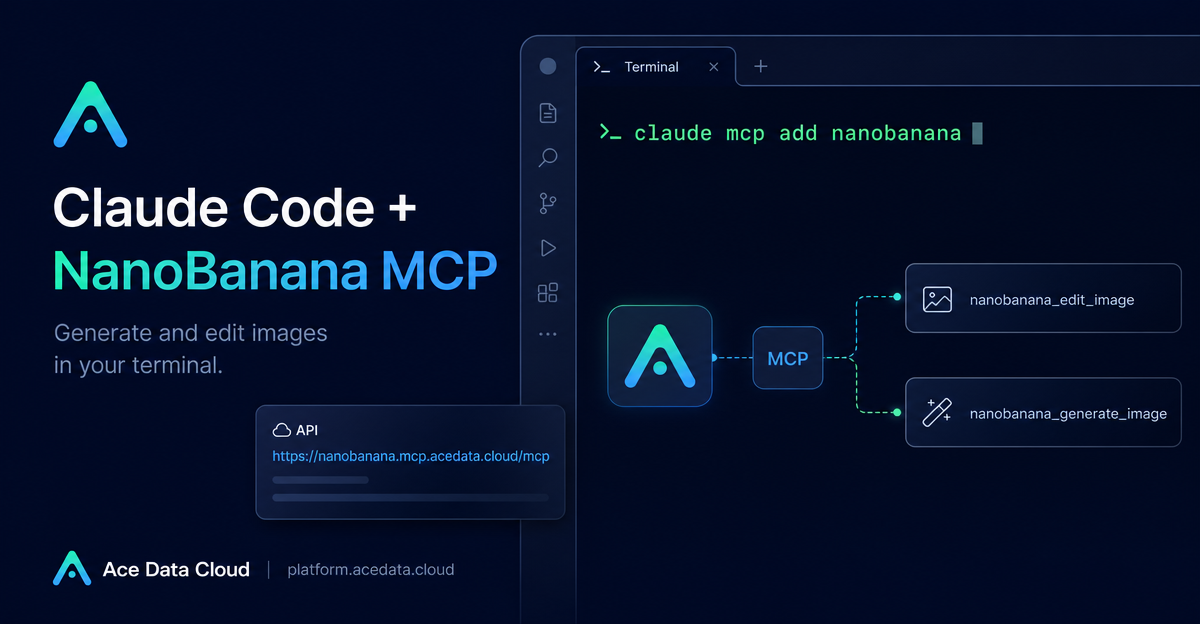
When you are building a product, documentation site, demo page, or internal tool, image work often breaks your flow: you leave the terminal, open a separate image app, upload assets, write a prompt, download the result, and then come back to your repo. NanoBanana MCP gives Claude Code a more direct path: generate or edit images from the same terminal session where you are already writing code.
What you can do
The source guide describes a Claude Code integration for NanoBanana MCP, backed by Google Gemini’s image-understanding capabilities. In practical terms, this is useful when the task is not only “make an image,” but “understand these images and transform them.” The documented examples include:
- Composing multiple images, such as placing an object from one image into the scene of another.
- Editing an existing image to remove unwanted text or a watermark and fill the background.
- Generating a new illustration from text, such as a small dinosaur for a 404 page.
The MCP server exposes two tools in Claude Code: nanobanana_generate_image for text-to-image generation, and nanobanana_edit_image for image editing with support for multi-image input.
How it works
Claude Code can connect to external tools through MCP. For NanoBanana, the documented HTTP MCP endpoint is:
https://nanobanana.mcp.acedata.cloud/mcpOnce connected, you do not call a REST image endpoint by hand inside your app. Instead, you ask Claude Code for the image operation in natural language, and Claude Code invokes the MCP tool. That makes the workflow especially comfortable for builders who are already using Claude Code to inspect files, update UI copy, or prepare assets in a project directory.
Configure NanoBanana MCP in Claude Code
First, create or copy an Ace Data Cloud API token from the platform. Then add the MCP server to Claude Code with the command shown in the document:
claude mcp add nanobanana --transport http https://nanobanana.mcp.acedata.cloud/mcp -H "Authorization: Bearer YOUR_TOKEN"Two details are worth calling out. The header flag must be uppercase -H; lowercase -h means help, not an HTTP header. Also, if you do not pass a scope with -s, Claude Code uses the default local scope, which applies only in the directory where the command is run.
Choose the right scope for your project
The guide documents three scopes. Use local when you only want the server available in the current project directory. Use user when you want it available across all projects. Use project when the configuration should live in the project root as .mcp.json and be shared with a team.
# Current project directory only
claude mcp add nanobanana -s local --transport http https://nanobanana.mcp.acedata.cloud/mcp   -H "Authorization: Bearer YOUR_TOKEN"

# Available across all projects for your user
claude mcp add nanobanana -s user --transport http https://nanobanana.mcp.acedata.cloud/mcp   -H "Authorization: Bearer YOUR_TOKEN"

# Project config in .mcp.json
claude mcp add nanobanana -s project --transport http https://nanobanana.mcp.acedata.cloud/mcp   -H "Authorization: Bearer YOUR_TOKEN"
If you choose the project scope, avoid committing real tokens to a public repository. The source guide recommends using ${ENV_VAR} placeholders plus environment variables instead.
Verify the connection before asking for assets
After adding the server, run:
claude mcp listYou should see nanobanana marked as ✓ Connected. This quick check saves time: if the server is not connected, your next image prompt will fail for configuration reasons rather than creative reasons.
Use it like a builder, not like a prompt gallery
The best use cases are tied to concrete work in your repository. For example, if you are building a landing page and already have product screenshots, ask Claude Code to create a hero illustration that uses those screenshots as references. If you are preparing documentation, ask for a consistent illustration that matches the section’s purpose. If an exported image has unwanted text, ask Claude Code to edit the image and fill the background naturally.
For a multi-image composition task, the natural-language request can be as specific as:
Put the phone from the first image onto the desk in the second image,
adjusting angle and lighting to make it look natural.
For cleanup, the documented style of request is:
Edit this image to remove the text watermark in the bottom right corner,
filling the background.
And for a small UI illustration:
Generate an illustration of a small dinosaur crouching next to a crack
in the ground looking down, for use on a 404 page.
A practical workflow for product assets
- Keep source images in your project, or prepare stable image URLs if the tool needs URL input.
- Connect NanoBanana MCP with the appropriate Claude Code scope.
- Run
claude mcp listand confirmnanobananais connected. - Ask for one asset at a time: hero image, empty state, 404 illustration, documentation graphic, or screenshot cleanup.
- Review the output before committing it, just as you would review generated code.
This keeps image generation close to the actual implementation work. The product naturally appears as a tool in your developer loop, not as a separate creative platform you have to context-switch into.
If you want the original setup reference, read the Ace Data Cloud documentation for Claude Code integration with NanoBanana MCP.


Comments
Post a Comment