How to Edit Images from Cursor with NanoBanana MCP
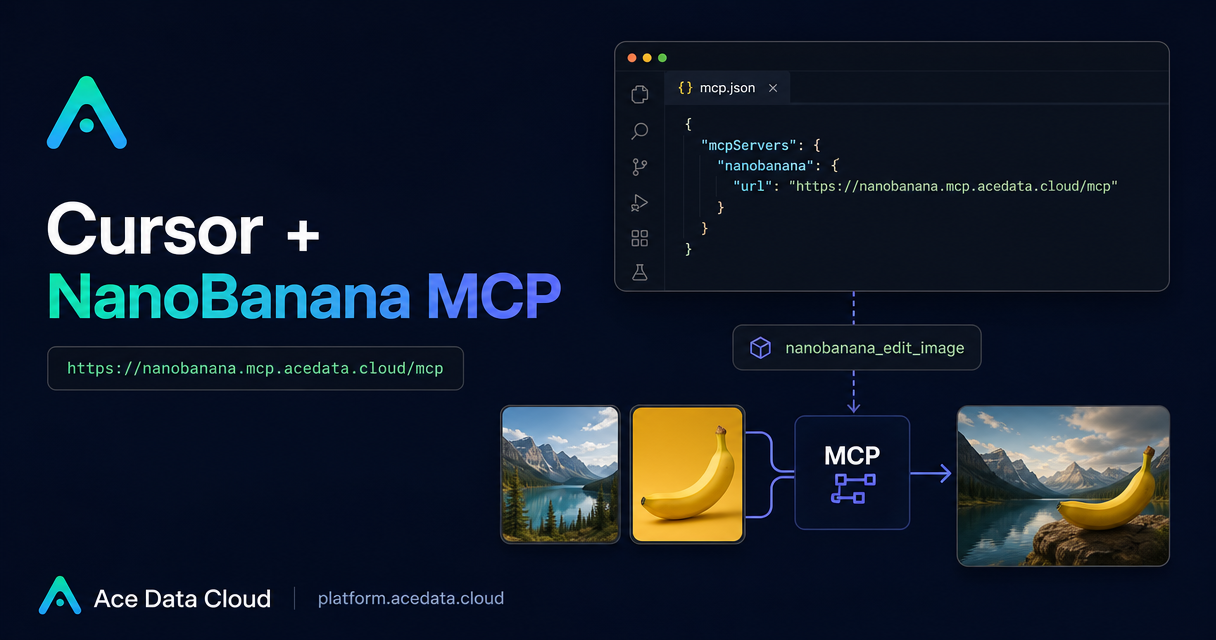
When a product screenshot, terminal capture, or landing-page mockup is almost right but still needs visual polish, switching from your editor to a separate image tool breaks the flow. NanoBanana MCP gives Cursor a direct path to image generation and image editing, so you can describe the change you want in Agent mode and keep the work inside your project context.
What you can do
The source documentation describes NanoBanana as an image tool focused not only on creating new images, but also on modifying existing ones. It uses Google Gemini at its core to understand image content and apply precise edits. In practical terms, that makes it useful for tasks such as:
- Beautifying an ordinary terminal screenshot with rounded corners, window decoration, shadow, and a cleaner background.
- Combining multiple images, such as placing a product from one image onto the background of another image.
- Redrawing one image in the style of another.
- Generating lightweight illustrations, such as a small dinosaur illustration for a 404 page.
The documented MCP tools are nanobanana_generate_image for text-to-image generation and nanobanana_edit_image for image editing. The editing tool supports multiple image inputs, which is the important detail for product mockups and visual composition workflows.
How it works
Cursor can talk to external tools through MCP. For NanoBanana, the MCP server is exposed as an HTTP endpoint:
https://nanobanana.mcp.acedata.cloud/mcpYou configure the server once in your project, attach your Ace Data Cloud API token as a bearer token, restart Cursor, and then use the tools from Cursor Agent mode. There is no separate SDK shown in the source document for this flow; the integration is done through Cursor's MCP configuration file.
Configure Cursor
Create a file named .cursor/mcp.json in the root of your project. The documented configuration uses an MCP server named nanobanana, an HTTP transport, the NanoBanana MCP URL, and an Authorization header:
{
  "mcpServers": {
    "nanobanana": {
      "type": "http",
      "url": "https://nanobanana.mcp.acedata.cloud/mcp",
      "headers": {
        "Authorization": "Bearer yourToken"
      }
    }
  }
}
Replace yourToken with your API token from Ace Data Cloud. After saving the file, restart Cursor. The source document notes that NanoBanana image generation and editing features become available in Agent mode after the restart.
Use case: make a screenshot blog-ready
A common builder problem is that a screenshot is technically correct but visually too plain for documentation. For example, you may have a terminal capture that needs a cleaner presentation before it goes into a blog post or README.
In Cursor Agent mode, attach or reference the image you want to edit and ask for a focused transformation:
Edit this image, add a rounded corner shadow window decoration, and change the background to a light gray gradient.This is a good first test because it does not require complicated composition. You can validate that Cursor sees the MCP tool, that the server is reachable, and that your token is accepted.
Use case: compose product and scene images
The more interesting workflow is multi-image editing. The documentation gives a practical example: use one image as the product source and another image as the scene, then ask NanoBanana to place the product naturally into that environment.
Place the phone from the first image onto the desktop in the second image, adjusting the size and perspective to make it look natural.This is where nanobanana_edit_image matters. Because it supports multiple image URLs, the model can reason about relationships between images rather than treating each image as an isolated asset. For product teams, that can turn a plain product render and a separate workspace photo into a fast concept mockup.
Use case: generate small interface illustrations
The same MCP setup can also be used for text-to-image generation through nanobanana_generate_image. The source document gives a 404-page example:
Generate an illustration of a small dinosaur lying next to a crack in the broken ground looking down, to be used for a 404 page.For builders, this is useful when you need lightweight placeholder art, empty-state illustrations, or a quick visual direction before asking a designer for a polished final asset.
A simple checklist before you debug
- Confirm the file path is exactly
.cursor/mcp.jsonin the project root. - Confirm the server key is under
mcpServers. - Confirm
typeishttp. - Confirm
urlishttps://nanobanana.mcp.acedata.cloud/mcp. - Confirm the
Authorizationheader usesBearer yourTokenformat. - Restart Cursor after saving the configuration.
- Use Cursor Agent mode when asking for image generation or editing.
Other editor notes
The same document also mentions related editor configurations. VS Code uses .vscode/mcp.json with the same configuration under servers. Claude Desktop uses the mcpServers format in its desktop config file. If your daily workflow is Cursor, though, start with the project-local Cursor file first; it keeps the setup close to the repository where the visual assets live.
Wrap-up
NanoBanana MCP is most useful when image work is part of a development workflow rather than a separate creative session: polishing screenshots, composing product mockups, and generating small UI illustrations. Configure the MCP endpoint once, restart Cursor, and then keep your prompts specific: name the source image, name the target scene or style, and describe the exact visual change you want.
Read the original Ace Data Cloud documentation here: Cursor Integration with NanoBanana MCP.


Comments
Post a Comment