How to Build a Reliable Image Editing Pipeline with GPT Image 2
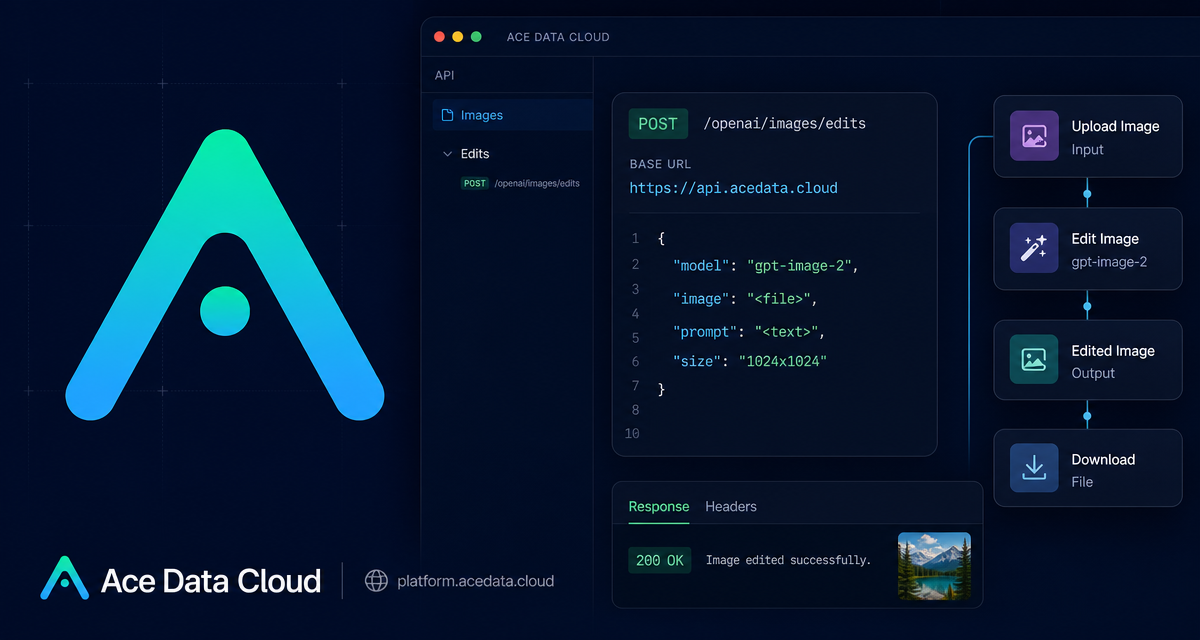
Image editing sounds simple until you need it in a production workflow: keep a poster layout intact, restyle a product shot, accept image URLs from storage, and avoid brittle one-off scripts. The OpenAI Images Edits API on Ace Data Cloud gives builders one endpoint for prompt-driven edits while keeping the request shape close to familiar OpenAI image workflows.
What you can do
The practical use case is controlled transformation of existing assets. With gpt-image-2, the documented editing flow supports direct image URLs, base64 image input, up to 16 reference images, and explicit output sizes such as 1024x1024, 1024x1536, or 2048x2048.
How it works
The main endpoint used in the guide is POST https://api.acedata.cloud/openai/images/edits. For the JSON + URL path, send Content-Type: application/json and include at least model, image, and prompt. The size field is optional but important when you want an explicit output shape instead of preserving the reference aspect ratio.
Start with JSON + image URL
The cleanest server-side integration is to keep your source image in object storage or a CDN and pass the URL directly.
How it works
The main endpoint used in the guide is POST https://api.acedata.cloud/openai/images/edits. For the JSON + URL path, send Content-Type: application/json and include at least model, image, and prompt. The size field is optional but important when you want an explicit output shape instead of preserving the reference aspect ratio.
Start with JSON + image URL
The cleanest server-side integration is to keep your source image in object storage or a CDN and pass the URL directly.
curl -X POST "https://api.acedata.cloud/openai/images/edits" \
  -H "Authorization: Bearer {token}" \
  -H "Content-Type: application/json" \
  -d '{
    "model": "gpt-image-2",
    "image": "https://platform.cdn.acedata.cloud/gpt-image/5c9fa635-8794-4c6d-88f8-584d7f4716c6_0.png",
    "prompt": "Convert this infographic to dark mode: dark navy background, light cream text, deep gray rounded module cards with soft shadows. Keep all layout, structure, and module arrangement identical — only invert the color scheme.",
    "size": "1024x1536"
  }'
curl -X POST "https://api.acedata.cloud/openai/images/edits" \
-H "Authorization: Bearer {token}" \
-H "Content-Type: application/json" \
-d '{
"model": "gpt-image-2",
"image": "https://platform.cdn.acedata.cloud/gpt-image/5c9fa635-8794-4c6d-88f8-584d7f4716c6_0.png",
"prompt": "Convert this infographic to dark mode: dark navy background, light cream text, deep gray rounded module cards with soft shadows. Keep all layout, structure, and module arrangement identical — only invert the color scheme.",
"size": "1024x1536"
}'Use Python when you need orchestration
import requests

url = "https://api.acedata.cloud/openai/images/edits"
headers = {
    "accept": "application/json",
    "authorization": "Bearer {token}",
    "content-type": "application/json"
}
payload = {
    "model": "gpt-image-2",
    "image": "https://platform.cdn.acedata.cloud/gpt-image/5c9fa635-8794-4c6d-88f8-584d7f4716c6_0.png",
    "prompt": "Convert this infographic to dark mode: dark navy background, light cream text, deep gray rounded module cards with soft shadows. Keep all layout, structure, and module arrangement identical — only invert the color scheme.",
    "size": "1024x1536"
}
response = requests.post(url, json=payload, headers=headers)
print(response.text)
A typical successful response contains success, task_id, trace_id, created, data, and elapsed. Store the request payload, the returned task_id, and the resulting data[0].url so you can trace which prompt produced which asset.
Use Python when you need orchestration
import requests

url = "https://api.acedata.cloud/openai/images/edits"
headers = {
    "accept": "application/json",
    "authorization": "Bearer {token}",
    "content-type": "application/json"
}
payload = {
    "model": "gpt-image-2",
    "image": "https://platform.cdn.acedata.cloud/gpt-image/5c9fa635-8794-4c6d-88f8-584d7f4716c6_0.png",
    "prompt": "Convert this infographic to dark mode: dark navy background, light cream text, deep gray rounded module cards with soft shadows. Keep all layout, structure, and module arrangement identical — only invert the color scheme.",
    "size": "1024x1536"
}
response = requests.post(url, json=payload, headers=headers)
print(response.text)
A typical successful response contains success, task_id, trace_id, created, data, and elapsed. Store the request payload, the returned task_id, and the resulting data[0].url so you can trace which prompt produced which asset.
Choose the right input shape
The image field is flexible. If your source image is local and you do not want to upload it to a public image host first, encode it as base64. The documented field accepts either data:image/png;base64,... or raw base64.
For composition tasks, pass multiple image URLs as an array. The GPT Image series models support up to 16 reference images.
payload = {
    "model": "gpt-image-2",
    "image": ["https://example.com/item1.png", "https://example.com/item2.png", "https://example.com/item3.png"],
    "prompt": "Combine all the items above into a single 'Relax & Unwind' gift basket on a clean white background, photorealistic, soft natural lighting.",
    "size": "1024x1024"
}
Choose the right input shape
The image field is flexible. If your source image is local and you do not want to upload it to a public image host first, encode it as base64. The documented field accepts either data:image/png;base64,... or raw base64.
For composition tasks, pass multiple image URLs as an array. The GPT Image series models support up to 16 reference images.
payload = {
    "model": "gpt-image-2",
    "image": ["https://example.com/item1.png", "https://example.com/item2.png", "https://example.com/item3.png"],
    "prompt": "Combine all the items above into a single 'Relax & Unwind' gift basket on a clean white background, photorealistic, soft natural lighting.",
    "size": "1024x1024"
}
Size and model selection
For gpt-image-2, the documented size validation accepts auto, an empty value, or a WIDTHxHEIGHT string. Custom dimensions must use width and height multiples of 16, with the long side no larger than 3840 and total pixels no larger than 8,294,400. If you omit size or pass auto, the output keeps the aspect ratio of the reference image.
The same interface also documents Nano Banana editing models. The important difference is parameter support: Nano Banana’s OpenAI-compatible adaptation supports only model, prompt, image, and n. Parameters such as mask, size, and response_format are ignored for those models.
Builder notes
- Write prompts that separate the change from what must stay unchanged: change the background, but keep layout and text unchanged.
- Use explicit
sizeonly when you want to change or lock output dimensions. - Keep
task_idand outputurlin your own database for observability. - Use Nano Banana only with its documented parameters; do not rely on ignored fields.
You can read the full integration guide here: OpenAI Images Edits API Integration Guide.
Size and model selection
For gpt-image-2, the documented size validation accepts auto, an empty value, or a WIDTHxHEIGHT string. Custom dimensions must use width and height multiples of 16, with the long side no larger than 3840 and total pixels no larger than 8,294,400. If you omit size or pass auto, the output keeps the aspect ratio of the reference image.
The same interface also documents Nano Banana editing models. The important difference is parameter support: Nano Banana’s OpenAI-compatible adaptation supports only model, prompt, image, and n. Parameters such as mask, size, and response_format are ignored for those models.
Builder notes
- Write prompts that separate the change from what must stay unchanged: change the background, but keep layout and text unchanged.
- Use explicit
sizeonly when you want to change or lock output dimensions. - Keep
task_idand outputurlin your own database for observability. - Use Nano Banana only with its documented parameters; do not rely on ignored fields.
You can read the full integration guide here: OpenAI Images Edits API Integration Guide.


Comments
Post a Comment