How to Build an Image Generation and Editing Workflow with the Nano Banana Images API
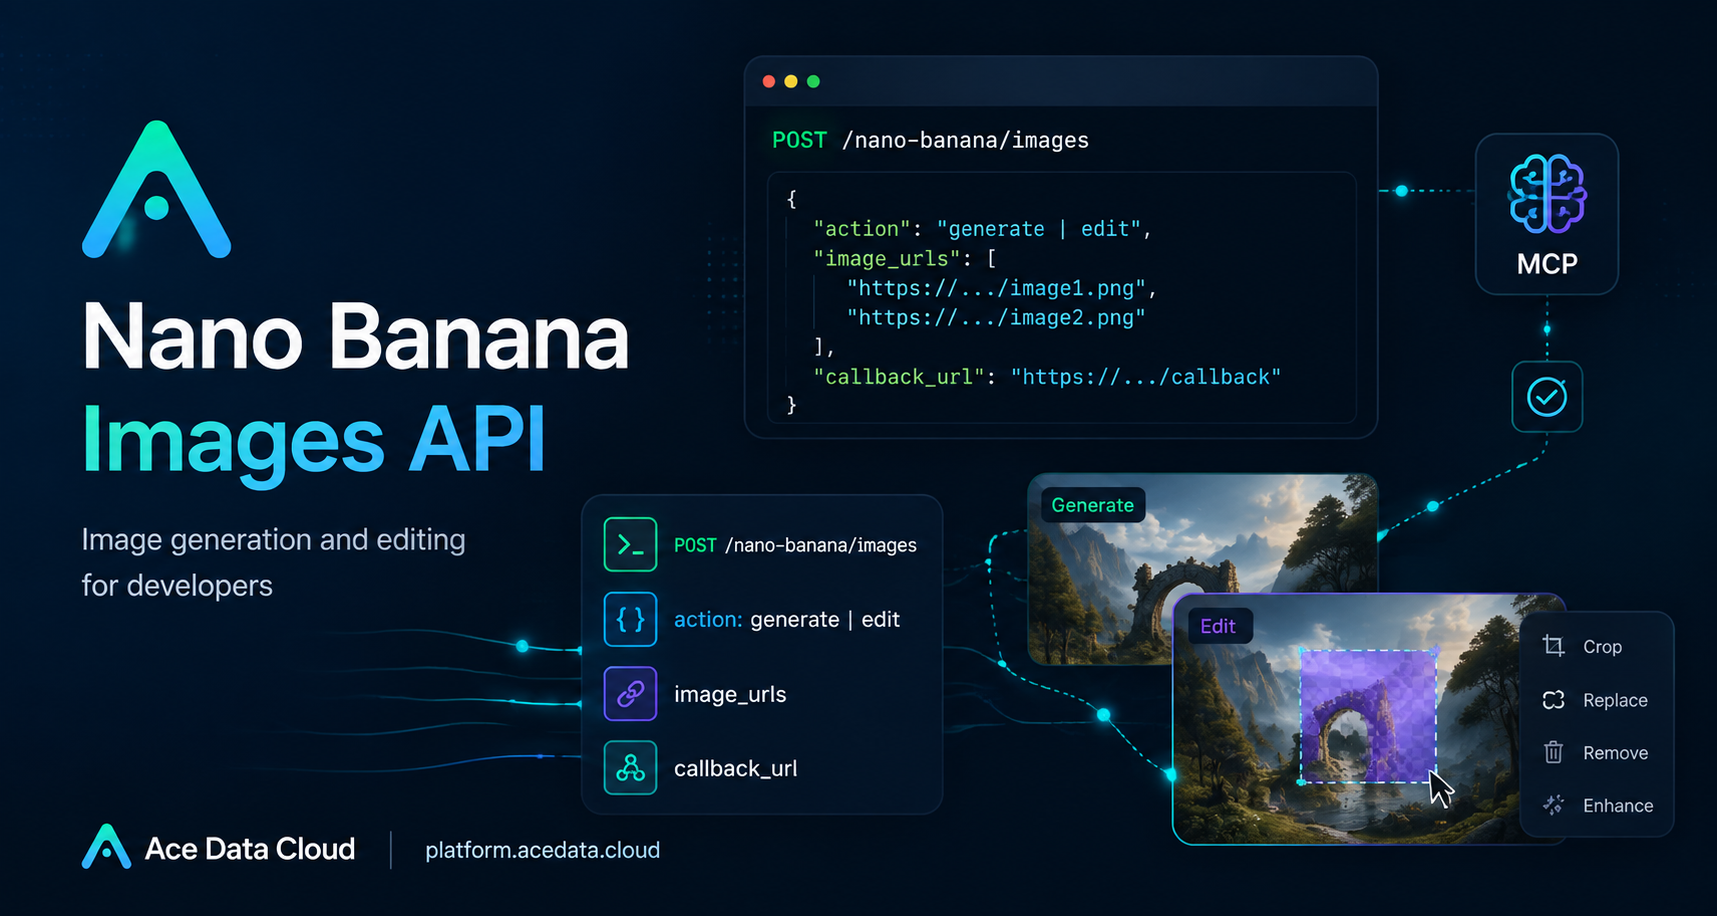
Most image features start simple: send a prompt, get a picture back. The complexity arrives when you need the same endpoint to support both first-time generation and edits based on one or more reference images. The Nano Banana Images API gives you that shape in a compact interface: one endpoint, two actions, and a response that is easy to track in a product workflow.
What you can do
The API described in the Ace Data Cloud documentation supports two core operations through POST /nano-banana/images:
action: "generate"creates images from a textprompt.action: "edit"edits or combines existing images usingimage_urlsplus a textprompt.countrequests 1–4 images and defaults to 1.callback_urlcan be used when you prefer asynchronous completion through a webhook.
This makes the API useful for builder-facing tasks such as product mockups, avatar variations, creative asset workflows, visual A/B test candidates, and reference-image edits where your application needs to preserve context while changing a specific visual attribute.
How it works
The base URL is https://api.acedata.cloud. Requests are sent to POST /nano-banana/images with JSON headers and bearer-token authentication:
authorization: Bearer {token}accept: application/jsoncontent-type: application/json
The minimum required fields for generation are action and prompt. For editing, the request also needs image_urls, an array with at least one image. The documentation states that image URLs can be HTTP or HTTPS links that are publicly accessible, and it also supports Base64 encoded images such as data:image/png;base64,....
Choose the model intentionally
The model field is optional. If omitted, it defaults to nano-banana. The documented model choices are:
nano-banana: based on Gemini 2.5 Flash Image.nano-banana-2-lite: based on Gemini 3.1 Flash Lite Image and supports only1K.nano-banana-2: based on Gemini 3.1 Flash Image Preview.nano-banana-pro: based on Gemini 3 Pro Image Preview.- Official-channel variants such as
nano-banana-pro:officialare also documented.
For a production UI, I would usually expose only a small subset of these choices. For example, use the default for fast drafts, nano-banana-pro for final-quality assets, and nano-banana-2-lite only when 1K output is acceptable.
Generate an image from a prompt
Here is a minimal cURL example for a synchronous generation request:
curl -X POST 'https://api.acedata.cloud/nano-banana/images'   -H 'authorization: Bearer {token}'   -H 'accept: application/json'   -H 'content-type: application/json'   -d '{
    "action": "generate",
    "model": "nano-banana-pro",
    "prompt": "A clean product mockup of a weather app dashboard on a tablet, soft studio lighting, modern SaaS style",
    "count": 1
  }'
A successful response includes success, task_id, trace_id, and a data array. Each item in data contains the echoed prompt and an image_url for the generated image.
{
  "success": true,
  "task_id": "70e6931b-6e34-43db-9e36-8765e2809d04",
  "trace_id": "60df8d38-f265-4986-aec7-75c9220bced2",
  "data": [
    {
      "prompt": "A clean product mockup of a weather app dashboard on a tablet, soft studio lighting, modern SaaS style",
      "image_url": "https://platform2.cdn.acedata.cloud/nanobanana/1d0160b4-93f9-4229-8926-ea9ef0bed336.png"
    }
  ]
}
Edit with reference images
Editing uses the same endpoint, but sets action to edit and adds image_urls. The documented example uses two images: a person and a T-shirt. In your own app, the same pattern can support workflows like applying a brand texture to a product shot, combining reference images, or changing the style of an existing asset.
import requests

url = "https://api.acedata.cloud/nano-banana/images"
headers = {
    "authorization": "Bearer {token}",
    "accept": "application/json",
    "content-type": "application/json",
}
payload = {
    "action": "edit",
    "prompt": "let this man wear on this T-shirt",
    "image_urls": [
        "https://cdn.acedata.cloud/v8073y.png",
        "https://cdn.acedata.cloud/44xlah.png"
    ],
    "count": 1
}

resp = requests.post(url, json=payload, headers=headers)
print(resp.json())
The result follows the same shape as generation: success, task_id, trace_id, and data[].image_url. Keep both task_id and trace_id in your logs. They are useful for associating a user action with the resulting image and for troubleshooting failed requests.
Use callbacks when the UI should not wait
Image generation and editing can take time. If your application should not hold an open connection, add callback_url to the request body. The API returns immediately with a task_id or basic result, then sends the complete JSON payload to your publicly accessible webhook by POST when the task finishes.
{
  "action": "generate",
  "prompt": "a white siamese cat",
  "count": 1,
  "callback_url": "https://example.com/webhooks/nano-banana"
}
In a real product, the simplest implementation is to create a local database row before calling the API, store task_id when it returns, and update the row when the callback arrives with data[].image_url. If an error response comes back, expect success: false, an error.code, an error.message, and a trace_id. The documented error codes include token_mismatched, api_not_implemented, invalid_token, too_many_requests, and api_error.
A practical implementation checklist
- Validate that
countstays between 1 and 4. - Require
image_urlsonly whenactionisedit. - Prefer HTTPS and publicly accessible files for image references.
- Store
task_idandtrace_idfor support and retry analysis. - Remember that if some requested images fail, the response returns only successful images in
data.
The nice part of this API is that it does not force separate mental models for generation and editing. You can build one job abstraction in your app, switch behavior with action, and handle results through the same response shape. For the full reference, see the Nano Banana Images API Integration Guide.


Comments
Post a Comment