How to Build an Image Editing Workflow with the Nano Banana Images API
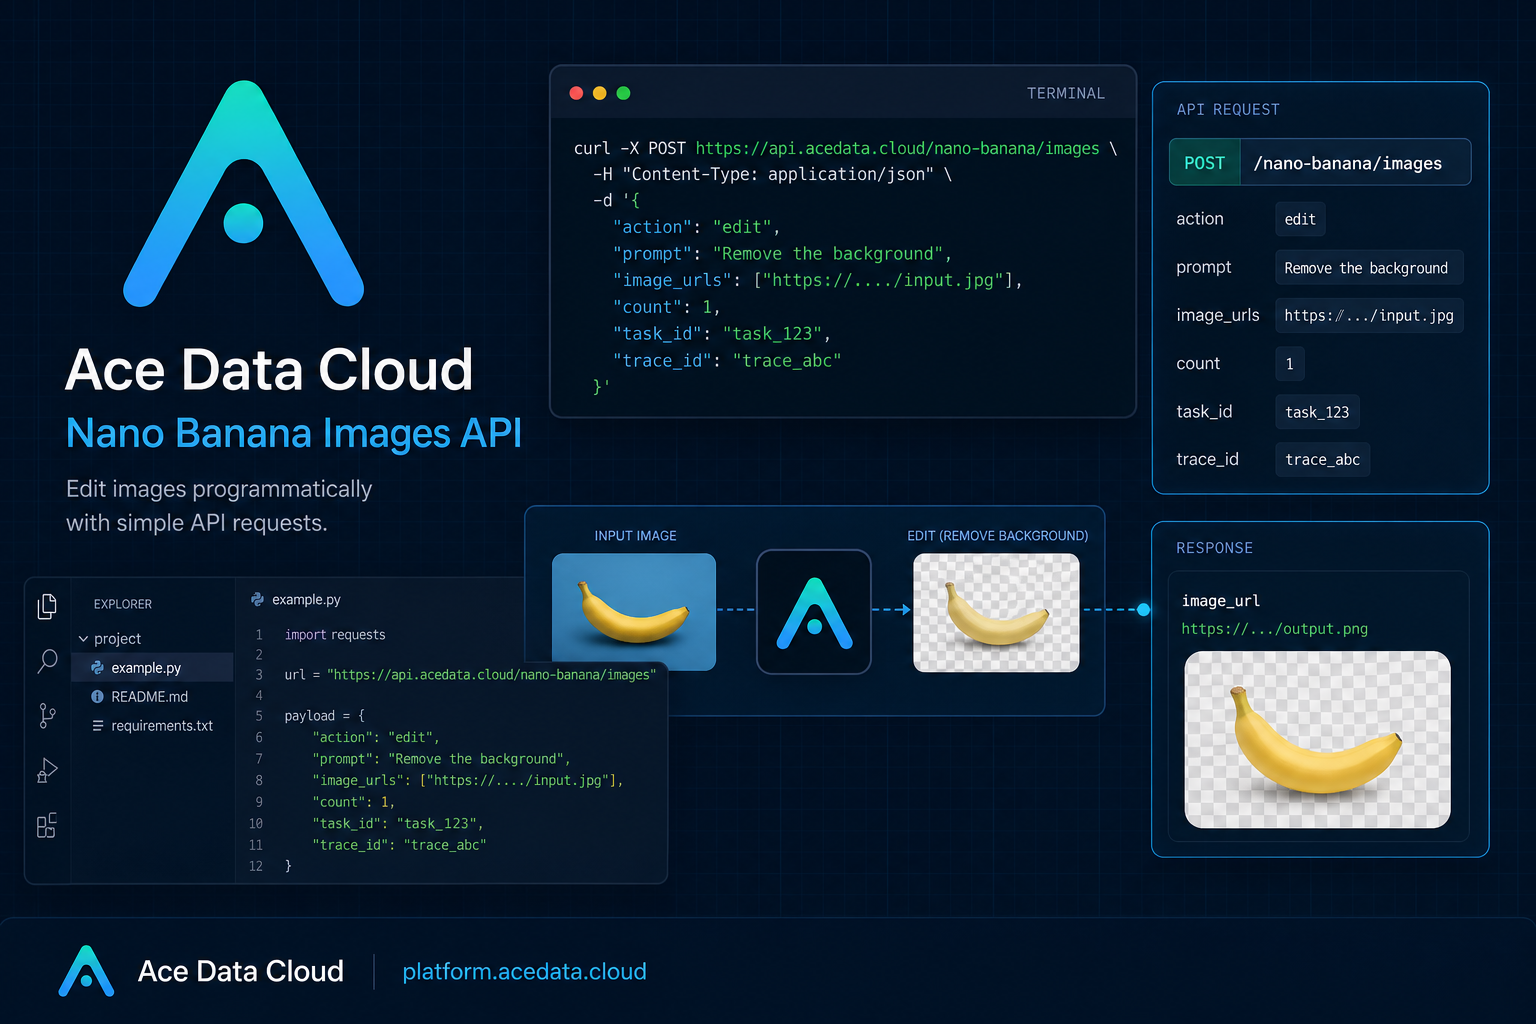
Building image features often starts simple: send a prompt, get a picture back. The hard part comes when you need a repeatable workflow that can generate from text, edit existing assets, track results, and recover cleanly when a request fails. The Nano Banana Images API gives you one endpoint for both image generation and image editing, which makes it a useful building block for product mockups, creative tooling, content pipelines, and internal design automation.
What you can do
The API exposes a single image endpoint, POST /nano-banana/images, under the base URL https://api.acedata.cloud. You choose the behavior with the action field:
generate: create images from a textprompt.edit: edit one or more source images usingimage_urlsplus a textprompt.
The same request shape also lets you select a model, request multiple outputs with count, and optionally provide a callback_url for asynchronous result delivery. The documented output includes success, task_id, trace_id, and a data array containing each result's prompt and image_url.
How it works
Every request is sent as JSON and authenticated with an HTTP header:
authorization: Bearer {token}
accept: application/json
content-type: application/json
For basic text-to-image generation, the minimum required parameters are action and prompt. For image editing, the same two fields are still required, and you also pass image_urls, an array containing at least one image. The image URLs can be publicly accessible HTTP or HTTPS links, and the documentation also shows Base64 data URLs as an option.
The API supports several optional models: nano-banana as the default, nano-banana-2-lite, nano-banana-2, nano-banana-pro, and corresponding :official variants. If you care about output size, the documented optional fields include aspect_ratio, such as 1:1 or 16:9, and resolution, such as 1K, 2K, or 4K. One important limit: nano-banana-2-lite only supports 1K.
Start with a small generate request
If you are adding image generation to an app, start with a minimal request and log the full response. This gives you the shape you will later use for editing, callbacks, and troubleshooting.
curl -X POST 'https://api.acedata.cloud/nano-banana/images' \
  -H 'authorization: Bearer {token}' \
  -H 'accept: application/json' \
  -H 'content-type: application/json' \
  -d '{
    "action": "generate",
    "model": "nano-banana-pro",
    "prompt": "A clean product mockup on a neutral desk, soft natural light, realistic shadows",
    "count": 1
  }'
A successful response includes a task_id, a trace_id, and a list of image results. Keep both IDs. The task_id lets you associate the request with downstream work, while trace_id is useful when debugging failures or support cases.
Edit images by passing source assets
The more interesting workflow is action: edit. Instead of treating generation as a one-off output, you can treat images as inputs to a pipeline. For example, you might combine a person photo and a garment photo, apply a brand style to a product shot, or create variations from a source asset while preserving the core object.
curl -X POST 'https://api.acedata.cloud/nano-banana/images' \
  -H 'authorization: Bearer {token}' \
  -H 'accept: application/json' \
  -H 'content-type: application/json' \
  -d '{
    "action": "edit",
    "prompt": "let this man wear on this T-shirt",
    "image_urls": [
      "https://cdn.acedata.cloud/v8073y.png",
      "https://cdn.acedata.cloud/44xlah.png"
    ],
    "count": 1
  }'
The key implementation detail is that image_urls is an array. That makes multi-image editing straightforward: pass the base subject first, add supporting references after it, and describe the intended transformation in prompt. The response has the same basic result structure as generation: each item in data contains the echoed prompt and an image_url.
Use callbacks when the request should not block
Image operations may take time, so long-running web requests are not always a good fit. The API supports an optional callback_url. When you include it, your server can receive the completed JSON result by POST after the task finishes.
{
  "action": "generate",
  "prompt": "a white siamese cat",
  "callback_url": "https://example.com/webhooks/nano-banana"
}
Your callback handler should store task_id, trace_id, and each returned image_url. This lets your frontend show a pending state immediately, then update the record when the webhook arrives.
Handle partial success and errors explicitly
The documented count field supports requesting 1–4 images and defaults to 1. If some outputs fail, only successful images are returned in data and billed. That means your code should not assume data.length === count. Instead, check success, then render whatever images are present.
When a call fails, the API returns a standard error object and a trace_id. Common error codes include token_mismatched, api_not_implemented, invalid_token, too_many_requests, and api_error.
{
  "success": false,
  "error": {
    "code": "api_error",
    "message": "Internal server error."
  },
  "trace_id": "2cf86e86-22a4-46e1-ac2f-032c0f2a4e89"
}
A practical Python wrapper
For most builder workflows, a small wrapper is enough. Keep the API token outside the source file, pass the payload as a dictionary, and return the parsed JSON so the caller can decide how to store or display the result.
import requests

URL = "https://api.acedata.cloud/nano-banana/images"

def edit_image(token, prompt, image_urls, count=1):
    headers = {
        "authorization": f"Bearer {token}",
        "accept": "application/json",
        "content-type": "application/json",
    }
    payload = {
        "action": "edit",
        "prompt": prompt,
        "image_urls": image_urls,
        "count": count,
    }
    resp = requests.post(URL, json=payload, headers=headers)
    return resp.json()

result = edit_image(
    token="{token}",
    prompt="let this man wear on this T-shirt",
    image_urls=[
        "https://cdn.acedata.cloud/v8073y.png",
        "https://cdn.acedata.cloud/44xlah.png",
    ],
)
print(result)
The clean mental model is: one endpoint, one required prompt, and an action switch. Start synchronously while prototyping, keep task_id and trace_id in your logs, then add callback_url once the workflow becomes part of a production queue or UI.
For the full parameter reference and examples, read the Nano Banana Images API documentation.


Comments
Post a Comment