How to Build an Image Editing Pipeline with the OpenAI Images Edits API
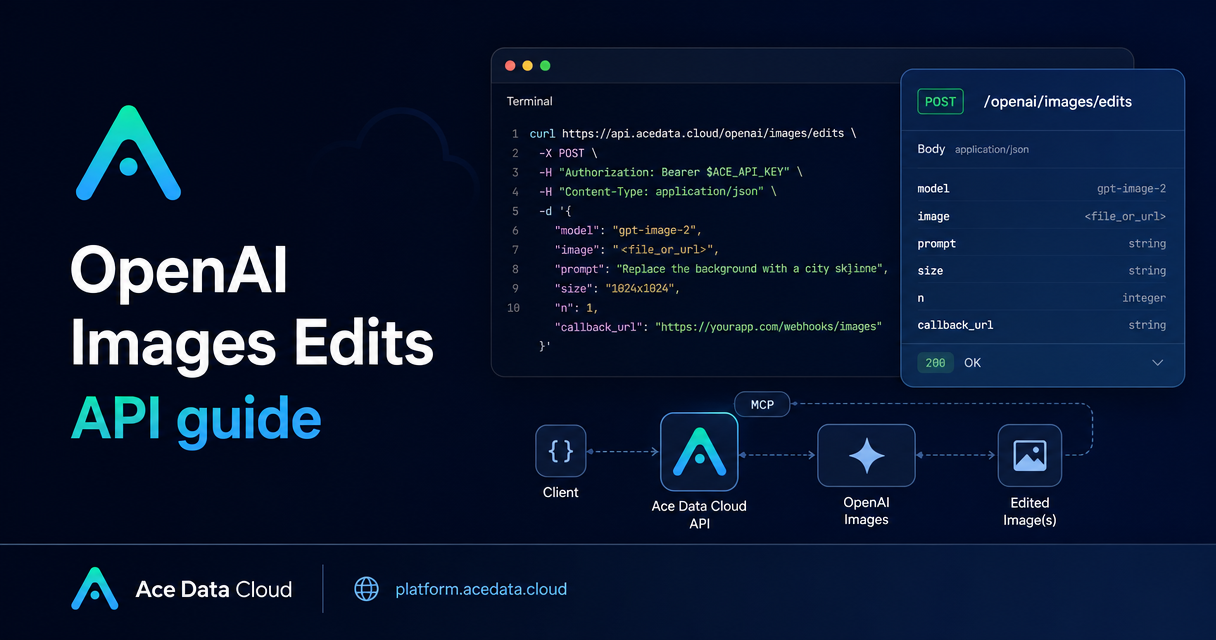
If your product workflow already has source images—screenshots, product photos, posters, or generated assets—the hard part is usually not creating a new image from scratch. It is changing the right thing while keeping the useful structure intact.
This guide walks through a practical image editing pipeline using Ace Data Cloud's OpenAI Images Edits API. The focus is deliberately narrow: send an input image plus instructions, get back an edited result, and choose the request shape that fits your backend or SDK workflow.
What you can do
The OpenAI Images Edits API accepts one or more reference images and a text instruction, then returns modified images. The same editing interface supports gpt-image-1, gpt-image-2, and the nano-banana model family.
For builder workflows, the most useful capabilities are:
- Edit an existing image from a URL with JSON, without downloading it first.
- Pass local images as base64 when you do not want to upload them to separate storage.
- Use multiple references, up to 16 images for GPT Image series models.
- Request multiple outputs with
nfrom 1 to 10. - Set an explicit output
sizeforgpt-image-2, including 1K, 2K, 4K, or custom dimensions within the documented limits. - Use
callback_urlwhen you want the API to return atask_idfirst and POST the completed result to your webhook later.
How it works
The main endpoint for JSON URL-based editing is:
POST https://api.acedata.cloud/openai/images/editsA minimal request needs an authorization header, a model, an image, and a prompt. With gpt-image-2, the image field can be a URL, a base64 value such as data:image/png;base64,..., or an array of image URLs/base64 values. The size field may be omitted, set to auto, or set to a string in WIDTHxHEIGHT format.
One important operational detail: when size is auto or omitted, the output keeps the aspect ratio of the reference image. If you want to change aspect ratio, specify size explicitly.
Start with JSON and an image URL
For server-side automation, JSON plus image URL is usually the cleanest path. You can keep your assets in object storage or a CDN, then ask the model to edit that asset directly.
curl -X POST "https://api.acedata.cloud/openai/images/edits"   -H "Authorization: Bearer {token}"   -H "Content-Type: application/json"   -d '{
    "model": "gpt-image-2",
    "image": "https://platform.cdn.acedata.cloud/gpt-image/5c9fa635-8794-4c6d-88f8-584d7f4716c6_0.png",
    "prompt": "Convert this infographic to dark mode: dark navy background, light cream text, deep gray rounded module cards with soft shadows. Keep all layout, structure, and module arrangement identical — only invert the color scheme.",
    "size": "1024x1536"
  }'
The response includes fields such as success, task_id, trace_id, created, data, and elapsed. Each returned item in data can include a url and a revised_prompt.
This pattern is a good fit for editing generated infographics, turning a light design into a dark theme, changing a product background, or running a repeatable creative operation across many stored images.
Use multiple references when composition matters
The image field can also be an array. That lets you describe a combined output while providing multiple concrete inputs. The docs show this pattern for combining product photos into a single gift basket:
payload = {
    "model": "gpt-image-2",
    "image": [
        "https://example.com/item1.png",
        "https://example.com/item2.png",
        "https://example.com/item3.png"
    ],
    "prompt": "Combine all the items above into a single 'Relax & Unwind' gift basket on a clean white background, photorealistic, soft natural lighting.",
    "size": "1024x1024"
}
For GPT Image series models, the documented upper bound is 16 reference images. The same guide notes that each image should not exceed 50MB and should be in png, webp, or jpg format when using uploaded references.
Choose sizes deliberately
gpt-image-2 validates size as auto, an empty value, or WIDTHxHEIGHT. Custom sizes must have width and height as multiples of 16, a long side no greater than 3840, and a total pixel count no greater than 8,294,400. Invalid values return a 400 error.
Some useful documented examples:
- 1:1 —
1024x1024,2048x2048,2880x2880 - 4:3 —
1536x1024,2048x1536,3264x2448 - 16:9 —
1792x1024,2048x1152,3840x2160 - 9:16 —
1024x1792,1152x2048,2160x3840
In practice, I would keep auto for edits that should preserve the source image framing, and set an explicit size only when the target surface is known: a blog cover, product square, mobile story, or wide presentation slide.
When to use Nano Banana models
The same endpoint also supports the nano-banana series for editing scenarios. The supported parameter range is narrower: model, prompt, image, and n. Parameters such as mask, size, and response_format are not supported for this adapted path and are ignored if filled.
curl -X POST "https://api.acedata.cloud/openai/images/edits" -H "Authorization: Bearer {token}" -F "model=nano-banana" -F "prompt=add a green leaf on top of the apple" -F "image=https://platform.cdn.acedata.cloud/nanobanana/6870b330-65c4-436c-bb80-819fdae7a7a4.png"Use this path when the narrower parameter surface is acceptable and you want to keep the request close to the OpenAI-style edit interface.
Python SDK compatibility
If you already use the OpenAI Python SDK, the documented flow is to set the base URL to Ace Data Cloud's OpenAI-compatible endpoint and call client.images.edit.
export OPENAI_BASE_URL=https://api.acedata.cloud/openai
export OPENAI_API_KEY={token}
import base64
from openai import OpenAI
client = OpenAI()
result = client.images.edit(
model="gpt-image-2",
image=[open("test.png", "rb")],
prompt="Convert this image to dark mode while keeping the layout intact."
)
image_base64 = result.data[0].b64_json
image_bytes = base64.b64decode(image_base64)
with open("edited.png", "wb") as f:
f.write(image_bytes)That makes it straightforward to move from a local prototype to a backend job: keep the prompt specific, preserve structure in the instruction when needed, and choose JSON URL input or multipart upload based on where your source images live.
A practical closing note
Image editing APIs work best when the instruction is constrained. Instead of asking for a vague redesign, say what must stay fixed: layout, object count, text, aspect ratio, product placement, or lighting direction. Then say what should change. That builder habit will save more time than any parameter tweak.
For the complete parameter notes, model variants, examples, and callback details, read the OpenAI Images Edits API Integration Guide.


Comments
Post a Comment