How to Build an Image Editing Pipeline with gpt-image-2
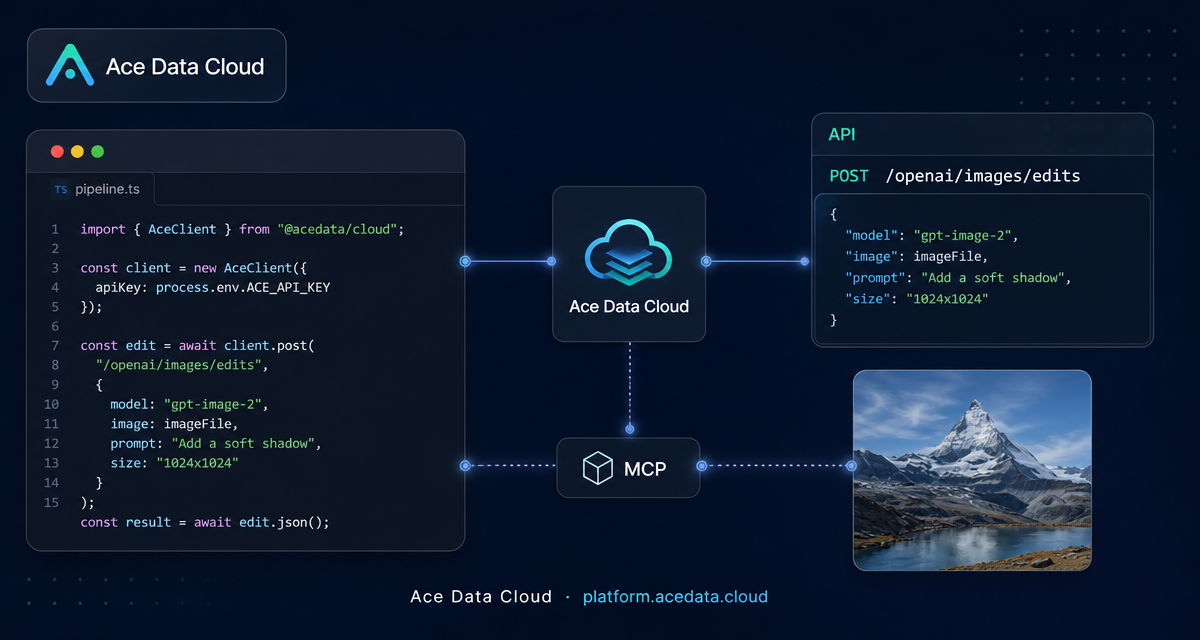
When you are building a product flow that needs to modify an existing image, the hard part is usually not the prompt; it is keeping the original structure stable while making a precise change.
The Ace Data Cloud OpenAI Images Edits API is useful for that kind of workflow because it accepts one or more reference images plus an editing instruction, then returns an edited image result through an OpenAI-style interface. This guide focuses on the practical path: using gpt-image-2 with JSON image URLs, explicit sizing, and a response your application can store or display.
What you can do
The edits endpoint is designed for image-to-image work rather than blank image generation. In practice, that means you can:
- Change the visual style of an image while keeping the layout intact.
- Convert an infographic or product visual into a different theme, such as dark mode.
- Use multiple reference images in a single request, up to 16 images for GPT Image series models.
- Request a specific output size with
gpt-image-2, including common 1K, 2K, 4K, or valid custom dimensions. - Use URL input, base64 input, or multipart upload depending on how your pipeline stores assets.
The same endpoint also supports the nano-banana model family, but this article stays with gpt-image-2 because it gives a clean developer workflow for URL-based editing and size control.
How it works
The main endpoint is:
POST https://api.acedata.cloud/openai/images/editsFor a JSON-based request, send Content-Type: application/json and provide these core fields:
model: for this workflow, usegpt-image-2.image: a single image URL, a base64 image, or an array of image URLs/base64 values.prompt: the edit instruction. Be explicit about what should change and what must remain unchanged.size:auto, omitted, or a value inWIDTHxHEIGHTformat.
If size is auto or omitted, the output keeps the aspect ratio of the reference image. If you want a different aspect ratio, pass a concrete size such as 1024x1536 or 1792x1024.
Start with JSON + image URL
For backend services, URL input is often simpler than downloading the image, saving it locally, and re-uploading it as multipart form data. The document shows that gpt-image-2 supports direct URL input in JSON, which makes it a good fit for pipelines that already store images on a CDN or object storage service.
curl -X POST "https://api.acedata.cloud/openai/images/edits"   -H "Authorization: Bearer {token}"   -H "Content-Type: application/json"   -d '{
    "model": "gpt-image-2",
    "image": "https://platform.cdn.acedata.cloud/gpt-image/5c9fa635-8794-4c6d-88f8-584d7f4716c6_0.png",
    "prompt": "Convert this infographic to dark mode: dark navy background, light cream text, deep gray rounded module cards with soft shadows. Keep all layout, structure, and module arrangement identical — only invert the color scheme.",
    "size": "1024x1536"
  }'
The important detail is the second sentence in the prompt: it tells the model to preserve layout, structure, and module arrangement. For editing workflows, that preservation instruction is often more important than adding adjectives about style.
Handle the response
A successful response includes a success value, a task_id, a trace_id, a created timestamp, and a data array. Each item in data can include a revised_prompt and a generated image url.
{
  "success": true,
  "task_id": "cb104e35-af1f-45be-9fac-b62e2b256753",
  "trace_id": "3e5c77c6-6c2e-4bba-a42d-98ea049b58a8",
  "created": 1777048863,
  "data": [
    {
      "revised_prompt": "Convert this infographic to dark mode: dark navy background, light cream text, deep gray rounded module cards with soft shadows. Keep all layout, structure, and module arrangement identical — only invert the color scheme.",
      "url": "https://platform.cdn.acedata.cloud/gpt-image/cb104e35-af1f-45be-9fac-b62e2b256753_0.png"
    }
  ],
  "elapsed": 83.859
}
In an application, you would usually store task_id, trace_id, the final data[0].url, and the original edit prompt. That gives you enough information to debug a user report, show the result in a gallery, or retry a similar edit later.
Use multiple references when the output depends on several images
The image field can also be an array. That is useful when the edit is really a composition task: for example, combining several product photos into one final gift basket image.
payload = {
    "model": "gpt-image-2",
    "image": [
        "https://example.com/item1.png",
        "https://example.com/item2.png",
        "https://example.com/item3.png"
    ],
    "prompt": "Combine all the items above into a single 'Relax & Unwind' gift basket on a clean white background, photorealistic, soft natural lighting.",
    "size": "1024x1024"
}
For GPT Image series models, the documentation notes support for up to 16 reference images. Each image should be a real input the model needs; adding unrelated references usually makes the edit harder to control.
Choose sizes deliberately
With gpt-image-2, size must be auto, empty, or a valid WIDTHxHEIGHT string. Custom dimensions need both width and height to be multiples of 16, the long side must be no more than 3840, and the total pixel count must be no more than 8,294,400. Invalid values return a 400 error or another 4xx validation error.
A simple rule of thumb: use auto when you want to preserve the source aspect ratio, and use an explicit size when the output has a known destination such as a blog cover, app card, or vertical poster.
SDK-compatible multipart editing
If your current code already uses the OpenAI Python SDK with file uploads, you can keep the multipart-style flow and set the model to gpt-image-2. The documented environment variables are:
export OPENAI_BASE_URL=https://api.acedata.cloud/openai
export OPENAI_API_KEY={token}
Then call the edit API from Python:
import base64
from openai import OpenAI

client = OpenAI()

result = client.images.edit(
    model="gpt-image-2",
    image=[open("test.png", "rb")],
    prompt="Convert this image to dark mode while keeping the layout intact."
)

image_base64 = result.data[0].b64_json
image_bytes = base64.b64decode(image_base64)

with open("edited.png", "wb") as f:
    f.write(image_bytes)
Where this fits in a builder workflow
The most reliable image editing flows are boring in a good way: take a source image, write a narrow instruction, specify only the parameters you need, store the returned URL, and keep the task metadata for debugging. Ace Data Cloud makes that pattern straightforward because the same edits endpoint can accept JSON image URLs for server-side pipelines and multipart uploads for SDK-based scripts.
If you want to go deeper, read the full OpenAI Images Edits API integration guide.


Comments
Post a Comment