How to Build an Image Editing Pipeline with the OpenAI Images Edits API
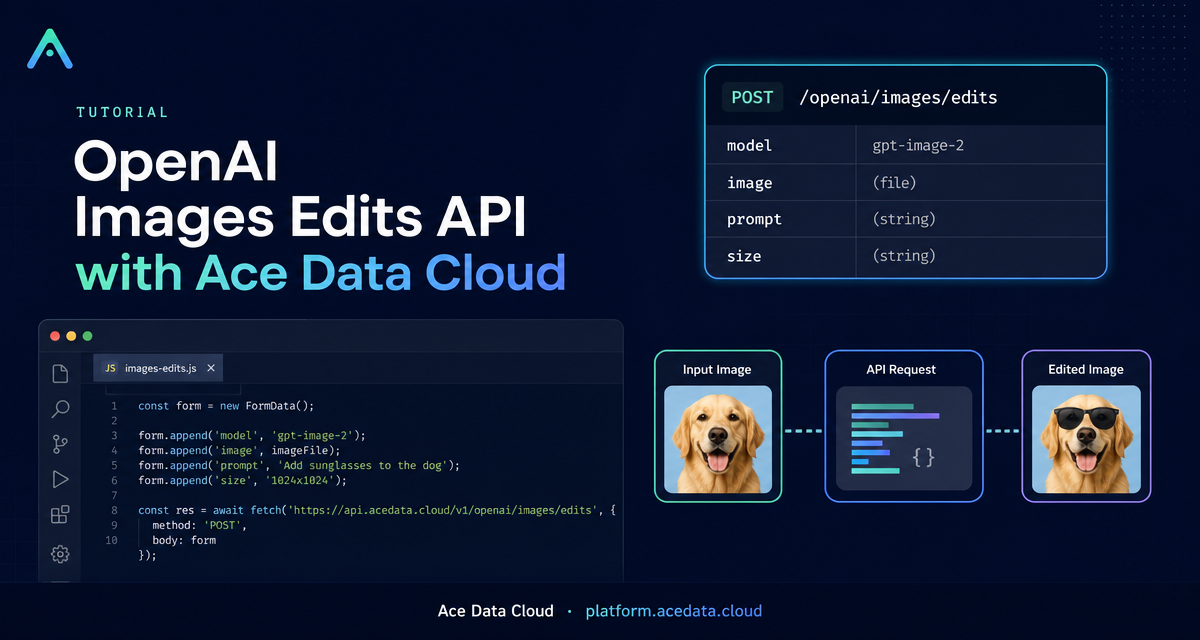
Image editing becomes much easier to automate when your service can pass an existing image, a precise instruction, and a target output size to one API endpoint instead of hand-building a separate upload and rendering workflow.
What you can do
The OpenAI Images Edits API on Ace Data Cloud is designed for programmatic edits: send one or more reference images, describe the change you want, and receive edited image URLs or base64 output depending on the model and request style. The same editing interface supports gpt-image-1, gpt-image-2, and the nano-banana model family.
For builder workflows, the most useful part of gpt-image-2 is that it supports direct image URLs in JSON. That means a backend job can edit assets that already live in object storage or a CDN without first downloading them to local disk. The image field can also accept base64 data such as data:image/png;base64,..., and it can be an array of up to 16 reference images when you need a multi-image edit.
How it works
The core endpoint is:
POST https://api.acedata.cloud/openai/images/editsFor JSON-based calls, the practical minimum request is:
model: for example,gpt-image-2image: an image URL, base64 string, or an array of reference imagesprompt: the edit instructionsize: optional forgpt-image-2; useautoor aWIDTHxHEIGHTvalue
The API returns a JSON response with data. In the documented example, the result includes success, task_id, trace_id, created, data[].url, and elapsed. When building a production pipeline, persist task_id and the final data[].url so the edited asset can be traced back to the job that created it.
Edit by URL when images are already online
If your product already stores generated images, product photos, or design assets on a public URL, JSON input is the cleanest path. Here is the pattern from the documentation, adapted into a reusable dark-mode edit:
curl -X POST "https://api.acedata.cloud/openai/images/edits"   -H "Authorization: Bearer {token}"   -H "Content-Type: application/json"   -d '{
    "model": "gpt-image-2",
    "image": "https://platform.cdn.acedata.cloud/gpt-image/5c9fa635-8794-4c6d-88f8-584d7f4716c6_0.png",
    "prompt": "Convert this infographic to dark mode: dark navy background, light cream text, deep gray rounded module cards with soft shadows. Keep all layout, structure, and module arrangement identical — only invert the color scheme.",
    "size": "1024x1536"
  }'
This style of prompt is worth copying: it names the visual change, then explicitly says what must remain stable. For diagrams, menus, screenshots, or infographics, instructions such as “keep all layout, structure, and module arrangement identical” are more useful than a broad style request.
Choose output size intentionally
For gpt-image-2, size may be auto, empty, or a WIDTHxHEIGHT string. Custom dimensions must use widths and heights that are multiples of 16, with the long side no larger than 3840 and total pixels no more than 8,294,400. If those limits are exceeded, the request returns a 4xx error.
The documentation lists practical presets such as 1024x1024, 2048x2048, 2880x2880, 1536x1024, 2048x1536, 3264x2448, 1792x1024, 2048x1152, and 3840x2160. In a real app, I would usually store the intended placement first — square thumbnail, vertical poster, landscape hero — and derive size from that instead of letting every caller choose freely.
Use multiple references for composition tasks
The image field can be an array, which is useful when the target output should combine several sources. The documentation shows this shape for creating a gift basket from multiple product images:
payload = {
    "model": "gpt-image-2",
    "image": [
        "https://example.com/item1.png",
        "https://example.com/item2.png",
        "https://example.com/item3.png"
    ],
    "prompt": "Combine all the items above into a single 'Relax & Unwind' gift basket on a clean white background, photorealistic, soft natural lighting.",
    "size": "1024x1024"
}
This is a good fit for catalog tooling, editorial assets, and internal creative ops: your system can collect a few approved source images, then ask the model to produce one composed asset while keeping the prompt auditable.
When to use the SDK-style upload path
If your codebase already uses the official OpenAI Python SDK, the multipart upload approach is also documented. Set OPENAI_BASE_URL to https://api.acedata.cloud/openai and OPENAI_API_KEY to your token, then call client.images.edit with model="gpt-image-2" and a local image file.
import base64
from openai import OpenAI

client = OpenAI()

result = client.images.edit(
    model="gpt-image-2",
    image=[open("test.png", "rb")],
    prompt="Convert this image to dark mode while keeping the layout intact."
)

image_base64 = result.data[0].b64_json
image_bytes = base64.b64decode(image_base64)
with open("edited.png", "wb") as f:
    f.write(image_bytes)
Use this path when your input image is local and you want compatibility with existing SDK code. Use JSON plus URLs when your pipeline already works with remote assets and you want fewer file-handling steps.
Production notes
ncan request multiple edited results, from 1 to 10, forgpt-image-2and related supported models.response_format=b64_jsononly supportsn=1; use URL output for multiple results.- The
nano-bananaadapter supportsmodel,prompt,image, andn; fields such asmask,size, andresponse_formatare not supported there. - For long-running edits, the API supports a
callback_urlflow that immediately returns atask_idand later posts the result JSON to your callback endpoint.
The main builder lesson is simple: keep the prompt specific, keep the request shape small, and make task_id plus output URL part of your asset pipeline. For the full reference and examples, read the OpenAI Images Edits API Integration Guide.


Comments
Post a Comment