Getting Started with Seedream MCP: A Practical Guide to Image Generation Inside Your IDE
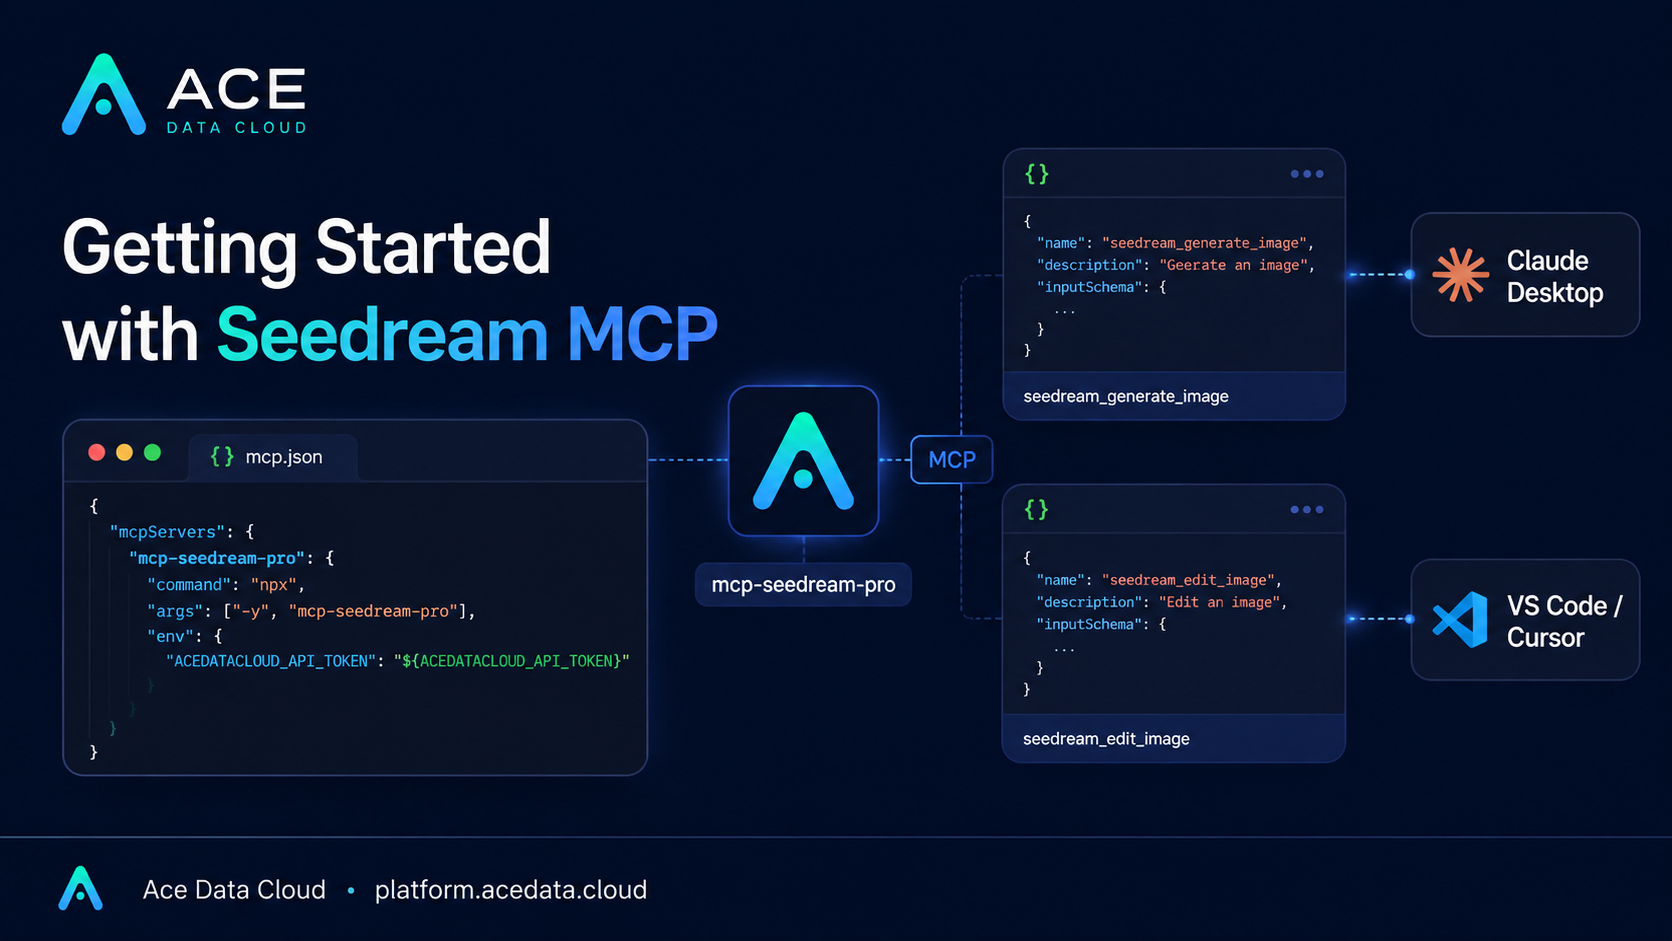
If your image workflow starts in an AI chat but ends with manual uploads, copied prompts, and separate browser tabs, MCP is a cleaner way to keep the whole loop inside the tools you already use.
This guide walks through how to set up the Seedream MCP Server from Ace Data Cloud so an AI client such as Claude Desktop, VS Code, or Cursor can call Seedream image tools directly. The goal is not to hide the model behind magic. It is to make image generation and editing feel like a normal part of your builder workflow: configure a server, expose a small set of tools, and ask your assistant to generate, edit, or inspect tasks from the same workspace where you are already planning the product.
What you can do
The Seedream MCP Server exposes practical image operations through the Model Context Protocol. Based on the public guide, it supports text-to-image generation, image editing, virtual try-on, model and size discovery, seed control for reproducible outputs, and task queries for monitoring generation progress.
The tool surface is intentionally small:
seedream_generate_imagegenerates images from text prompts.seedream_edit_imagemodifies existing images, including style, background, or attributes.seedream_get_taskchecks the status of one generation task.seedream_get_tasks_batchchecks multiple task statuses at once.seedream_list_modelslists available models and capabilities.seedream_list_sizeslists available image sizes and resolution options.
The guide also notes support for Seedream v4.5, v4.0, v3.0 T2I, SeedEdit v3.0 I2I, and resolutions such as 1K, 2K, 4K, and adaptive sizing. That makes it useful for product visuals, design drafts, social assets, and quick iteration on images without leaving your editor.
How it works
MCP, or Model Context Protocol, gives AI clients a standard way to call external tools. Instead of teaching every client a custom API integration, you run a local MCP server and register it in the client configuration. The client discovers the tools and can call them during a conversation.
For Seedream, the server command is mcp-seedream-pro. Authentication is passed through the environment variable ACEDATACLOUD_API_TOKEN. Once the client restarts, it can access Seedream-related tools from natural-language instructions, such as generating an ink-wash landscape, changing a photo background to a starry sky, producing a 4K portrait with Seedream v4.5, or virtually trying clothing on a person photo.
Install the MCP server
The recommended installation path is a normal Python package install:
pip install mcp-seedream-proIf you prefer working from source, the guide shows this alternative:
git clone https://github.com/AceDataCloud/SeedreamMCP.git
cd SeedreamMCP
pip install -e .
After installation, the server can be started with the mcp-seedream-pro command. In practice, most builders will not run it by hand for long; they will register it in the AI client configuration so the client starts it when needed.
Configure Claude Desktop
Claude Desktop uses a JSON configuration file. On macOS, the documented path is ~/Library/Application Support/Claude/claude_desktop_config.json. On Windows, it is %APPDATA%\Claude\claude_desktop_config.json.
Add a server entry like this:
{
  "mcpServers": {
    "seedream": {
      "command": "mcp-seedream-pro",
      "env": {
        "ACEDATACLOUD_API_TOKEN": "your API Token"
      }
    }
  }
}
If you prefer not to pre-install the package, the guide also supports uvx:
{
  "mcpServers": {
    "seedream": {
      "command": "uvx",
      "args": ["mcp-seedream-pro"],
      "env": {
        "ACEDATACLOUD_API_TOKEN": "your API Token"
      }
    }
  }
}
Save the file and restart Claude Desktop. The key detail is the shape of the configuration: mcpServers at the top level, a named seedream server, the command, optional args, and the token passed through env.
Configure VS Code or Cursor
For editor-based workflows, create .vscode/mcp.json in the project root. The documented structure uses servers instead of mcpServers:
{
  "servers": {
    "seedream": {
      "command": "mcp-seedream-pro",
      "env": {
        "ACEDATACLOUD_API_TOKEN": "your API Token"
      }
    }
  }
}
The uvx version is similar:
{
  "servers": {
    "seedream": {
      "command": "uvx",
      "args": ["mcp-seedream-pro"],
      "env": {
        "ACEDATACLOUD_API_TOKEN": "your API Token"
      }
    }
  }
}
This setup is especially useful when the image is part of a product task. For example, you can keep the product copy, design notes, and generated image requests together in the same repository conversation.
A practical workflow
A good first workflow is to ask the client to inspect capabilities before generating anything. Use seedream_list_models to understand model options, then seedream_list_sizes to pick an appropriate size. After that, call seedream_generate_image for a first draft, use seedream_get_task to monitor progress, and refine with seedream_edit_image if the composition is close but the background, style, or attributes need adjustment.
For reproducible experiments, keep the prompt and seed value in your project notes. The public guide explicitly calls out seed control, which is useful when comparing prompt variants without losing the ability to reproduce a promising direction.
Wrapping up
The main value of Seedream MCP is not that it adds another image generator to your stack. It is that it gives your AI client a stable tool interface for generation, editing, try-on, model discovery, size discovery, and task checks. For builders, that means fewer context switches and a tighter loop from idea to asset.
Read the source documentation here: Seedream MCP Integration Guide.


Comments
Post a Comment