Getting Started with Codex in VS Code Using Ace Data Cloud
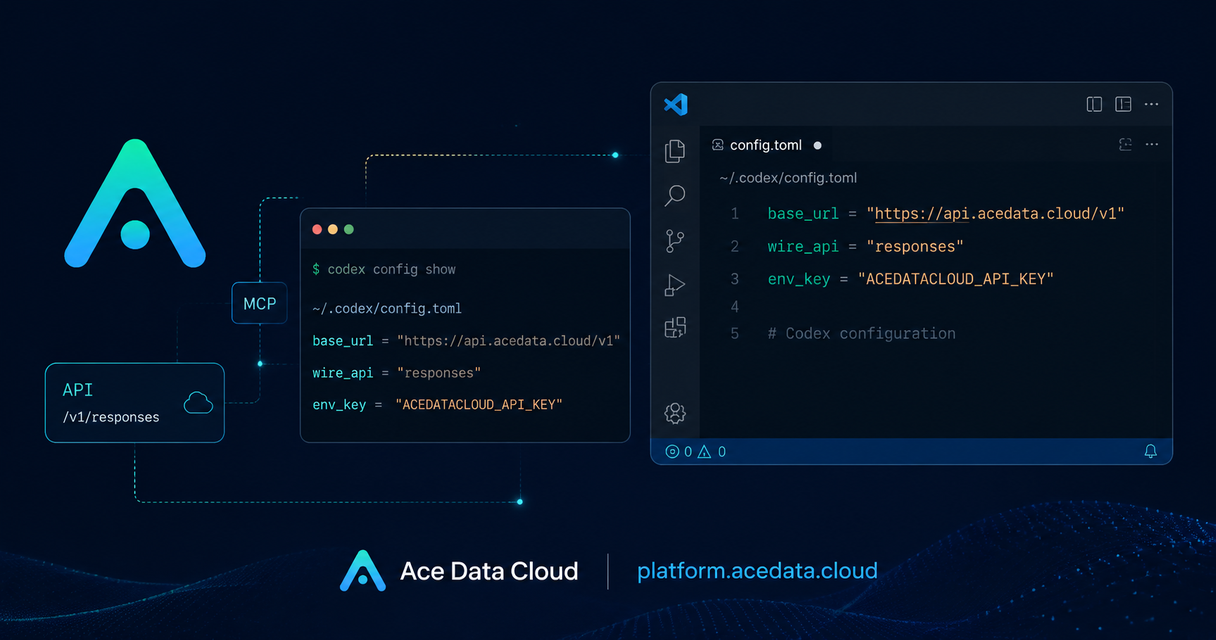
If you want an AI coding agent inside VS Code, the hard part is rarely the chat UI. The real friction is getting the extension, CLI, model provider, authentication, and local project settings to agree with each other.
This guide walks through a practical setup for using the Codex VS Code extension with Ace Data Cloud as an OpenAI Responses-compatible provider. The goal is simple: configure Codex once in ~/.codex/config.toml, verify it from the terminal, and then use the same configuration inside VS Code.
What you can do
With this setup, Codex can run as a coding assistant directly in VS Code. According to the source guide, the extension can chat with you, read files, reference selected context, generate changes, and preview modifications from the editor sidebar.
That makes it useful for everyday builder workflows such as:
- Explaining the structure of an unfamiliar repository.
- Refactoring a selected component or file with editor context.
- Planning a change before switching into agent mode.
- Using a project-level model override without changing your global setup.
The important detail is that the VS Code extension and Codex CLI share the same configuration layer. Once ~/.codex/config.toml points at https://api.acedata.cloud/v1, Codex in VS Code can use the same provider configuration.
How it works
The flow is intentionally local-first. Codex reads a user-level configuration file at ~/.codex/config.toml. If a trusted project contains .codex/config.toml, Codex can also load project-level settings from that workspace.
When model_provider is set to acedatacloud, Codex reads the API token from the environment variable named by env_key. In the documented setup, that variable is ACEDATACLOUD_API_KEY. Requests are then sent through the OpenAI Responses protocol to https://api.acedata.cloud/v1/responses.
One practical warning from the docs is worth keeping: choose one authentication method and do not mix them. This guide uses env_key = "ACEDATACLOUD_API_KEY". If another setup writes requires_openai_auth = true and ~/.codex/auth.json, do not keep both schemes active, because mixed authentication is a common cause of 401 errors.
Install the VS Code extension
In VS Code, search the Marketplace for Codex - OpenAI's coding agent. The Marketplace ID listed in the guide is:
openai.chatgptYou can also install it from the command line:
code --install-extension openai.chatgptAfter installation, restart or reload VS Code. If the Codex view is not visible, open the command palette and run:
Codex: Open Codex SidebarInstall the CLI for a clean verification path
The CLI is not strictly required if you only want the VS Code extension, but it gives you a quick way to verify the provider, token, and model before debugging the editor. The documented npm install path requires Node.js 18 or higher:
npm install -g @openai/codexOn macOS, the guide also lists Homebrew:
brew install --cask codexThen confirm that the command is available:
codex --versionConfigure Ace Data Cloud as the provider
First, store your API token in your shell configuration file. For example, in ~/.zshrc, ~/.bashrc, or ~/.bash_profile:
export ACEDATACLOUD_API_KEY="{token}"Replace {token} with the API token from your Ace Data Cloud console. Reload your shell configuration:
source ~/.zshrcIf VS Code is already open, restart or reload it so the extension can read the updated process environment.
Next, create the Codex configuration file if it does not exist:
mkdir -p ~/.codex
touch ~/.codex/config.toml
Then write the provider configuration:
model_provider = "acedatacloud"
model = "gpt-5"
model_reasoning_effort = "high"
approval_policy = "on-request"
sandbox_mode = "workspace-write"

[model_providers.acedatacloud]
name = "Ace Data Cloud"
base_url = "https://api.acedata.cloud/v1"
env_key = "ACEDATACLOUD_API_KEY"
wire_api = "responses"
The key fields are base_url, env_key, and wire_api. The wire_api value must be responses for this OpenAI Responses API setup. For daily development, the guide recommends approval_policy = "on-request" and sandbox_mode = "workspace-write", so Codex can work in the project while still asking before sensitive actions.
Use project-level overrides when needed
If one repository needs a different default model or reasoning effort, create .codex/config.toml in that project. Codex prioritizes project-level configuration when the project is trusted.
model = "gpt-5-mini"
model_reasoning_effort = "medium"
Keep personal tokens in environment variables rather than committing them to a repository. A project config should usually contain only shared defaults, not secrets.
Verify before opening a long coding session
If you previously logged into an official OpenAI account in Codex, clear the cached login before switching providers:
codex logoutIf that command is unavailable, remove the cached auth file:
rm -f ~/.codex/auth.jsonNow run the terminal verification command from the guide:
codex exec --model gpt-5-mini "Reply with exactly: ADC_Codex_OK" < /dev/nullA correct setup should respond with:
ADC_Codex_OKIf you see a 401, check that model_provider exactly matches [model_providers.acedatacloud], that VS Code was started from an environment with ACEDATACLOUD_API_KEY, and that ~/.codex/auth.json is not mixed with the env_key approach.
Work from VS Code
Once the terminal check passes, open the Codex panel in VS Code and start with a small prompt:
Explain the purpose of the current workspace in one sentence.You can reference files with @, for example:
Refer to @src/App.vue and help me break this page into clearer components.For selected code, use Codex: Add to Codex Thread. For a whole file, use Codex: Add File to Codex Thread. In practice, I would start in Chat mode for planning and switch to Agent mode when I am ready for Codex to edit files or run commands.
Closing thoughts
The nice part of this setup is that it keeps the moving pieces explicit: one environment variable, one config.toml, one provider block, and one verification command. That makes it easier to reason about failures than a hidden editor-only configuration.
For the full reference, including mode notes and troubleshooting details, read the Ace Data Cloud guide: Codex for VS Code User Guide.


Comments
Post a Comment