Getting Started with Claude Code Through Ace Data Cloud
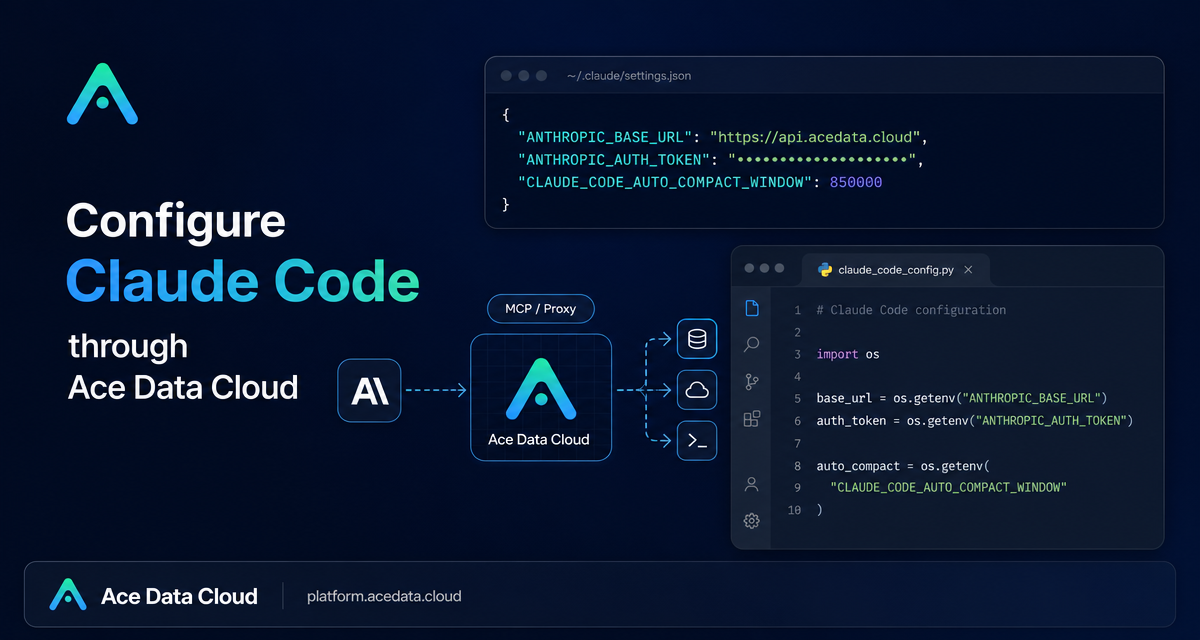
When a coding agent is useful, you want it available in the place where you already work: a terminal, an editor, or the pull request that needs attention. This guide walks through the small, practical configuration surface for using Claude Code through Ace Data Cloud, based on the public Claude Code integration document.
What you can do
Claude Code is an agentic coding tool that can be used in several developer workflows. The source guide describes four supported paths:
- Terminal (CLI): run
claudefrom a terminal for the core experience. - VS Code: use the native extension with inline Diff support,
@-mentions, and scheduled reviews. - CC Switch: use a desktop GUI when you prefer one-click vendor switching instead of editing configuration files directly.
- GitHub Actions: automate code review and issue or pull-request handling with
@claude.
The important pattern is that these are not four unrelated integrations. They share the same base configuration: point Claude Code at the Ace Data Cloud endpoint and provide your Ace Data Cloud API token.
How it works
The public document keeps the general setup intentionally simple. Regardless of platform, the core is to set two Claude Code environment variables and, optionally, a context-compaction window:
export ANTHROPIC_BASE_URL="https://api.acedata.cloud"
export ANTHROPIC_AUTH_TOKEN="{token}"
export CLAUDE_CODE_AUTO_COMPACT_WINDOW="850000"
ANTHROPIC_BASE_URL changes the endpoint Claude Code calls. In this setup, it points to https://api.acedata.cloud. ANTHROPIC_AUTH_TOKEN is the API token from your Ace Data Cloud account. CLAUDE_CODE_AUTO_COMPACT_WINDOW sets the automatic compression trigger window to about 850,000 tokens. The document notes that this reserves space for tool results and final answers; it does not change the model context limit.
Step 1: Start with the terminal path
If you are trying the integration for the first time, the terminal is the cleanest place to validate your configuration because there are fewer moving parts than an editor or CI pipeline. Open a new shell, export the variables, and then start Claude Code as you normally would.
# Keep the token out of source control and shell history where possible.
export ANTHROPIC_BASE_URL="https://api.acedata.cloud"
export ANTHROPIC_AUTH_TOKEN="{token}"
export CLAUDE_CODE_AUTO_COMPACT_WINDOW="850000"

claude
A practical first prompt is not “build my app.” Ask for a bounded task: explain a confusing file, draft a refactor plan, or identify tests related to a function. That gives you a quick read on whether the agent can see the project context and whether your environment variables are being picked up.
Step 2: Move the same configuration into your editor
Once the terminal path works, the VS Code path is usually the next upgrade. The guide specifically calls out the native extension, inline Diff, @-mentions, and scheduled reviews. Those features are useful when you want the coding agent close to the edit loop instead of as a separate terminal conversation.
The key discipline is to keep the same values consistent across surfaces. If your terminal uses https://api.acedata.cloud but your editor points somewhere else, debugging gets noisy. Treat the base URL and token as shared developer environment configuration, not as per-project code.
Step 3: Use GitHub Actions for review workflows
The GitHub Actions route is aimed at a different moment in the development cycle: issues and pull requests. The guide describes using @claude for automated code review and processing. That makes sense for tasks where the repository event is the natural trigger, such as reviewing a pull request or responding to an issue with a code-aware plan.
For a team rollout, I would start with narrow permissions and a clear convention for when to mention @claude. For example, use it on draft pull requests for review suggestions before asking a teammate to spend time on the code. The public guide does not define a complete workflow policy, so keep your first automation small and observable.
Step 4: Decide when a GUI switcher helps
CC Switch exists for the case where you do not want to write configuration files. The document describes it as a desktop GUI with one-click vendor switching. This is useful on a personal workstation or for non-terminal-heavy teammates, but it should still produce the same conceptual result: Claude Code knows which base URL to call and which token to use.
A small validation checklist
ANTHROPIC_BASE_URLis exactlyhttps://api.acedata.cloud.ANTHROPIC_AUTH_TOKENis set in your local environment and is not committed to the repository.CLAUDE_CODE_AUTO_COMPACT_WINDOWis set to850000if you want the documented compaction behavior.- You have tested the terminal flow before moving the same setup into VS Code, CC Switch, or GitHub Actions.
Where to go next
The useful thing about this integration is that the general setup is small enough to understand before you automate it. Start with the environment variables, validate a terminal session, then move the same configuration into the surface where you do real work. For the source configuration notes and the platform-specific tutorial links, read the Claude Code Integration Guide.


Comments
Post a Comment