Getting Started with Claude Code in the Terminal Using Ace Data Cloud
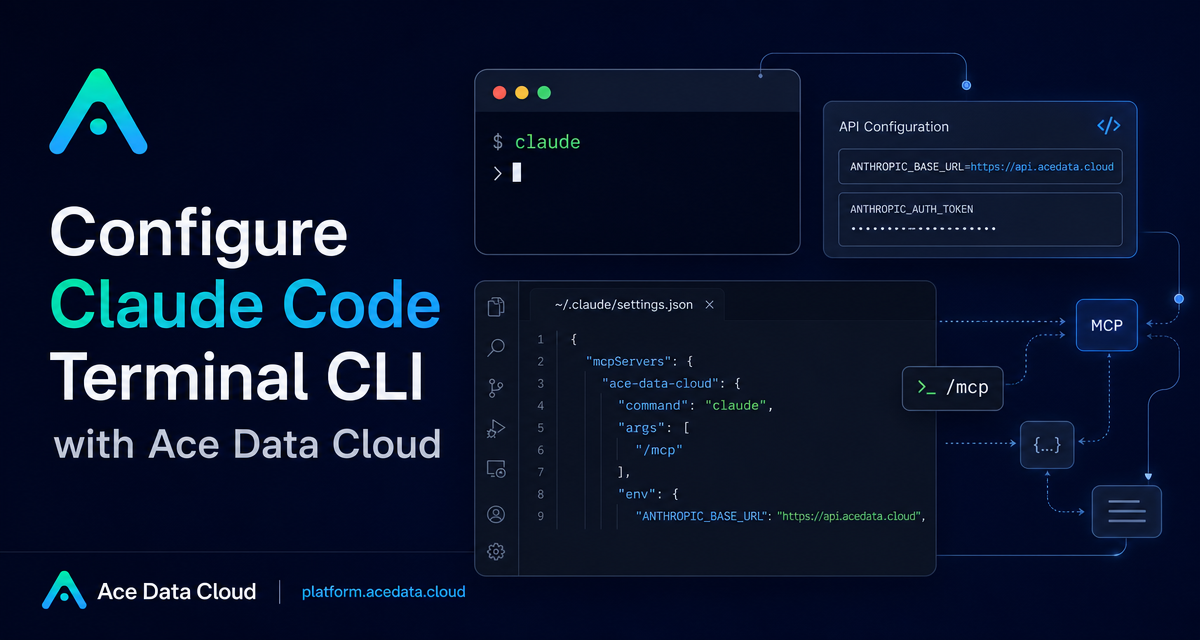
When you work in a real codebase, the fastest AI workflow is often not another browser tab. It is a terminal session inside the repository, where an agent can read context, inspect diffs, run commands, and help you make changes without breaking your flow.
This guide walks through a practical setup for using claude, the Claude Code terminal CLI, with Ace Data Cloud as the API base. The goal is simple: install the CLI, point it at https://api.acedata.cloud, and use it for everyday development tasks such as code review, bug fixing, test writing, and project exploration.
What you can do
Claude Code’s terminal experience is built around the claude command. Once configured, you can start an interactive coding session from any project directory, run a one-off task, pipe code or logs into the agent, continue an earlier conversation, or ask it to help prepare a commit.
- Start an interactive session with
claude. - Run a single task with
claude "fix build error". - Ask a question and exit with
claude -p "explain this function". - Continue the most recent conversation in the current directory with
claude -c. - Restore a previous conversation with
claude -r. - Create a Git commit with
claude commit.
The same CLI also supports interactive commands such as /help, /clear, /config, /model, /mcp, /compact, /memory, and /login. That makes it useful for ongoing coding sessions where you manage context over time.
How it works
The configuration is based on environment variables. Claude Code can be pointed to a custom API base URL through ANTHROPIC_BASE_URL, and authorization is provided through ANTHROPIC_AUTH_TOKEN. In this setup, the base URL is:
https://api.acedata.cloudThe documentation notes that ANTHROPIC_AUTH_TOKEN is sent as a custom authorization header and automatically has the Bearer prefix added when sent to the server.
You can configure these values globally in your shell profile, or keep them scoped to Claude Code by putting them in ~/.claude/settings.json. I prefer the second approach on shared machines because it avoids leaking tool-specific variables into unrelated terminal sessions.
Install the CLI
Claude Code supports macOS, Linux, Windows, and WSL. The native installer handles dependencies automatically, so Node.js is not required for the native installation path.
On macOS, Linux, or WSL, install it with:
curl -fsSL https://claude.ai/install.sh | bashOn Windows PowerShell:
irm https://claude.ai/install.ps1 | iexOn Windows CMD:
curl -fsSL https://claude.ai/install.cmd -o install.cmd && install.cmd && del install.cmdIf you prefer package managers, the documented alternatives are brew install claude-code for macOS or Linux, and winget install Claude.ClaudeCode on Windows.
Configure Ace Data Cloud as the API base
The shell-profile approach is straightforward. Add the following to ~/.zshrc, ~/.bashrc, or ~/.bash_profile, replacing {token} with your API token:
# AceData Cloud - Claude Code Proxy Configuration
export ANTHROPIC_AUTH_TOKEN="{token}"
export ANTHROPIC_BASE_URL="https://api.acedata.cloud"
Then reload your shell configuration:
source ~/.zshrc # or source ~/.bashrcIf you want the settings to apply only to Claude Code, create or edit ~/.claude/settings.json instead:
{
  "env": {
    "ANTHROPIC_AUTH_TOKEN": "{token}",
    "ANTHROPIC_BASE_URL": "https://api.acedata.cloud"
  }
}
Use it inside a project
Open a terminal, move into your repository, and start the interactive session:
cd /path/to/your/project
claude
From there, you can ask practical questions in natural language:
what does this project do?
there's a bug where users can submit empty forms - fix it
write unit tests for the calculator functions
refactor the authentication module to use async/await
commit my changes with a descriptive message
For review workflows, the CLI becomes especially useful when combined with Unix pipes. For example, you can send a diff directly to Claude Code:
git diff main | claude -p "review these changes"The same pattern works for logs:
tail -f app.log | claude -p "notify me if an anomaly is detected"Add project memory with CLAUDE.md
For repeated work in a repository, create a CLAUDE.md file in the project root. Claude Code loads this file at startup, so it is a good place for architecture notes, coding standards, and testing expectations.
# Project Description
This is a full-stack project using Django + Vue.js.

## Coding Standards
- Use Python 3.12
- Follow PEP 8 coding style
- All APIs need to have unit tests
Troubleshooting checklist
If the connection fails, first confirm the Claude Code config file exists and contains {"primaryApiKey": "self"} in ~/.claude/config.json. Then verify that ANTHROPIC_AUTH_TOKEN and ANTHROPIC_BASE_URL are set correctly, restart the terminal, and try again.
If the terminal says command not found: claude, close and reopen the terminal, check PATH, or rerun the native installer:
curl -fsSL https://claude.ai/install.sh | bashOnce configured, start small: ask Claude Code to explain the project, review a diff, or write tests for one module. That keeps the workflow grounded in real files and makes the terminal feel like a collaborative coding surface rather than a separate AI destination.
Read the full Ace Data Cloud documentation here: Claude Code Terminal CLI Integration Guide.


Comments
Post a Comment