Getting Started with the Ace Data Cloud Python SDK
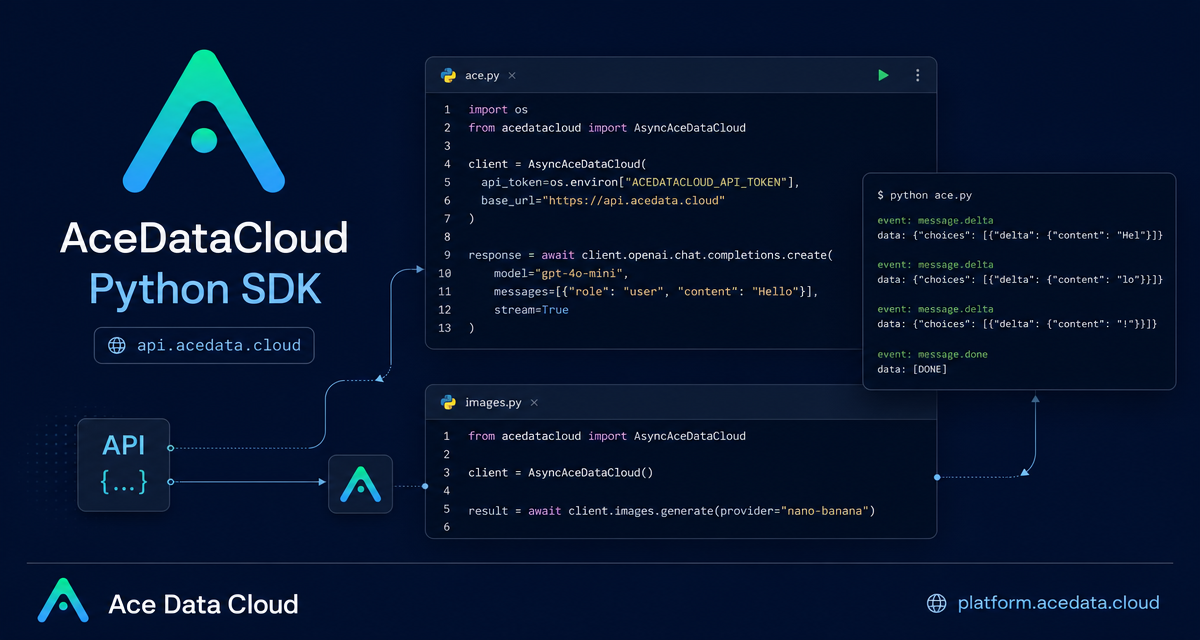
If you are wiring AI features into a Python service, the hard part is often not the first request. It is the boring production work around streaming, retries, async clients, response shapes, image tasks, and errors.
The Ace Data Cloud Python SDK is designed for that layer. It wraps services on api.acedata.cloud into Python methods such as client.openai.chat.completions.create(...), client.images.generate(...), and client.search.google(...), while keeping responses as ordinary dict objects.
What you can do
From the Python SDK documentation, the SDK supports a practical set of backend and automation use cases:
- Call OpenAI-compatible chat completions through
client.openai.chat.completions.create(...). - Consume SSE streaming by setting
stream=Trueand iterating over parsed chunk dictionaries. - Use
AsyncAceDataCloudin asyncio-based services such as FastAPI, aiohttp, or background workers. - Generate images through
client.images.generate(...), including the documented NanoBanana example. - Handle typed exceptions such as
AuthenticationError,RateLimitError, andValidationError. - Configure
base_url,platform_base_url,timeout,max_retries, and customheaders.
How it works
Install the package with pip:
pip install acedatacloudIf you want the SDK to pick up credentials automatically, export ACEDATACLOUD_API_TOKEN in your shell:
export ACEDATACLOUD_API_TOKEN={token}The SDK exposes two client classes: AceDataCloud for synchronous code and AsyncAceDataCloud for asyncio. One migration detail is worth noting early: according to the documentation, response bodies are returned as regular dict values rather than pydantic models. That makes the SDK easy to inspect and serialize, but it also means you should access nested fields the way you would with JSON.
A minimal synchronous chat call
For a backend endpoint, CLI script, or scheduled job, the synchronous client is usually the simplest starting point. The documentation uses gpt-4o-mini, messages, max_tokens, and temperature in the chat completion call:
import os, time, json
from acedatacloud import AceDataCloud

client = AceDataCloud(api_token=os.environ["ACEDATACLOUD_API_KEY"])

t0 = time.time()
res = client.openai.chat.completions.create(
    model="gpt-4o-mini",
    messages=[{"role": "user", "content": "Reply with exactly: ADC_PY_SDK_OK"}],
    max_tokens=20,
    temperature=0,
)

print("elapsed_ms", int((time.time() - t0) * 1000))
print("id", res["id"])
print("model", res["model"])
print("content", res["choices"][0]["message"]["content"])
print("usage", json.dumps({k: v for k, v in res["usage"].items()
                            if k in ("prompt_tokens", "completion_tokens", "total_tokens")}))
This example is useful because it shows the actual response path you will usually need in an app: res["choices"][0]["message"]["content"]. It also shows that res["usage"] is a dictionary, so you can log token counts without converting model objects.
Streaming tokens to a frontend
When you pass stream=True, create returns a regular generator. Each iteration yields a parsed chunk dictionary, so you can forward deltas to your own SSE response or WebSocket layer:
import os, time
from acedatacloud import AceDataCloud

client = AceDataCloud(api_token=os.environ["ACEDATACLOUD_API_KEY"])

t0 = time.time()
first_chunk_ms = None
chunks = 0
collected = []

for chunk in client.openai.chat.completions.create(
    model="gpt-4o-mini",
    messages=[{"role": "user", "content": "Count from 1 to 5, separated by single spaces, no extra text."}],
    max_tokens=30,
    temperature=0,
    stream=True,
):
    if first_chunk_ms is None:
        first_chunk_ms = int((time.time() - t0) * 1000)
    chunks += 1
    delta = (chunk.get("choices") or [{}])[0].get("delta", {}).get("content")
    if delta:
        collected.append(delta)

print("first_chunk_ms", first_chunk_ms)
print("chunks", chunks)
print("collected", "".join(collected).strip())
The important builder pattern here is defensive dictionary access. Streaming chunks are incremental, so not every frame necessarily contains the same nested fields. Using .get() keeps your loop resilient while still following the OpenAI SSE shape documented by the SDK guide.
Using AsyncAceDataCloud in a service
If your application is already async, use AsyncAceDataCloud. Its API is symmetrical to the synchronous client, but I/O methods return coroutines. The documentation also calls out that you should close the async client when the process exits:
import os, asyncio, time
from acedatacloud import AsyncAceDataCloud

async def main():
    client = AsyncAceDataCloud(api_token=os.environ["ACEDATACLOUD_API_KEY"])
    t0 = time.time()
    res = await client.openai.chat.completions.create(
        model="gpt-4o-mini",
        messages=[{"role": "user", "content": "Reply with exactly: ADC_PY_ASYNC_OK"}],
        max_tokens=20,
        temperature=0,
    )
    print("elapsed_ms", int((time.time() - t0) * 1000))
    print("id", res["id"])
    print("content", res["choices"][0]["message"]["content"])
    await client.close()

asyncio.run(main())
In a real FastAPI app, you would typically create one client for the application lifetime and close it during shutdown rather than constructing a new connection pool per request.
Generating an image with NanoBanana
The SDK guide includes an image generation example using client.images.generate with provider="nano-banana" and model="nano-banana". One detail is explicit: NanoBanana is synchronous in this SDK path, so you should not pass wait; the call blocks until the upstream returns 200.
import os, time
from acedatacloud import AceDataCloud

client = AceDataCloud(api_token=os.environ["ACEDATACLOUD_API_KEY"])

t0 = time.time()
res = client.images.generate(
    provider="nano-banana",
    model="nano-banana",
    prompt="A minimalist logo of a yellow banana on a white background, flat design",
)
print("elapsed_ms", int((time.time() - t0) * 1000))
print("task_id", res.get("task_id"))
print("trace_id", res.get("trace_id"))
data = res.get("data") or []
if data:
    print("image_url", data[0].get("image_url"))
The response shape matters: task_id and trace_id are available for tracing, while the generated asset is read from data[0]["image_url"] when present.
Configure retries, timeouts, and errors deliberately
The client constructor exposes the knobs you usually need in production:
from acedatacloud import AceDataCloud

client = AceDataCloud(
    api_token="...",
    base_url="https://api.acedata.cloud",
    platform_base_url="https://platform.acedata.cloud",
    timeout=300.0,
    max_retries=2,
    headers={"x-app": "my-service/1.0"},
)
The documented retry conditions include 408, 409, 429, 5xx, and network errors. The exception hierarchy also gives you clear branches for common failure modes: AuthenticationError for 401, RateLimitError for 429, ValidationError for 400, plus service-specific cases such as InsufficientBalanceError, ModerationError, TimeoutError, and TransportError.
My practical recommendation is to start with the smallest working chat call, add streaming only when the UI needs it, move to AsyncAceDataCloud when concurrency matters, and treat image generation as a separately observable workflow with logged task_id and trace_id.
For the full reference and the exact examples this guide is based on, read the Ace Data Cloud Python SDK Integration Guide.


Comments
Post a Comment