How to Build an Image Editing Workflow with the OpenAI Images Edits API
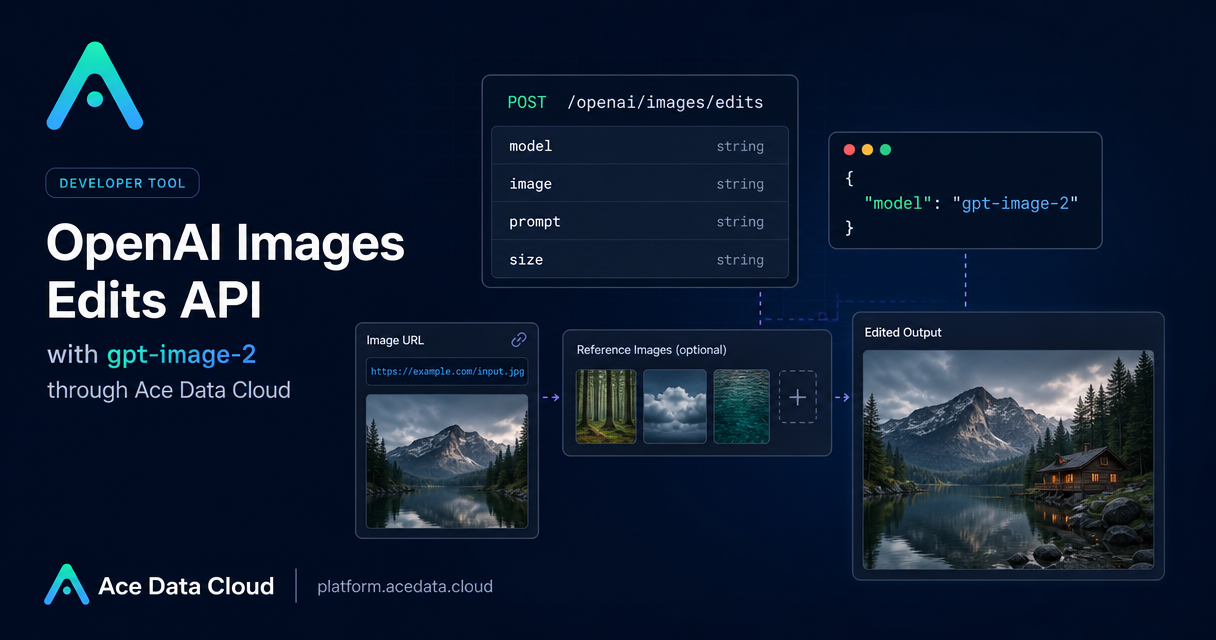
When you are building product tooling around images, the hard part is keeping structure stable while changing one thing: a background, a color system, a product arrangement, or a poster style. The OpenAI Images Edits API on Ace Data Cloud is useful for that workflow: you send one or more reference images plus instructions, and receive edited image outputs through a single API surface.
What you can do
The documented edits endpoint supports practical builder workflows:
- Edit an existing image from a URL using JSON.
- Pass up to 16 reference images.
- Send base64 image input through the
imagefield. - Use
gpt-image-2for higher-resolution redraws and layout preservation.
How it works
The primary endpoint is:
POST https://api.acedata.cloud/openai/images/editsFor gpt-image-2, call with application/json. Key fields are model, image, prompt, and optionally size. The image field can be a URL, base64 value, or an array of image URLs.
The size field accepts auto, an empty value, or a WIDTHxHEIGHT string. Custom dimensions must be multiples of 16, with long side no larger than 3840 and total pixels no larger than 8,294,400.
Start with URL-based editing
curl -X POST "https://api.acedata.cloud/openai/images/edits" \
  -H "Authorization: Bearer {token}" \
  -H "Content-Type: application/json" \
  -d '{
    "model": "gpt-image-2",
    "image": "https://platform.cdn.acedata.cloud/gpt-image/5c9fa635-8794-4c6d-88f8-584d7f4716c6_0.png",
    "prompt": "Convert this infographic to dark mode: dark navy background, light cream text, deep gray rounded module cards with soft shadows. Keep all layout, structure, and module arrangement identical — only invert the color scheme.",
    "size": "1024x1536"
  }'
The response includes success, task_id, trace_id, created, data, and elapsed. The edited image URL is returned under data[].url.
Use multiple references
payload = {
    "model": "gpt-image-2",
    "image": [
        "https://example.com/item1.png",
        "https://example.com/item2.png",
        "https://example.com/item3.png"
    ],
    "prompt": "Combine all the items above into a single gift basket on a clean white background, photorealistic, soft natural lighting.",
    "size": "1024x1024"
}
This is useful when the model should preserve specific objects but compose them into a new scene. Multipart uploads can repeat image[], such as -F "image[]=@a.png" -F "image[]=@b.png".
Choose the model line intentionally
The default gpt-image-2 line is the standard option. The documentation also lists gpt-image-2:official and gpt-image-2:reverse. The :official variant supports true 2K / 4K high resolution and returns an error if unavailable. The :reverse variant is described as equivalent to the default gpt-image-2.
The n parameter is supported from 1 to 10. response_format=b64_json only supports n=1; for more than one output, use URL return.
When to add asynchronous callbacks
For longer edits, include a callback_url field, receive a response containing task_id, and then receive the completed edited image result as a POST JSON to your callback URL.
A practical way to ship it
Start with JSON URL input and gpt-image-2. Store the original image URL, prompt, requested size, returned task_id, and final data[].url. That is enough for an internal tool, CMS pipeline, ecommerce dashboard, or design review flow.
Read the full API reference here: OpenAI Images Edits API Integration Guide.


Comments
Post a Comment