A Practical Guide to the OpenAI Responses API with Ace Data Cloud
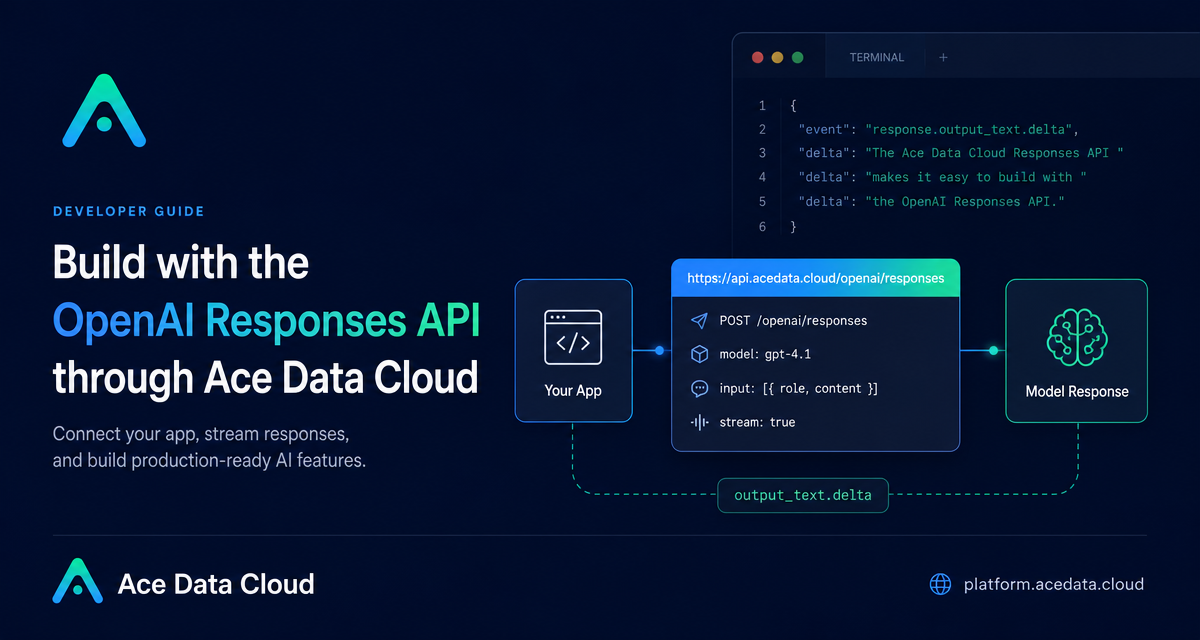
If you are building an assistant, code helper, document reader, or multimodal workflow, you eventually need one API shape that can handle more than a single chat message. The OpenAI Responses API gives you that shape: one request can carry text, image, or file input, and the response object gives you structured output, status, usage, and streaming events.
This guide walks through the practical parts of using the OpenAI Responses API through Ace Data Cloud: what to send, how to read the response, when to stream, and how to adapt the same request pattern for image and file inputs.
What you can do
The Responses API is useful when your application needs a model to produce text from flexible input. According to the Ace Data Cloud documentation, the request includes a model and an input array. Each item in input contains a role and content. The supported roles shown in the guide are user, assistant, and system.
That basic structure makes a few common builder tasks straightforward:
- Send a normal user message and receive a structured assistant response.
- Set response behavior with options such as
max_tokens,temperature,n,response_format,tools, andbackground. - Stream output for a web UI by setting
streamtotrue. - Pass multimodal content using
input_text,input_image, orinput_file.
How it works
The endpoint used in the guide is:
https://api.acedata.cloud/openai/responsesRequests use bearer-token authentication and JSON. A minimal call needs three things:
authorization: a bearer token in the request headers.model: for example,gpt-4.1.input: an array of messages, each withroleandcontent.
The response is not just a string. It is a response object with fields such as id, object, created_at, status, model, output, and usage. The actual assistant text appears inside output, under a message item whose content contains an output_text part.
Start with a plain text request
Here is a compact Python example based on the documented endpoint and request fields. Replace {token} with your Ace Data Cloud API token before running it.
import requests

url = "https://api.acedata.cloud/openai/responses"

headers = {
    "accept": "application/json",
    "authorization": "Bearer {token}",
    "content-type": "application/json"
}

payload = {
    "model": "gpt-4.1",
    "input": [
        {"role": "user", "content": "Hello"}
    ]
}

response = requests.post(url, json=payload, headers=headers)
print(response.text)
For production code, avoid treating the response as plain text. Parse the JSON and check status. A completed response in the documentation uses status: completed, and the generated answer is nested under output. Token accounting appears in usage, including input_tokens, output_tokens, and total_tokens.
Add streaming for interactive interfaces
If you are building a chat surface, a terminal assistant, or an IDE side panel, waiting for the whole response can make the product feel slower than it is. The guide shows streaming by adding stream: True to the request payload:
payload = {
    "model": "gpt-4.1",
    "input": [{"role": "user", "content": "Hello"}],
    "stream": True
}
With streaming enabled, the API returns JSON data line by line. The documented event sequence includes types such as response.created, response.in_progress, response.output_item.added, response.content_part.added, response.output_text.delta, response.output_text.done, and response.completed.
In a UI, response.output_text.delta is the event you normally append to the visible answer. The terminal state is response.completed, which is where you can finalize logs, store the message, or update usage metadata.
Use image input when text is not enough
The same endpoint can accept image input. The documented pattern is to make content an array containing an input_text item plus an input_image item:
{
  "model": "gpt-4.1",
  "input": [
    {
      "role": "user",
      "content": [
        {"type": "input_text", "text": "what is in this image?"},
        {
          "type": "input_image",
          "image_url": "https://upload.wikimedia.org/wikipedia/commons/thumb/d/dd/Gfp-wisconsin-madison-the-nature-boardwalk.jpg/2560px-Gfp-wisconsin-madison-the-nature-boardwalk.jpg"
        }
      ]
    }
  ]
}
This is a useful shape for product support tools, content moderation review queues, visual QA, and internal knowledge workflows where the user’s question and the referenced image should travel together in one request.
Use file input for document workflows
The guide also shows file processing with input_file and file_url. The structure is nearly identical to the image example:
{
  "model": "gpt-4.1",
  "input": [
    {
      "role": "user",
      "content": [
        { "type": "input_text", "text": "what is in this file?" },
        {
          "type": "input_file",
          "file_url": "https://www.berkshirehathaway.com/letters/2024ltr.pdf"
        }
      ]
    }
  ]
}
That makes the API practical for document summarization, report triage, and internal research assistants. Keep the application logic simple: pass the file URL, ask a specific question, then read the answer from output and the token statistics from usage.
A few implementation notes
- Use
temperaturewhen you need to control randomness. The documented range is0to2. - Use
max_tokenswhen you need to cap a single response. - Use
nonly when your application genuinely needs multiple candidate responses. - Use
backgroundfor asynchronous work rather than blocking a user-facing request. - Log
id,status,model, andusagefor observability.
The main design idea is simple: treat the Responses API as a structured task endpoint, not just a chat endpoint. Put the user’s intent and related media or files into input, choose a model, then handle either a completed JSON response or a stream of incremental events.
For the full reference and examples, read the OpenAI Responses API Integration Guide.


Comments
Post a Comment