A Practical Guide to Editing Images with GPT-Image-2
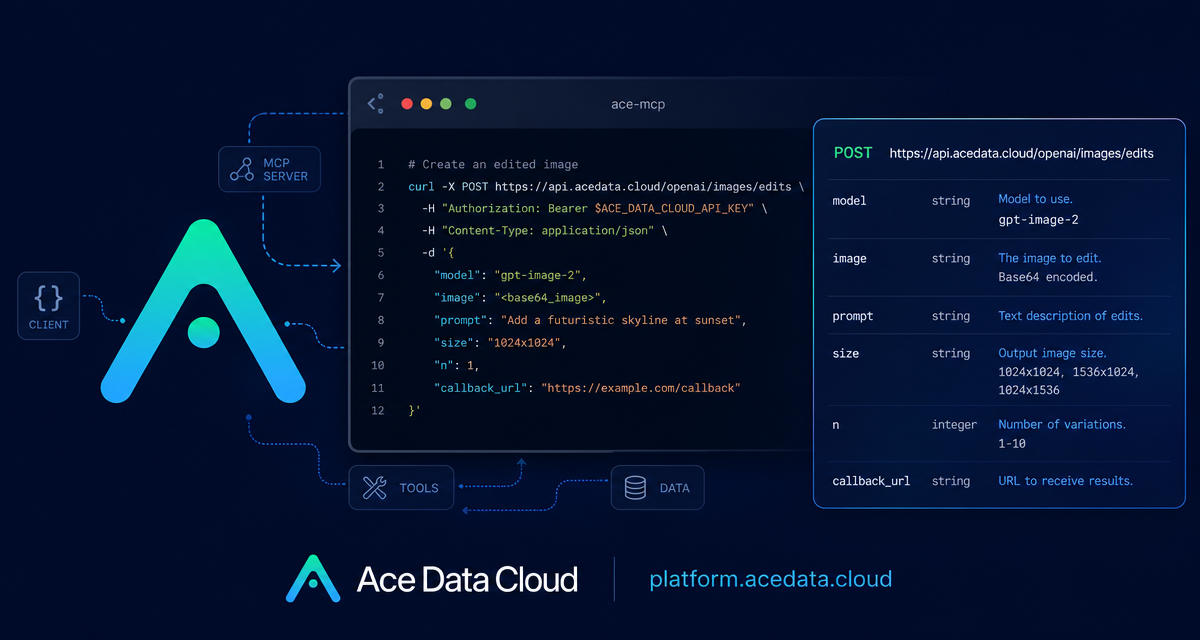
Image editing pipelines often fail at the boring but important part: keeping the original structure intact while changing only the thing you asked for. The OpenAI Images Edits API on Ace Data Cloud gives builders a practical way to send an existing image, describe the edit, and receive a modified image through an OpenAI-compatible workflow.
What you can do
The editing endpoint is useful when you already have a source image and need controlled changes rather than a brand-new generation. Based on the documentation, you can:
- Use
gpt-image-2to edit an image while keeping layout, composition, and text more stable than earlier image-editing workflows. - Pass the
imagefield as a direct URL in JSON, avoiding a local download step in server-side pipelines. - Pass
imageas base64, either with adata:image/png;base64,...prefix or as raw base64. - Provide multiple reference images by sending
imageas an array, up to 16 images for GPT Image series models. - Generate multiple edited results with
nfrom 1 to 10, while using URL output forn>1.
How it works
The main endpoint is:
POST https://api.acedata.cloud/openai/images/editsFor the recommended JSON flow, the core fields are model, image, prompt, and optionally size. The document focuses on gpt-image-2, while the same interface also supports gpt-image-1 and the Nano Banana model family for editing scenarios.
A good mental model is simple: the source image defines what must be preserved, and the prompt defines what should change. If you care about layout preservation, say so explicitly. For example: “Keep all layout, structure, and module arrangement identical — only invert the color scheme.”
Start with JSON and an image URL
The most convenient path for backend work is JSON input with an image URL. You do not need to download the image, open a multipart stream, or re-upload it from your server.
curl -X POST "https://api.acedata.cloud/openai/images/edits" \
  -H "Authorization: Bearer {token}" \
  -H "Content-Type: application/json" \
  -d '{
    "model": "gpt-image-2",
    "image": "https://platform.cdn.acedata.cloud/gpt-image/5c9fa635-8794-4c6d-88f8-584d7f4716c6_0.png",
    "prompt": "Convert this infographic to dark mode: dark navy background, light cream text, deep gray rounded module cards with soft shadows. Keep all layout, structure, and module arrangement identical — only invert the color scheme.",
    "size": "1024x1536"
  }'
The documented response includes success, task_id, trace_id, created, data, and elapsed. Each item in data can include a revised_prompt and a hosted image url.
{
  "success": true,
  "task_id": "cb104e35-af1f-45be-9fac-b62e2b256753",
  "trace_id": "3e5c77c6-6c2e-4bba-a42d-98ea049b58a8",
  "created": 1777048863,
  "data": [
    {
      "revised_prompt": "Convert this infographic to dark mode: dark navy background, light cream text, deep gray rounded module cards with soft shadows. Keep all layout, structure, and module arrangement identical — only invert the color scheme.",
      "url": "https://platform.cdn.acedata.cloud/gpt-image/cb104e35-af1f-45be-9fac-b62e2b256753_0.png"
    }
  ],
  "elapsed": 83.859
}
Use Python when you need local control
If your pipeline already manages files locally, the OpenAI-compatible SDK flow is also supported. Configure the SDK base URL as https://api.acedata.cloud/openai and use your Ace Data Cloud token as the API key.
import base64
from openai import OpenAI

client = OpenAI()

result = client.images.edit(
    model="gpt-image-2",
    image=[open("test.png", "rb")],
    prompt="Convert this image to dark mode while keeping the layout intact."
)

image_base64 = result.data[0].b64_json
image_bytes = base64.b64decode(image_base64)

with open("edited.png", "wb") as f:
    f.write(image_bytes)
This is the path I would choose for command-line tools, design QA scripts, or batch jobs where images already live on disk. For web apps, the JSON URL method is usually easier to operate.
Handle multiple references and output size deliberately
For composition tasks, image can be an array. The document’s example combines several product photos into a single gift basket:
payload = {
    "model": "gpt-image-2",
    "image": [
        "https://example.com/item1.png",
        "https://example.com/item2.png",
        "https://example.com/item3.png"
    ],
    "prompt": "Combine all the items above into a single 'Relax & Unwind' gift basket on a clean white background, photorealistic, soft natural lighting.",
    "size": "1024x1024"
}
When choosing size, use auto, leave it empty, or provide a WIDTHxHEIGHT value. Custom dimensions must have both width and height as multiples of 16, the long side must be no more than 3840, and total pixels must be no more than 8,294,400. Common recommended sizes include 1024x1024, 2048x1152, and 3840x2160.
When to use callbacks
Image editing can take time. Instead of keeping a request open in a production system, the API supports an asynchronous callback mechanism through callback_url. Include callback_url in the request, receive a result containing task_id, and then receive the completed image result as a POST JSON to your callback endpoint. Use task_id to associate the callback with your original job record.
A few practical prompt rules
- Be explicit about what must remain unchanged: layout, object count, text, perspective, or composition.
- For UI or infographic edits, describe the color change and preservation requirement separately.
- For product workflows, use multiple references only when the final image truly needs information from each source.
- If you request multiple outputs with
n>1, use URL output rather thanresponse_format=b64_json, because base64 output only supportsn=1.
The useful part of this API is not that it “makes images.” It is that it lets you keep an existing visual asset as the source of truth, then make a constrained edit from code. That is the difference between a fun demo and a workflow you can wire into a product, CMS, internal design tool, or QA pipeline.
Read the full reference in the OpenAI Images Edits API Integration Guide.


Comments
Post a Comment