A Practical Guide to Configuring Claude Code with CC Switch
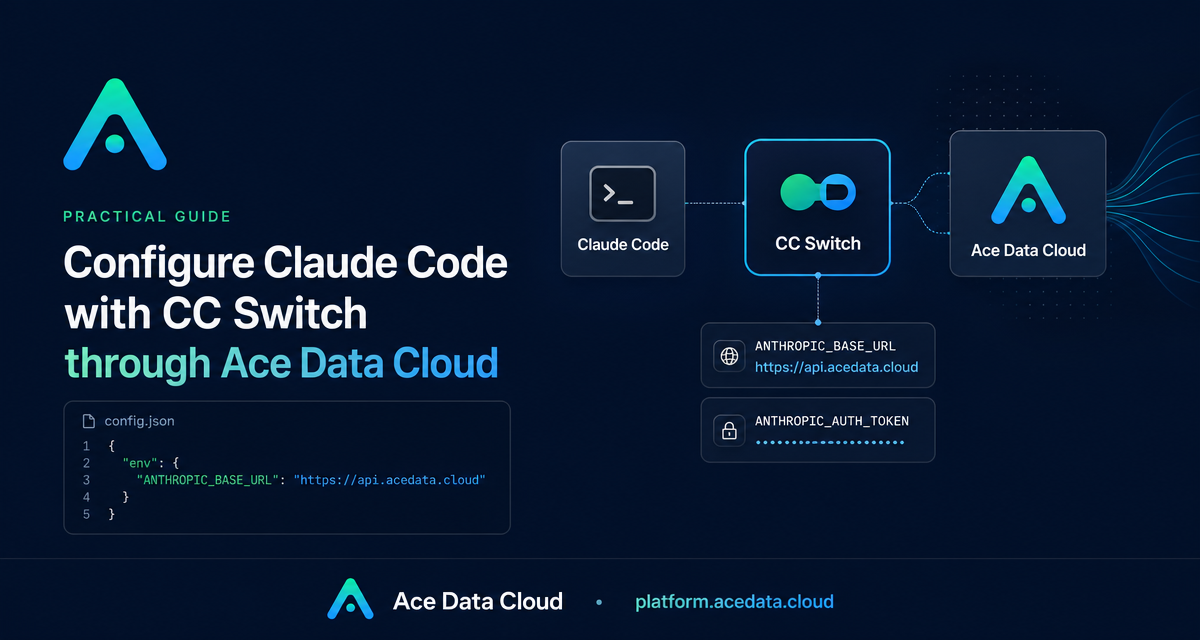
If you use Claude Code across a terminal, an IDE, and sometimes a remote machine, the painful part is often not the model call itself. It is keeping the same provider configuration in sync without editing dotfiles by hand.
What you can do
This guide shows a practical setup for using CC Switch as the graphical configuration layer for Claude Code, with Ace Data Cloud as the provider endpoint. The goal is simple: configure the provider once, switch it from a desktop UI or tray menu, and let Claude Code read the generated configuration.
By the end, you will have a provider entry that sets:
ANTHROPIC_BASE_URLtohttps://api.acedata.cloudANTHROPIC_AUTH_TOKENto your Ace Data Cloud API tokenCLAUDE_CODE_AUTO_COMPACT_WINDOWto850000
The same configuration can then be reused by Claude Code in the terminal and by the VS Code extension because CC Switch writes the user-level Claude Code configuration.
How it works
Claude Code decides where to send requests through the environment variables ANTHROPIC_BASE_URL and ANTHROPIC_AUTH_TOKEN. CC Switch gives you a graphical interface for managing these values instead of manually editing files such as settings.json, config.toml, or .env.
In this setup, CC Switch creates a custom provider for Claude Code. When you enable that provider, it dynamically overrides Claude Code’s Anthropic-compatible configuration and points requests to Ace Data Cloud at https://api.acedata.cloud. Ace Data Cloud uses the native Anthropic Messages protocol, so the API format can stay on the default Anthropic Messages option.
CC Switch also stores its own local data in a SQLite database at ~/.cc-switch/cc-switch.db. Its atomic writing approach uses a temporary file plus rename strategy, which helps avoid corrupted configuration files when switching providers.
1. Get an API token ready
Before opening CC Switch, sign in to the Ace Data Cloud console and copy the API token you want Claude Code to use. Treat it like any other secret: do not commit it to a repository, paste it into screenshots, or share it in issue threads.
The token will become the value of ANTHROPIC_AUTH_TOKEN. The base URL is not secret; it is the provider endpoint https://api.acedata.cloud.
2. Install and open CC Switch
Install CC Switch for your operating system. The documented options include Windows installers or portable builds, macOS packages or brew install --cask cc-switch, and Linux builds such as .deb, .rpm, or .AppImage. On first launch, CC Switch can import an existing CLI configuration as the default provider, which is useful if you already have Claude Code working locally.
Once the app is open, switch the top application selector to Claude Code. That matters because the provider you add should be scoped to Claude Code, not to another tool profile.
3. Add Ace Data Cloud as a custom provider
Click the add provider button, choose the app-specific provider flow, and select Custom from the preset dropdown. Then fill in the provider fields:
- Name:
Ace Data Cloud - Base URL:
https://api.acedata.cloud - API Key / Token: your Ace Data Cloud API token
If you prefer to work in the JSON editor, use this configuration shape:
{
  "env": {
    "ANTHROPIC_AUTH_TOKEN": "{token}",
    "ANTHROPIC_BASE_URL": "https://api.acedata.cloud",
    "CLAUDE_CODE_AUTO_COMPACT_WINDOW": "850000"
  }
}
Replace {token} with your actual token. The CLAUDE_CODE_AUTO_COMPACT_WINDOW value sets the automatic compression trigger window to about 850,000 tokens. It leaves space for tool results and final answers; it does not change the model’s context limit.
4. Enable the provider and verify it
After saving the provider, find the Ace Data Cloud card in the Claude Code provider list and click Enable. CC Switch can also switch providers from the system tray, so you do not need to keep the full window open just to change vendors.
To verify the setup from a terminal, start Claude Code and run:
claude
/status
The status output should show the Anthropic base URL as https://api.acedata.cloud. If it still points somewhere else, re-check that the enabled provider is the Claude Code provider and that the custom provider was saved under the right application tab.
5. Use the same setup in VS Code
CC Switch writes the configuration that Claude Code reads at the user level, so the terminal CLI and the VS Code Claude Code extension can share the same provider. After the provider is enabled, install or open the extension and let it reuse the existing configuration rather than entering the same values again.
For remote development over VS Code Remote - SSH, remember that the remote host cannot read your local environment variables directly. The documented pattern is to use CC Switch’s local proxy feature and SSH RemoteForward so the remote Claude Code process can reach the local provider through a forwarded port.
Common mistakes to avoid
- Do not put the token in
ANTHROPIC_BASE_URL; the token belongs inANTHROPIC_AUTH_TOKEN. - Do not change the API format away from
Anthropic Messagesfor this setup. - Do not assume remote SSH sessions inherit local desktop configuration; plan for forwarding if the CLI runs on a remote host.
- Do not treat
CLAUDE_CODE_AUTO_COMPACT_WINDOWas a context-limit setting. It only controls when automatic compaction is triggered.
Wrapping up
The main benefit of this workflow is not magic; it is boring reliability. CC Switch gives you a clean UI for provider switching, while Claude Code continues to read standard Anthropic-compatible variables. If your daily work moves between terminal, VS Code, and occasional remote machines, that small layer of configuration discipline saves real time.
Read the full source documentation here: Claude Code CC Switch Setup Guide.


Comments
Post a Comment