A Practical Guide to Building with the Claude Messages API
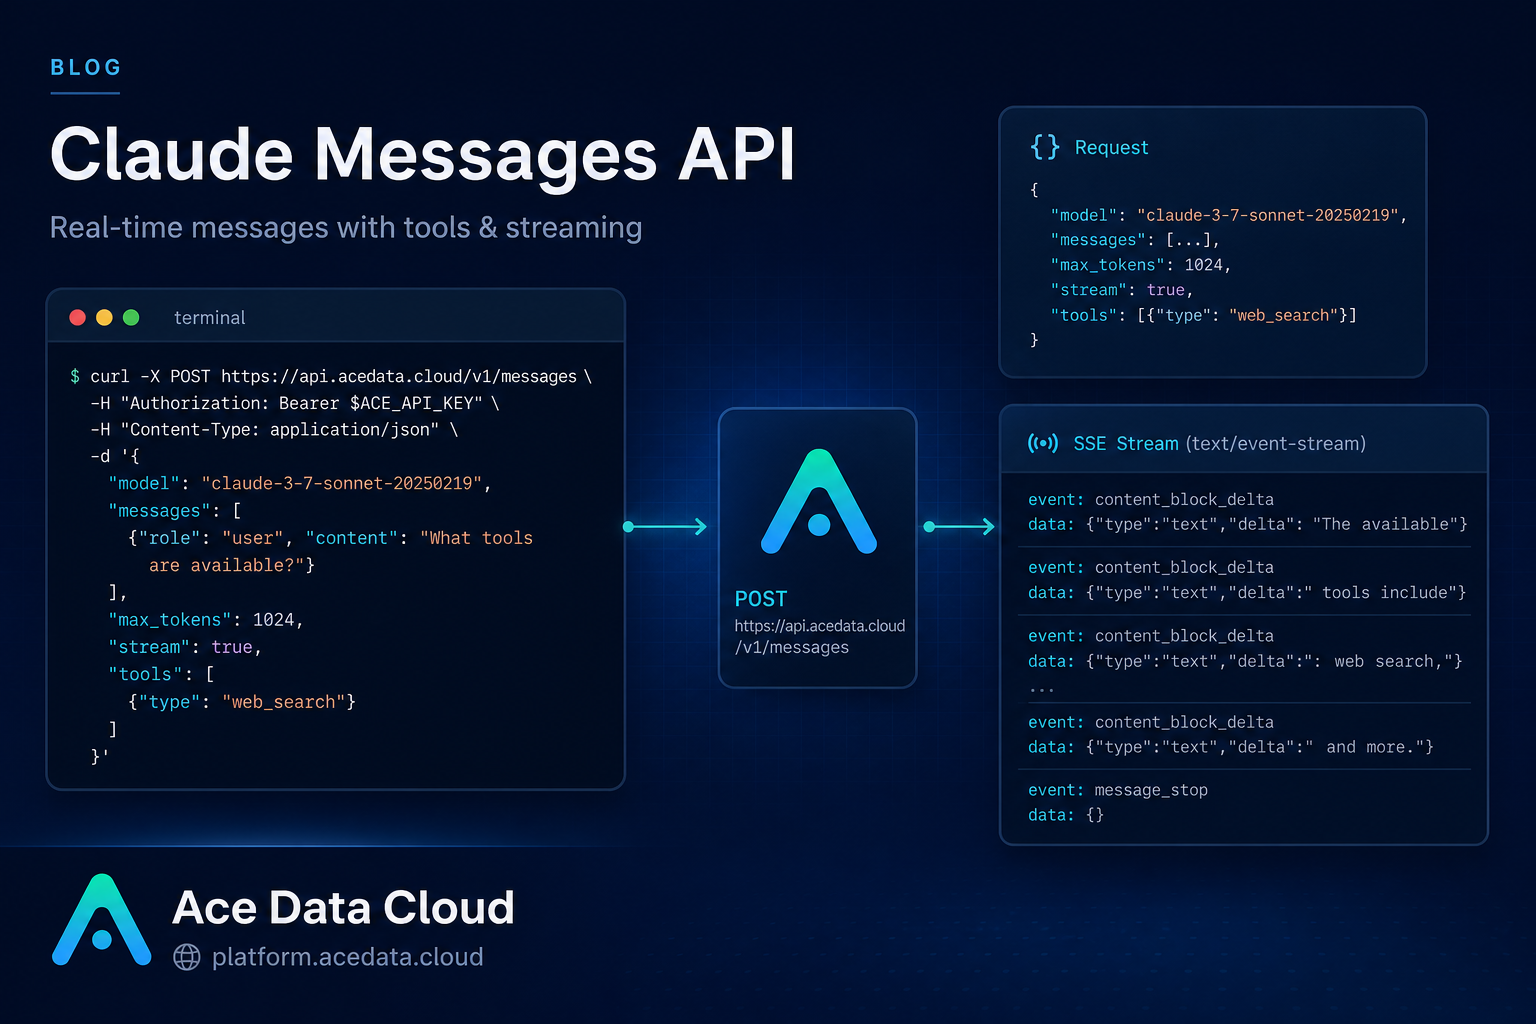
If you are building an AI feature that needs more than a single prompt-and-response call, the shape of your API matters: you need conversation history, streaming output, image input, and a predictable way to let the model call your own functions.
What you can do
The Claude Messages API on Ace Data Cloud uses Anthropic's native Messages format at POST https://api.acedata.cloud/v1/messages. That makes it a good fit when you want to work with Claude-style request and response structures instead of forcing everything through an OpenAI-compatible chat schema.
From the integration guide, the same endpoint supports several useful patterns:
- Basic text conversations with
model,messages, andmax_tokens. - System-level behavior control through the
systemfield. - Streaming responses with
stream: trueand Server-Sent Events. - Multi-turn conversation by passing prior
userandassistantmessages. - Extended Thinking through a
thinkingobject withtypeandbudget_tokens. - Vision input by sending image content blocks using either Base64 data or a URL source.
- Tool use with
tools,tool_choice,tool_use, andtool_result.
How it works
The request is a JSON payload sent to https://api.acedata.cloud/v1/messages with an authorization: Bearer {token} header. At minimum, the body needs three fields:
model: for example,claude-sonnet-4-20250514.messages: an array of message objects. Each message contains aroleandcontent. Supported roles in the guide areuserandassistant.max_tokens: the maximum number of output tokens for one reply.
Optional fields let you tune the behavior. temperature controls generation randomness between 0 and 1, stop_sequences lets you define custom stop text, and top_p / top_k affect sampling. For interactive apps, stream is the most important switch because it changes the response from a single JSON object into an event stream.
Start with the smallest useful request
Here is the basic cURL call from the guide, adapted as the smallest sanity check you can run from a terminal. Replace {token} with your Ace Data Cloud API token.
curl -X POST 'https://api.acedata.cloud/v1/messages'   -H 'accept: application/json'   -H 'authorization: Bearer {token}'   -H 'content-type: application/json'   -d '{
    "model": "claude-sonnet-4-20250514",
    "max_tokens": 1024,
    "messages": [
      {
        "role": "user",
        "content": "Hello, Claude"
      }
    ]
  }'
A successful response is a message object. The useful fields to log in development are id, model, stop_reason, and usage. The assistant's actual answer is returned inside content, where each block has a type, such as text.
{
  "type": "message",
  "role": "assistant",
  "content": [
    {
      "type": "text",
      "text": "Hi! My name is Claude. How can I help you today?"
    }
  ],
  "stop_reason": "end_turn",
  "usage": {
    "input_tokens": 12,
    "output_tokens": 15
  }
}
Add a system prompt when the product needs a role
Most production features need more direction than the user's message alone. The system field is where you define the assistant's job. The guide shows a translation assistant example, but the same pattern applies to documentation helpers, support triage, code review assistants, or content moderation workflows.
import requests

url = "https://api.acedata.cloud/v1/messages"

headers = {
    "accept": "application/json",
    "authorization": "Bearer {token}",
    "content-type": "application/json"
}

payload = {
    "model": "claude-sonnet-4-20250514",
    "max_tokens": 1024,
    "system": "You are a professional Chinese translation assistant. Please translate the user's input from English to Chinese.",
    "messages": [
        {"role": "user", "content": "The quick brown fox jumps over the lazy dog."}
    ]
}

response = requests.post(url, json=payload, headers=headers)
print(response.json())
In a real application, I usually keep the system prompt versioned beside the code that calls the API. That makes behavior changes reviewable and prevents prompt edits from becoming invisible production changes.
Stream responses for a better user experience
If your UI waits for the entire response before rendering, long answers can feel broken. Set stream to true to receive Server-Sent Events. The guide lists event types such as message_start, content_block_start, content_block_delta, content_block_stop, message_delta, and message_stop.
The most important event for the UI is content_block_delta. Its delta can contain type: "text_delta" and a text fragment. Append those fragments in order and you have the live assistant output.
const options = {
  method: "POST",
  headers: {
    accept: "application/json",
    authorization: "Bearer {token}",
    "content-type": "application/json",
  },
  body: JSON.stringify({
    model: "claude-sonnet-4-20250514",
    max_tokens: 1024,
    stream: true,
    messages: [{ role: "user", content: "Hello, Claude" }],
  }),
};

const response = await fetch("https://api.acedata.cloud/v1/messages", options);
const reader = response.body.getReader();
const decoder = new TextDecoder();

while (true) {
  const { done, value } = await reader.read();
  if (done) break;
  console.log(decoder.decode(value));
}
Pass history, images, and tools as the app grows
For multi-turn chat, the API does not magically remember your session. You pass the conversation history yourself by alternating user and assistant messages in the messages array. This is useful because you decide exactly how much context to keep, summarize, or drop.
For visual workflows, content can be an array instead of a plain string. The guide shows image blocks with type: "image" and a source. URL image input uses source.type: "url" plus a url; Base64 image input uses source.type: "base64", media_type, and data. Supported image formats in the guide are image/jpeg, image/png, image/gif, and image/webp.
Tool use follows the same explicit pattern. You define functions in tools with a name, description, and input_schema. When Claude decides it needs a function, the response can include a tool_use content block and stop_reason: "tool_use". Your code executes the real function, then sends the result back as tool_result.
A practical implementation checklist
- Log
stop_reason. It tells you whether the response ended normally, reachedmax_tokens, hit a stop sequence, or needs tool execution. - Track
usage.input_tokensandusage.output_tokensduring development so prompts do not grow unnoticed. - Keep
max_tokenshigher thanthinking.budget_tokenswhen using Extended Thinking, as the guide notes. - For streaming, treat SSE parsing as application code, not demo code. Reconnect behavior, partial lines, and UI buffering matter.
- For image input, validate the image format before sending it. The documented formats are JPEG, PNG, GIF, and WebP.
The nice part of this API shape is that it scales from a one-file terminal test to a real assistant with streamed output, memory managed by your app, vision input, and tool calls. Start with the small cURL request, then add only the fields your product actually needs.
Read the full Ace Data Cloud documentation here: Claude Messages API Integration Guide.


Comments
Post a Comment