How to Use Codex CLI with Ace Data Cloud in Your Terminal
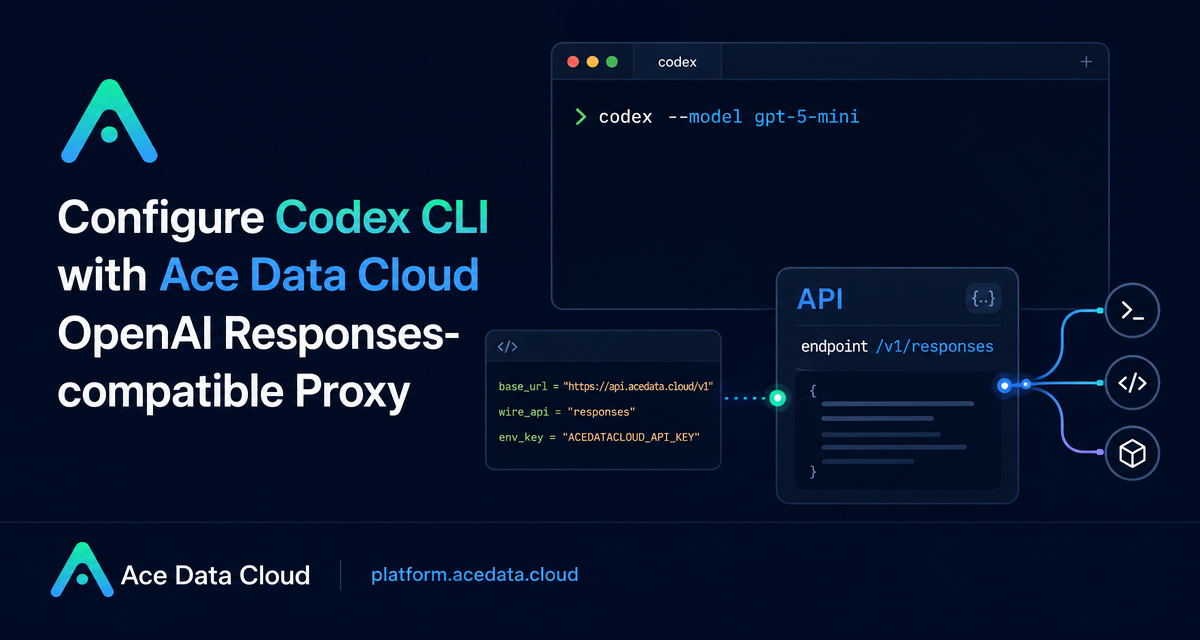
When a coding agent runs in your terminal, the hard part is not the chat interface. It is making sure the CLI reads the right provider configuration, sends requests to the right API protocol, and behaves safely inside each project.
This guide walks through configuring Codex CLI to use Ace Data Cloud as an OpenAI Responses-compatible provider, while keeping the native codex terminal workflow intact.
What you can do
Codex CLI is a local programming agent that runs from the terminal. According to the Ace Data Cloud documentation, it can read code, modify files, execute commands, explain errors, and assist with everyday development tasks. The useful part for builders is that Codex CLI supports custom model providers, so you can point the CLI at Ace Data Cloud instead of changing your workflow or adding a separate local proxy.
Once configured, the CLI sends requests to https://api.acedata.cloud/v1. For the Responses protocol specifically, the effective endpoint is https://api.acedata.cloud/v1/responses.
How it works
The integration is mostly configuration. Codex CLI reads a global TOML file at ~/.codex/config.toml, finds the selected model_provider, then loads the matching [model_providers.acedatacloud] block. In that block, base_url tells Codex where to send traffic, env_key tells it which environment variable contains your API token, and wire_api = "responses" tells it to use the OpenAI Responses API protocol.
The request flow is straightforward:
- Codex CLI reads
model_provider = "acedatacloud"from~/.codex/config.toml. - It reads the API token from
ACEDATACLOUD_API_KEY. - It sends the request using
wire_api = "responses"tobase_url + /responses. - Ace Data Cloud verifies the token, checks available quota, forwards the request to an available upstream model channel, and records usage after completion.
The result is that you keep using the original codex command and interactive terminal experience, while the underlying model service is provided through Ace Data Cloud.
Install Codex CLI
Codex CLI supports macOS, Linux, Windows, and WSL. If you already have Node.js installed, the documented npm path is the most direct one. It requires Node.js 18 or higher.
npm install -g @openai/codexOn macOS, Homebrew is also supported:
brew install --cask codexAfter installation, reopen your terminal and check that the command is available:
codex --versionIf you see command not found, your current shell probably has not loaded the updated PATH. Close and reopen the terminal, or check the path instructions printed by the installer.
Configure Ace Data Cloud as the provider
First, store your Ace Data Cloud API token in a shell environment variable. The docs recommend writing it to a shell profile such as ~/.zshrc, ~/.bashrc, or ~/.bash_profile:
export ACEDATACLOUD_API_KEY="{token}"Replace {token} with the API token copied from the Ace Data Cloud Console. Then reload your shell configuration. For example, if you use zsh:
source ~/.zshrcNext, create the Codex configuration file if it does not already exist:
mkdir -p ~/.codex
touch ~/.codex/config.toml
Write the provider configuration below into ~/.codex/config.toml:
model_provider = "acedatacloud"
model = "gpt-5"
model_reasoning_effort = "high"

[model_providers.acedatacloud]
name = "Ace Data Cloud"
base_url = "https://api.acedata.cloud/v1"
env_key = "ACEDATACLOUD_API_KEY"
wire_api = "responses"
The key fields are worth understanding. model_provider must match the provider block name. model sets the default model used by Codex CLI. model_reasoning_effort accepts common values such as low, medium, and high. base_url points to the Ace Data Cloud OpenAI Responses proxy, env_key names the environment variable Codex reads for the token, and wire_api must be responses for this integration.
Clear old login state before switching providers
If you previously logged into Codex CLI with an official OpenAI account, the local login state may be cached in ~/.codex/auth.json. The docs recommend clearing it before switching to the Ace Data Cloud provider:
codex logoutIf that command is not available, remove the cached auth file manually:
rm -f ~/.codex/auth.jsonIf you have never logged into another provider from Codex CLI, you can skip this step.
Start a session and verify the active provider
Move into a project directory and start Codex CLI:
cd /path/to/your/project
codex
Inside the interactive interface, you can ask something simple first:
Explain the directory structure of this projectTo verify the active model and provider, run:
/modelYou should see output similar to:
Model: gpt-5
Provider: acedatacloud
If the provider is not acedatacloud, recheck that ~/.codex/config.toml was saved correctly and that ACEDATACLOUD_API_KEY is readable in the current terminal.
Switch models per task
The model field in ~/.codex/config.toml controls the default. The Ace Data Cloud documentation lists commonly supported models including gpt-5, gpt-5-mini, gpt-5.6-sol, gpt-5.6-terra, gpt-5.6-luna, gpt-5.5, gpt-5.5-pro, gpt-4.1, o3, and o4-mini.
For a lightweight task, you can temporarily override the model when starting Codex:
codex --model gpt-5-miniFor a permanent change, edit the model field in ~/.codex/config.toml and restart Codex CLI.
Use project trust levels deliberately
Codex CLI can apply different trust levels per project. This matters because the agent may execute commands and modify files. For known repositories, you may choose trusted; for unfamiliar codebases, untrusted is safer.
[projects."/path/to/trusted/project"]
trust_level = "trusted"

[projects."/path/to/untrusted/project"]
trust_level = "untrusted"
In the docs, trusted gives the agent full permissions to execute commands and modify files, while untrusted limits what it can do. My default habit is to start new or third-party projects as untrusted, then promote them only after I understand the repository and the tasks I want the agent to handle.
Closing notes
This setup is small, but it removes a lot of friction: one terminal command, one TOML provider block, one environment variable, and the Responses-compatible endpoint at https://api.acedata.cloud/v1/responses. If you already use Codex CLI, this is a practical way to keep the same local agent workflow while routing model requests through Ace Data Cloud.
Read the full reference here: Codex CLI Terminal User Guide.


Comments
Post a Comment