How to Use Claude Code in VS Code with Ace Data Cloud
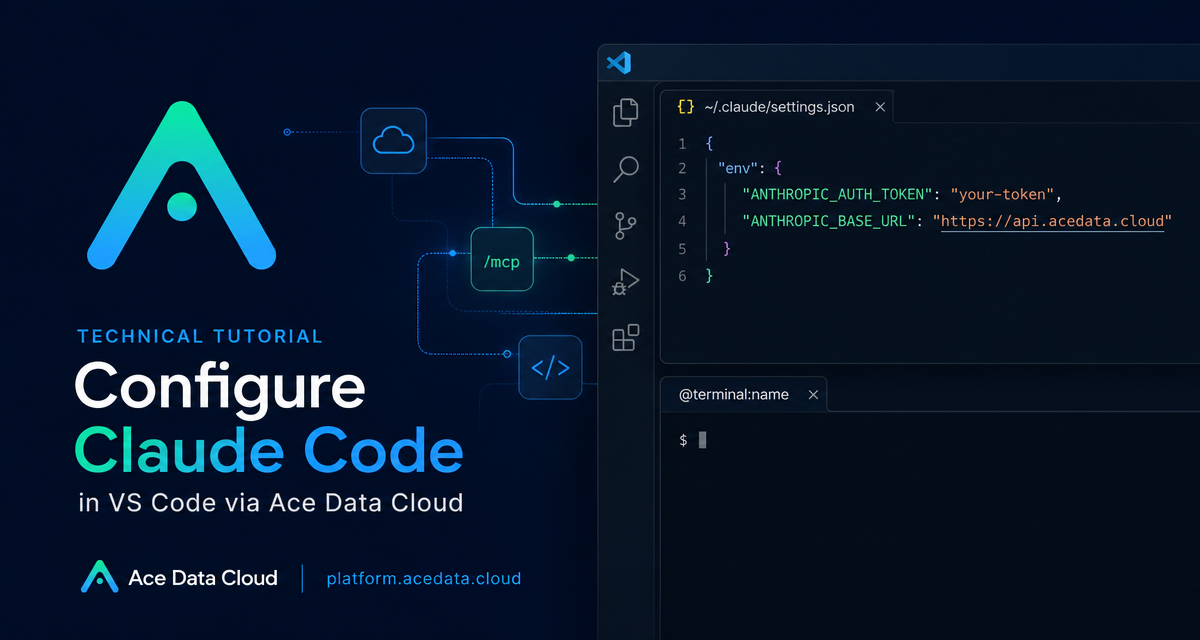
When an AI coding agent can inspect a repository, propose edits, and keep the review loop inside the editor, it starts to feel like a practical development tool rather than a disconnected chat window. This guide walks through a VS Code setup for Claude Code using Ace Data Cloud as the API base, then shows how to use the extension in a controlled, reviewable workflow.
What you can do
The Claude Code extension for VS Code provides a native editor interface with inline diff views, @-mentions, plan reviews, slash commands, conversation history, and permission modes. That combination is useful when you want the agent to work with real project context while still letting you inspect every file change.
- Ask for an architecture pass across a repository.
- Reference a file, directory, selected range, or terminal output.
- Request a bug fix, refactor, or unit tests.
- Review proposed edits in a diff before accepting them.
- Run separate conversations in new tabs or windows for parallel tasks.
How it works
The setup is based on Claude Code settings files. A user-level file at ~/.claude/settings.json applies across projects. A project-level file at .claude/settings.json or .claude/settings.local.json applies to the current repository, and project-level configuration takes precedence over the user-level one.
The two documented fields you need are ANTHROPIC_AUTH_TOKEN and ANTHROPIC_BASE_URL. The base URL should be https://api.acedata.cloud. The token is your Ace Data Cloud API token, and Claude Code automatically adds the Bearer prefix when sending it to the server.
Install the extension
Start with the documented system requirement: VS Code 1.98.0 or higher. Cursor is also supported because it is compatible with VS Code extensions.
Open the extension view with Cmd+Shift+X on macOS or Ctrl+Shift+X on Windows and Linux. Search for Claude Code, choose the extension published by Anthropic, and install it. If the extension does not appear after installation, restart VS Code or run Developer: Reload Window from the command palette.
Configure Ace Data Cloud as the API base
For a single developer machine, the user-level settings file is often enough. For a team repository, a project-level file can document the API base while personal secrets stay in .claude/settings.local.json.
Use this JSON shape:
{
  "env": {
    "ANTHROPIC_AUTH_TOKEN": "{token}",
    "ANTHROPIC_BASE_URL": "https://api.acedata.cloud"
  }
}
In a shared repository, keep non-secret configuration in .claude/settings.json and put personal token values in .claude/settings.local.json. That keeps the workflow reproducible without committing private credentials.
Open Claude Code in VS Code
After configuration, reopen the Claude Code panel. The documentation lists several entry points: click the spark icon in the editor toolbar when a file is open, click ✱ Claude Code in the status bar, search for Claude Code in the command palette with Cmd+Shift+P or Ctrl+Shift+P, or use Cmd+Esc on macOS and Ctrl+Esc on Windows/Linux to switch focus.
Unlike many assistant sidebars, Claude Code opens as an editor view by default. That gives the conversation, diffs, and longer context more room, while still letting you move the panel to another area if you prefer.
Reference the right context
The most important habit is to give the agent precise context. Claude Code supports @-mentions for files and other project references:
@filename.pyreferences a specific file with fuzzy matching.@src/components/references a directory, including the trailing slash.@terminal:namereferences terminal output.
When you select code in the editor, Option+K on macOS or Alt+K on Windows/Linux can insert a range reference such as @app.ts#5-10. This is useful for focused prompts like “refactor this function” or “write tests for this path” because the agent does not have to guess which part of the codebase matters.
Use slash commands and permission modes
Typing / opens built-in commands. The documented common commands include /new, /model, /compact, /mcp, /config, /usage, /memory, and /help.
For code edits, pay attention to permission modes. Default (Ask) asks before each operation. Plan makes Claude propose a plan first and execute only after approval. acceptEdits automatically accepts file edits while terminal commands still require confirmation. bypassPermissions skips prompts and should only be used in trusted project contexts.
A practical first workflow
- Open a repository in VS Code.
- Add
ANTHROPIC_AUTH_TOKENandANTHROPIC_BASE_URLto the appropriate Claude Code settings file. - Open Claude Code from the status bar or command palette.
- Ask:
Help me analyze the overall architecture of this project. - For targeted work, reference
@src/components/,@filename.py, or a selected range. - Review every diff before accepting it.
- Use
/compactwhen the conversation grows long, or/newwhen switching tasks.
This keeps the agent close to your editor while preserving a builder-friendly loop: describe the task, pass precise context, inspect the diff, and iterate.
Wrap-up
The useful part of this setup is not the configuration itself; it is the workflow it enables. With the extension installed and ANTHROPIC_BASE_URL set to https://api.acedata.cloud, you can use Claude Code directly inside VS Code with file references, terminal context, slash commands, and reviewable diffs.
For the full reference, read the Claude Code VS Code integration guide.


Comments
Post a Comment