How to Use Claude Code from the Terminal with Ace Data Cloud
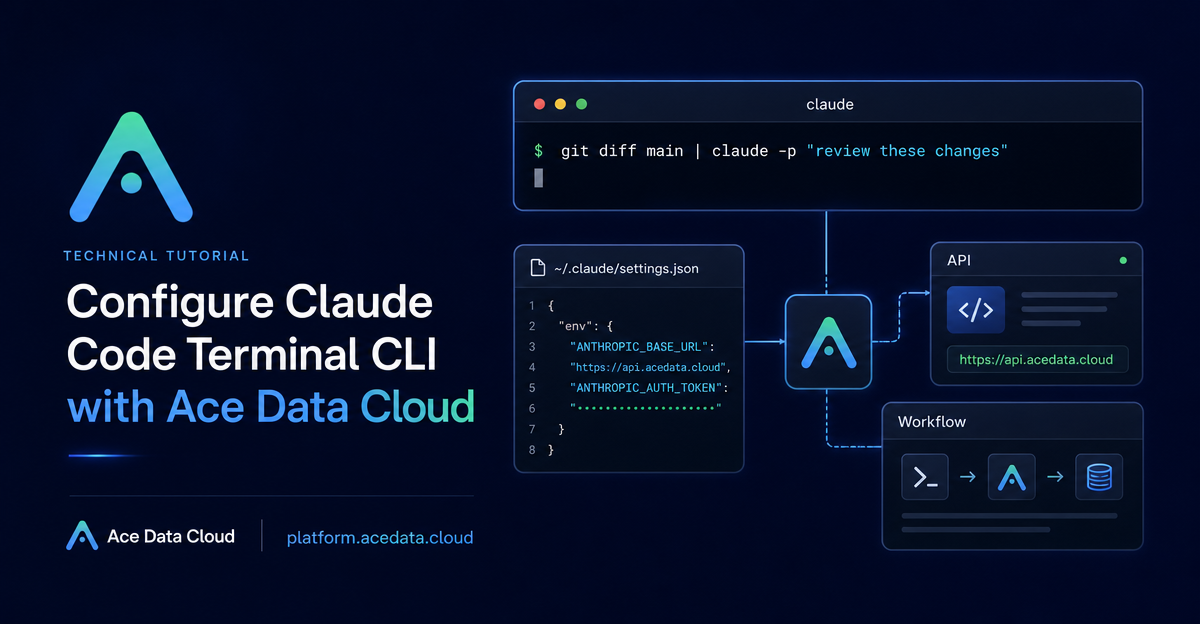
When a codebase gets large enough, the hard part is not asking an AI model a question — it is bringing the question into the same place where you read logs, inspect diffs, run tests, and commit code. Claude Code CLI is useful because it lives in that terminal workflow. This guide walks through a practical setup for running claude against the Ace Data Cloud API endpoint, then using it for real development tasks such as reviews, refactors, and scripting.
What you can do
With the terminal CLI configured, you can work with Claude Code directly inside a project directory. The documented workflow supports interactive sessions, one-off tasks, query-and-exit mode, conversation restore, and Git-oriented commands.
- Start an interactive coding session with
claude. - Run a one-time task such as
claude "fix build error". - Ask a question and exit with
claude -p "explain this function". - Continue or restore prior work with
claude -candclaude -r. - Create a Git commit with
claude commit. - Pipe shell output into Claude Code, for example
git diff main | claude -p "review these changes".
The important point is that the tool can read the local project context from where you run it, while Ace Data Cloud supplies the API base URL and authorization token through standard environment configuration.
How it works
The configuration is intentionally small. Claude Code reads environment variables such as ANTHROPIC_AUTH_TOKEN and ANTHROPIC_BASE_URL. For Ace Data Cloud, the documented base URL is https://api.acedata.cloud. The token value comes from your Ace Data Cloud console and is placed in ANTHROPIC_AUTH_TOKEN. According to the documentation, the value is sent with a Bearer prefix automatically, so you do not need to add that prefix yourself.
You can set those variables globally in your shell profile, or scope them only to Claude Code by editing ~/.claude/settings.json. I usually prefer the scoped file for team machines or shared development environments, because it keeps the proxy configuration attached to Claude Code instead of every process in the shell.
Install Claude Code
The CLI supports macOS, Linux, Windows, and WSL. The native installer handles dependencies and is the recommended path in the documentation.
# macOS / Linux / WSL
curl -fsSL https://claude.ai/install.sh | bash
On Windows PowerShell, the documented command is:
irm https://claude.ai/install.ps1 | iexThere are also package-manager options if that fits your workstation better: brew install claude-code on macOS or Linux, and winget install Claude.ClaudeCode on Windows.
Configure the Ace Data Cloud endpoint
For a shell-level setup, add the following to ~/.zshrc, ~/.bashrc, or ~/.bash_profile. Replace {token} with the API token copied from the Ace Data Cloud console.
# Ace Data Cloud - Claude Code proxy configuration
export ANTHROPIC_AUTH_TOKEN="{token}"
export ANTHROPIC_BASE_URL="https://api.acedata.cloud"

source ~/.zshrc  # or source ~/.bashrc
If you want the configuration to apply only to Claude Code, create or edit ~/.claude/settings.json instead:
{
  "env": {
    "ANTHROPIC_AUTH_TOKEN": "{token}",
    "ANTHROPIC_BASE_URL": "https://api.acedata.cloud"
  }
}
This second approach is clean for local development because other tools in your terminal will not inherit the same API settings.
Start with a real project workflow
Once configured, move into a repository and start the CLI:
cd /path/to/your/project
claude
From there, ask questions that match the way you would brief a teammate:
# Understand the project
claude "what does this project do?"

# Ask for a targeted fix
claude "there is a bug where users can submit empty forms - fix it"

# Generate tests
claude "write unit tests for the calculator functions"
Interactive mode also includes useful commands such as /help, /clear, /config, /model, /mcp, /compact, /memory, and /login. Those commands matter in longer sessions: you can clear noisy context, inspect configuration, switch model settings, or manage memory without leaving the terminal.
Use pipes for code review and automation
The CLI becomes more interesting when you treat it like a Unix-style command. Instead of copying a diff into a chat window, pipe it directly:
git diff main | claude -p "review these changes"The same pattern works for logs and lightweight automation:
tail -f app.log | claude -p "notify me if an anomaly is detected"

claude -p "translate any new text strings to French and create a PR"
For project-level guidance, add a CLAUDE.md file to the repository root. Claude Code loads it at startup, so it is a good place for conventions that should survive across sessions.
# Project Description
This is a full-stack project using Django + Vue.js.

## Coding Standards
- Use Python 3.12
- Follow PEP 8 coding style
- All APIs need to have unit tests
Troubleshooting checklist
If the connection fails, first confirm that the environment values are set correctly and that the token is valid in the console. If the command itself is missing, reopen the terminal, check PATH, or reinstall with the native installer.
echo $ANTHROPIC_AUTH_TOKEN
echo $ANTHROPIC_BASE_URL
echo $PATH
The small habit that pays off is to keep Claude Code close to the work: run it in the repository, feed it diffs, and encode project rules in CLAUDE.md. That makes the AI assistant less like a separate chat tab and more like a practical terminal companion for everyday development.
Read the full Ace Data Cloud documentation for this setup here: Claude Code Terminal CLI Integration Guide.


Comments
Post a Comment