How to Use Claude Code from the Terminal with Ace Data Cloud
If you already live in the terminal, the fastest way to bring an AI coding agent into your workflow is not another dashboard. It is a command you can run inside the same project directory where you already read logs, inspect diffs, and commit code.
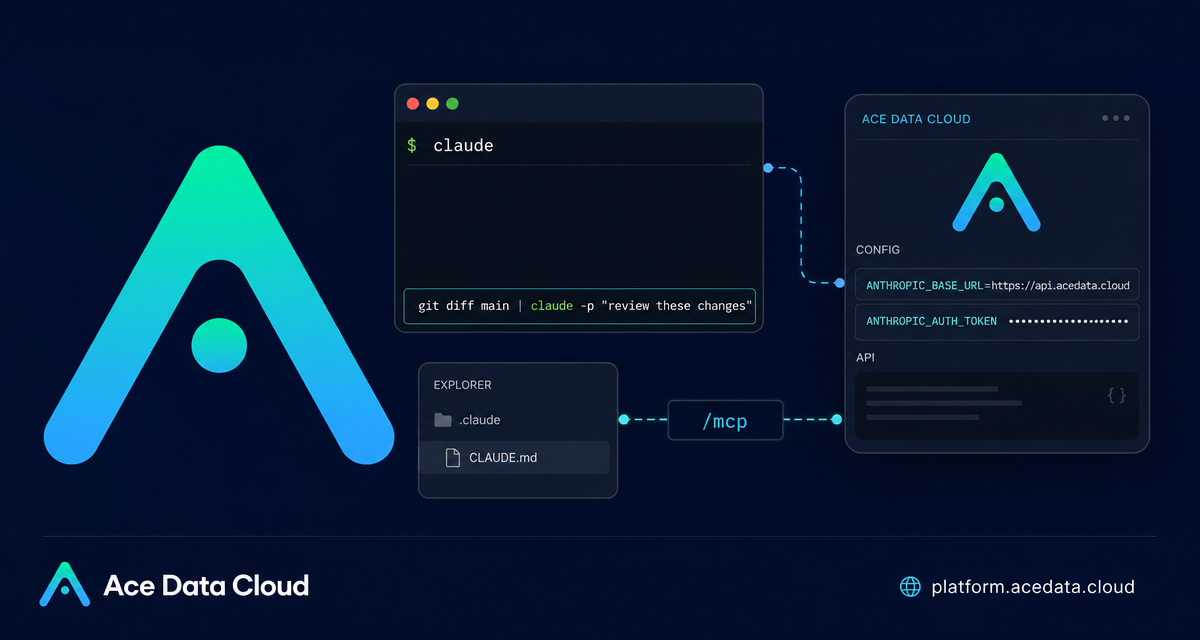
This guide walks through a practical setup for using Claude Code CLI with Ace Data Cloud as the API base. The goal is simple: install the claude command, point it at https://api.acedata.cloud, and use it for everyday tasks such as reviewing diffs, explaining code, writing tests, and preserving project context.
What you can do
Claude Code’s terminal mode is designed for natural-language programming work from inside a project. Once configured, you can start an interactive session with claude, run one-off tasks with claude "task", or execute a query and exit with claude -p "query".
- Ask the agent to explain what a project does from the repository root.
- Fix bugs by describing the behavior you want changed.
- Generate unit tests for specific modules or functions.
- Review a Git diff from the command line.
- Create a commit with
claude commit. - Use
CLAUDE.mdto give the agent project-specific memory.
The useful part is not just that Claude Code can answer questions. It is that it sits close to the artifacts builders actually work with: shell output, logs, files, diffs, and project instructions.
How it works
The setup has two moving parts. First, install Claude Code so the claude command is available in your terminal. Second, configure environment variables so Claude Code sends requests through Ace Data Cloud.
The documented base URL is https://api.acedata.cloud. The main token variable is ANTHROPIC_AUTH_TOKEN; according to the documentation, this value automatically gets the Bearer prefix when sent to the server. If you prefer the API-key style header, Claude Code also supports ANTHROPIC_API_KEY, which is sent as the X-Api-Key header.
For most terminal users, the shell configuration approach is the least surprising because it works consistently across projects and terminal sessions.
Install the CLI
Claude Code supports native installation on macOS, Linux, WSL, and Windows. On macOS, Linux, or WSL, the native installer is:
curl -fsSL https://claude.ai/install.sh | bashOn Windows PowerShell, the documented command is:
irm https://claude.ai/install.ps1 | iexIf you are on macOS or Linux and prefer a package manager, the documentation also lists Homebrew:
brew install claude-codeAfter installation, close and reopen your terminal if claude is not found immediately. That gives your shell a chance to reload its PATH.
Configure the Ace Data Cloud API base
Add the following variables to your shell configuration file, such as ~/.zshrc, ~/.bashrc, or ~/.bash_profile. Replace {token} with the API token from your Ace Data Cloud console.
# Ace Data Cloud - Claude Code Proxy Configuration
export ANTHROPIC_AUTH_TOKEN="{token}"
export ANTHROPIC_BASE_URL="https://api.acedata.cloud"
Then reload your shell configuration:
source ~/.zshrc # or source ~/.bashrcIf you would rather keep these variables scoped only to Claude Code, use ~/.claude/settings.json instead:
{
  "env": {
    "ANTHROPIC_AUTH_TOKEN": "{token}",
    "ANTHROPIC_BASE_URL": "https://api.acedata.cloud"
  }
}
I usually prefer the settings file on shared machines or when I am switching between multiple API configurations. For a personal development laptop, shell variables are simpler.
Start with a real project
Once the CLI is installed and configured, move into a project directory and start interactive mode:
cd /path/to/your/project
claude
From there, you can ask direct questions in natural language:
> what does this project do?
> there's a bug where users can submit empty forms - fix it
> write unit tests for the calculator functions
> refactor the authentication module to use async/await
For quick, non-interactive tasks, use -p. This is especially handy when you want to pipe existing terminal output into Claude Code:
git diff main | claude -p "review these changes"The same pattern works for logs:
tail -f app.log | claude -p "notify me if an anomaly is detected"These examples are small, but they point to a bigger workflow: keep your terminal as the source of truth, and use Claude Code as a collaborator that can read the context you send it.
Add project memory with CLAUDE.md
For recurring work, create a CLAUDE.md file in the project root. Claude Code automatically loads this file at startup, so it is a good place to document stack assumptions, coding standards, testing expectations, and conventions that should not be repeated in every prompt.
# Project Description
This is a full-stack project using Django + Vue.js.

## Coding Standards
- Use Python 3.12
- Follow PEP 8 coding style
- All APIs need to have unit tests
A short, concrete CLAUDE.md is usually better than a long essay. Think of it as onboarding notes for a teammate who will repeatedly touch the same codebase.
Useful commands and troubleshooting
Inside interactive mode, the documented built-in commands include /help, /clear, /config, /model, /mcp, /compact, /memory, and /login. For longer sessions, /compact and /memory are especially useful because they help manage context instead of starting over.
If the connection fails, check that ~/.claude/config.json contains {"primaryApiKey": "self"}, confirm that ANTHROPIC_AUTH_TOKEN and ANTHROPIC_BASE_URL are set correctly, and restart the terminal. If the command itself is missing, inspect PATH or rerun the native installer.
Where this fits in a builder workflow
The terminal version of Claude Code is a good fit when you want an agent close to your repository instead of a separate chat window. Start small: ask it to explain a module, review a diff, or write tests for one file. Once that feels reliable, add CLAUDE.md and begin treating the CLI as part of your daily development loop.
For the complete setup reference, read the Claude Code Terminal CLI Integration Guide.


Comments
Post a Comment