How to Use Ace Data Cloud Models in Cursor with BYOK
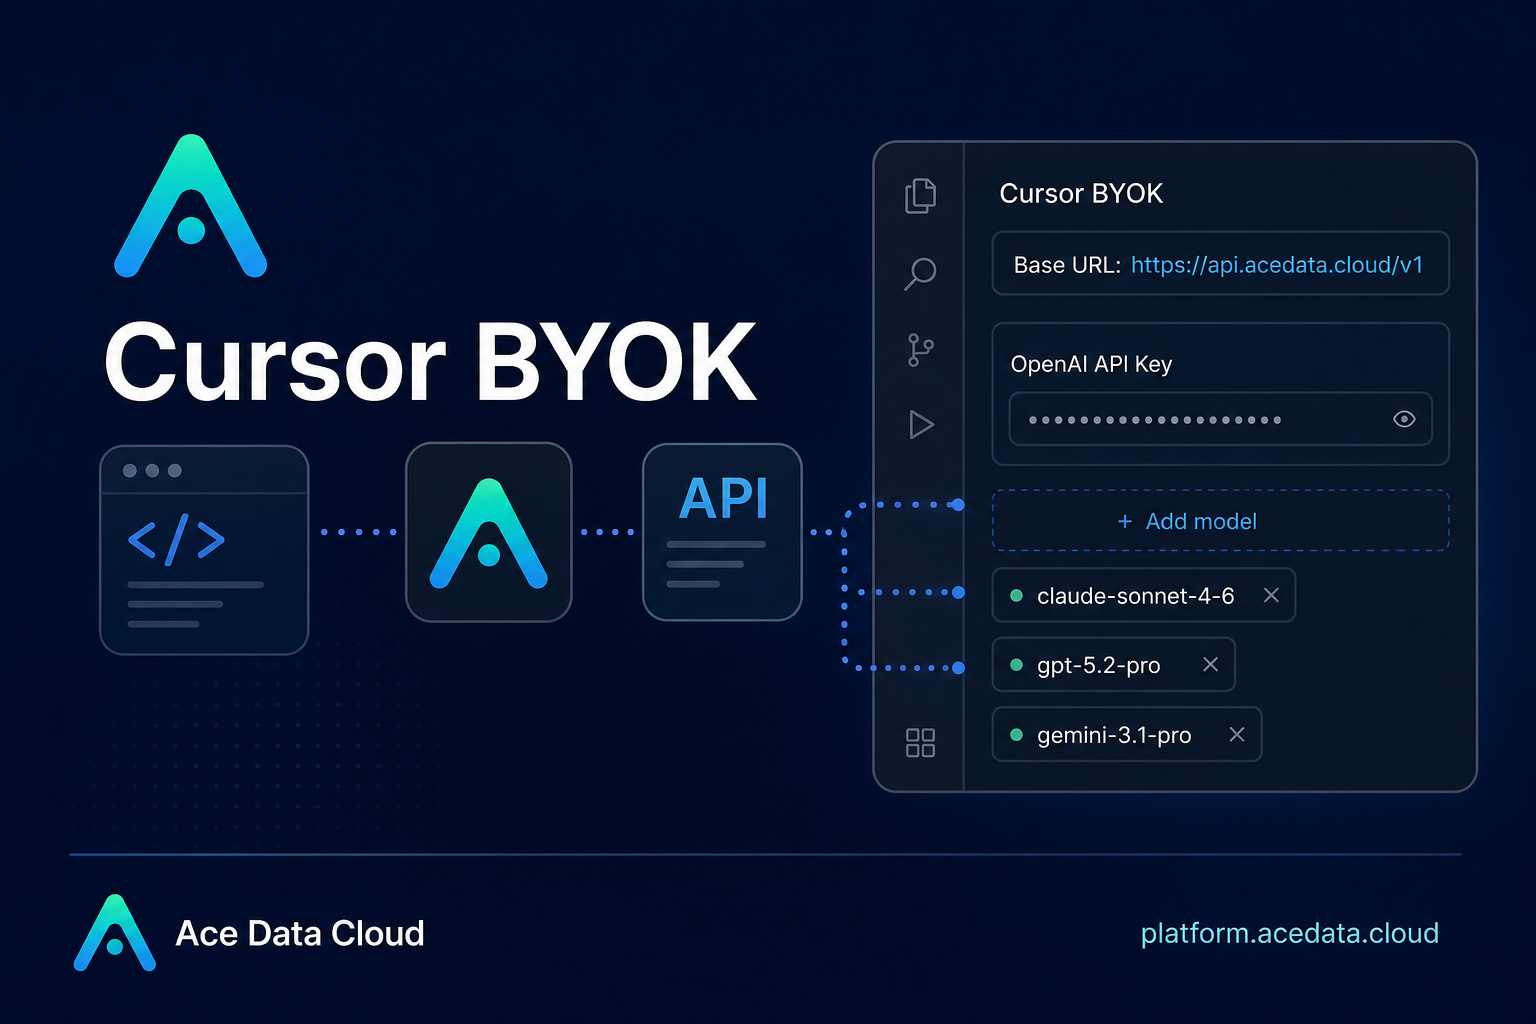
Cursor is a strong default editor for AI-assisted programming, but model access can become messy when you want to try several providers across the same workflow. One API key for OpenAI, another for Anthropic, another for Google, and different billing dashboards for each provider quickly adds overhead. This guide shows a practical way to connect Cursor's BYOK flow to Ace Data Cloud, so your Cursor Chat or Agent requests can go through one OpenAI-compatible endpoint while still letting you choose models such as Claude, GPT, Gemini, and Grok.
What you can do
The setup is simple: use Cursor's existing OpenAI API Key provider slot, turn on Override OpenAI Base URL, and point it at Ace Data Cloud's OpenAI-compatible base URL:
https://api.acedata.cloud/v1Once Cursor verifies the key, you can add supported model IDs in the Models section and select them from the Chat or Agent model picker. The source documentation lists verified examples including:
claude-opus-4-8claude-sonnet-4-6claude-haiku-4-5-20251001gpt-5.2-progpt-5.4-minigemini-3.1-progrok-4
This is useful when you want to keep Cursor as the coding interface, but avoid maintaining separate provider accounts and keys for every model family you test in day-to-day engineering work.
How it works
Cursor supports Bring Your Own API Key through its model settings. Ace Data Cloud provides an OpenAI-compatible interface at https://api.acedata.cloud, and for Cursor the configured base URL must be:
https://api.acedata.cloud/v1The trailing /v1 matters. The documentation notes that Cursor constructs paths such as chat/completions from the configured base URL. If the base URL does not end with /v1, Cursor can build the wrong request path.
In practice, you are not installing a custom Cursor extension. You are reusing Cursor's OpenAI provider slot and replacing the upstream base URL with Ace Data Cloud's compatible endpoint. Cursor still feels like Cursor; the model routing and quota management happen behind the API key you provide.
Step 1: Get an Ace Data Cloud API token
Start in the Ace Data Cloud console and obtain an API token from the application area. Keep the token somewhere safe for the next step. In Cursor, that token will be pasted into the OpenAI API Key field, even though it is not an official OpenAI key.
This detail is important for troubleshooting: if Cursor reports Invalid API key, the first thing to check is whether the value pasted into OpenAI API Key is the Ace Data Cloud token and whether that token is still available in the console.
Step 2: Configure Cursor's OpenAI slot
Open Cursor settings with the gear icon or Cmd/Ctrl + ,, then go to Models and expand API Keys. Configure the OpenAI slot like this:
- Turn on the
OpenAI API Keyswitch. - Paste your Ace Data Cloud API token into the
OpenAI API Keyinput. - Turn on
Override OpenAI Base URL. - Set the base URL to
https://api.acedata.cloud/v1. - Click Verify and wait for verification to pass.
Here is a compact JSON-style checklist you can keep in an internal setup note. It is not a Cursor config file; it simply captures the exact fields and values from the setup flow:
{
  "providerSlot": "OpenAI",
  "apiKeyField": "OpenAI API Key",
  "overrideOpenAIBaseURL": true,
  "baseURL": "https://api.acedata.cloud/v1",
  "modelsToAdd": [
    "claude-sonnet-4-6",
    "gpt-5.2-pro",
    "gemini-3.1-pro",
    "grok-4"
  ]
}
Step 3: Add and select models
After verification, return to the Models section and click + Add model. Add the model IDs you want to use one by one. The IDs must match the supported names exactly; extra spaces, provider prefixes, or renamed aliases can lead to a Model not found error.
Once the models are added, open the model selector at the top of Cursor's Chat or Agent panel. Select one of the newly added models, and subsequent Chat or Agent requests will go through Ace Data Cloud using the configured OpenAI-compatible route.
Where this helps in real coding work
I would use this setup when working on tasks where different model strengths matter. For example, one model may be better for long architectural reasoning, another may be faster for small refactors, and another may be useful for reviewing generated tests. Keeping them behind the same Cursor interface makes switching cheap without changing editor habits.
It also helps teams centralize access. Instead of every developer wiring up separate provider keys, the team can use Ace Data Cloud for unified quota and usage visibility while still working inside Cursor.
Limitations to know before relying on it
- Tab completion is not affected by BYOK. Cursor's Tab completion continues to use Cursor's built-in models.
- Some editing modes may behave differently. The documentation notes that Auto, Composer, and other modes may not fully use the configured Base URL.
- The model must be OpenAI-protocol compatible. The OpenAI slot works with models exposed through Ace Data Cloud's OpenAI-compatible interface.
A practical troubleshooting checklist
- If verification fails, confirm the token came from Ace Data Cloud and is still active.
- If a model cannot be found, copy the model ID exactly from the supported list.
- If requests do not appear to use Ace Data Cloud, confirm
Override OpenAI Base URLis enabled. - If paths look wrong, confirm the base URL ends with
/v1. - After changing settings, restart Cursor if the base URL does not seem to take effect.
The main takeaway: Cursor already gives you a clean BYOK entry point. Ace Data Cloud makes that entry point more flexible by putting multiple OpenAI-compatible model families behind one base URL and one token. If you are trying to make model switching less distracting during coding sessions, this is a small setup change with a practical payoff.
Read the source setup guide here: Using Ace Data Cloud in Cursor.


Comments
Post a Comment