How to Run Codex CLI Through an OpenAI Responses-Compatible Proxy
When a coding agent lives in your terminal, the hard part is not learning a new UI — it is making sure the CLI talks to the model endpoint you actually want to use, with a configuration you can inspect and reproduce.
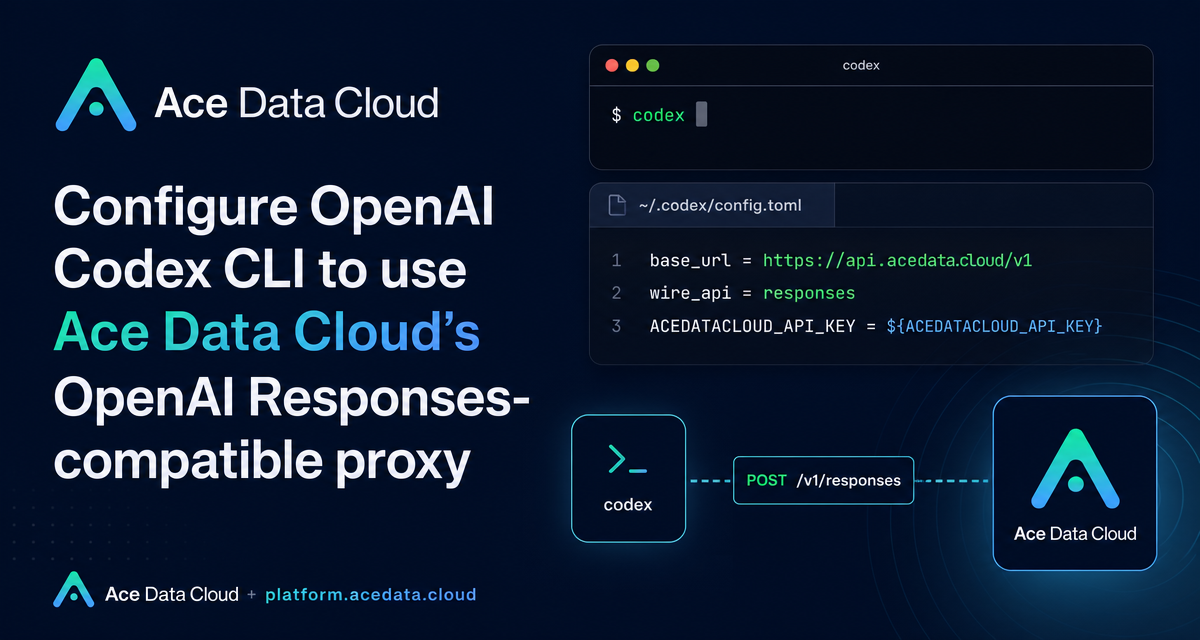
This guide walks through configuring OpenAI Codex CLI to use Ace Data Cloud as an OpenAI Responses-compatible provider. You still run the normal codex command in your project directory; the important change is that Codex reads a custom provider from ~/.codex/config.toml and sends Responses API traffic to https://api.acedata.cloud/v1/responses.
What you can do
Codex CLI is a local programming agent that runs in a terminal. Once configured, it can help with everyday development tasks such as reading code, modifying files, running commands, explaining errors, and working inside an existing repository.
The useful part of the Ace Data Cloud setup is that it does not require a separate local proxy process or a Codex plugin. Codex already supports custom model providers, and Ace Data Cloud exposes an OpenAI Responses-compatible base URL. That means your workflow stays close to the native Codex experience:
- Install Codex CLI once with
npmor Homebrew. - Store your Ace Data Cloud API token in an environment variable.
- Define an
acedatacloudmodel provider in~/.codex/config.toml. - Start Codex from a project folder with
codex. - Use
/modelinside the interactive interface to confirm the active provider.
How it works
Codex CLI uses the OpenAI Responses API protocol. In the Ace Data Cloud configuration, the provider block sets base_url to https://api.acedata.cloud/v1 and wire_api to responses. Codex combines those settings and sends requests to https://api.acedata.cloud/v1/responses.
The request path is straightforward:
- Codex reads
model_providerfrom~/.codex/config.toml. - It loads the matching
[model_providers.acedatacloud]block. - It reads the API token from the environment variable named by
env_key, which isACEDATACLOUD_API_KEYin the documented setup. - It sends Responses API traffic through
base_url + /responses. - Ace Data Cloud verifies the token, checks quota, forwards the request to an available upstream model channel, and records usage after the request completes.
Install Codex CLI
Codex CLI supports macOS, Linux, Windows, and WSL. If Node.js 18 or higher is available, the npm path is the most direct:
npm install -g @openai/codex
On macOS, Homebrew is also supported:
brew install --cask codex
After installation, reopen the terminal and verify that the command is available:
codex --version
If the shell returns command not found, reopen the terminal or check whether the install script added a directory to PATH that has not been loaded yet.
Configure the provider
First, place the Ace Data Cloud API token in a shell environment variable. The documented variable name is ACEDATACLOUD_API_KEY:
export ACEDATACLOUD_API_KEY="{token}"
source ~/.zshrc
Use the shell startup file that matches your environment, such as ~/.zshrc, ~/.bashrc, or ~/.bash_profile. Replace {token} with your actual API token.
Next, create the Codex configuration file if it does not already exist:
mkdir -p ~/.codex
touch ~/.codex/config.toml
Then write the provider configuration:
model_provider = "acedatacloud"
model = "gpt-5"
model_reasoning_effort = "high"

[model_providers.acedatacloud]
name = "Ace Data Cloud"
base_url = "https://api.acedata.cloud/v1"
env_key = "ACEDATACLOUD_API_KEY"
wire_api = "responses"
The key fields are worth understanding. model_provider selects the default provider and must match the provider table name. model chooses the default model. model_reasoning_effort can commonly be low, medium, or high. Inside the provider block, base_url points at the Ace Data Cloud OpenAI Responses proxy, env_key tells Codex where to read the token, and wire_api = "responses" selects the Responses protocol.
Clear old login state before switching
If you previously logged into Codex CLI with an official OpenAI account, local auth state may still exist under ~/.codex/auth.json. Clear it before relying on the custom provider:
codex logout
If that command is unavailable, remove the cached file directly:
rm -f ~/.codex/auth.json
If you never logged into the official service from Codex CLI, you can skip this step.
Start a session and verify the model
Run Codex from the repository you want it to inspect:
cd /path/to/your/project
codex
Inside the interactive interface, try a small request first:
Explain the directory structure of this project
Then check the active model and provider:
/model
A healthy configuration should show the acedatacloud provider, for example:
Model: gpt-5
Provider: acedatacloud
If the provider is not acedatacloud, recheck that ~/.codex/config.toml was saved, that model_provider matches [model_providers.acedatacloud], and that your current shell can read ACEDATACLOUD_API_KEY.
Switch models and set project trust
The default model comes from the model field in ~/.codex/config.toml. The documentation lists common options including gpt-5, gpt-5-mini, gpt-5.6-sol, gpt-5.6-terra, gpt-5.6-luna, gpt-5.5, gpt-5.5-pro, gpt-4.1, o3, and o4-mini. For a temporary override, start Codex with a model flag:
codex --model gpt-5-mini
You can also define trust levels for specific projects. A trusted project gives the agent full permissions to execute commands and modify files; an untrusted project limits what it can do, which is safer for unfamiliar codebases:
[projects."/path/to/trusted/project"]
trust_level = "trusted"

[projects."/path/to/untrusted/project"]
trust_level = "untrusted"
A small builder checklist
- Use
codex --versionbefore debugging provider settings. - Keep the token in
ACEDATACLOUD_API_KEY, not insideconfig.toml. - Set
wire_api = "responses"; that is what routes Codex to the Responses-compatible flow. - Use
/modelafter launch to verify the provider before asking Codex to modify files. - Use
trustedonly for repositories where you are comfortable with command execution and file edits.
The main idea is simple: keep Codex CLI as your local terminal agent, but make the model provider explicit and reproducible. If you want the exact source configuration steps, read the Codex CLI Terminal User Guide.


Comments
Post a Comment