How to Run Codex CLI Through Ace Data Cloud in Your Terminal
If you like terminal-first development, the useful question is not whether an AI coding agent can write code. It is whether you can wire it into the same shell, project folders, and review habits you already use every day.
Codex CLI is a local programming agent that runs from your terminal. It can read code, modify files, run commands, explain errors, and help with everyday development tasks. The practical part is that Codex CLI supports custom model providers, so you can point it at Ace Data Cloud's OpenAI Responses compatible proxy and keep using the native codex command.
What you can do
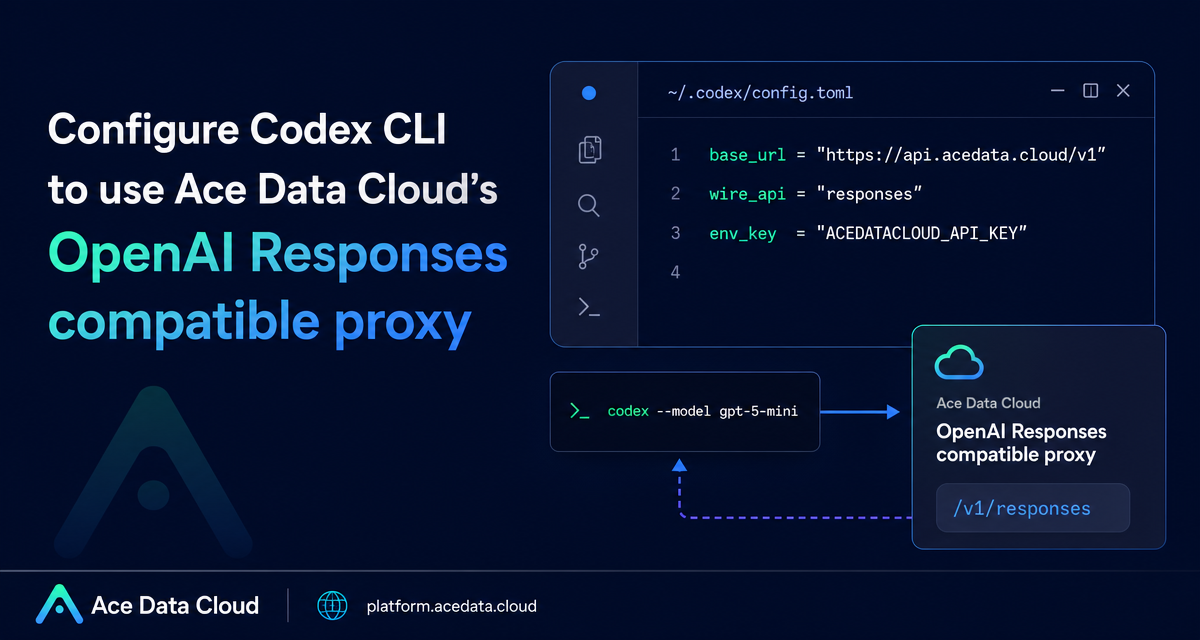
With the terminal setup described here, you can keep Codex CLI as your local coding interface while routing model requests through https://api.acedata.cloud/v1. That gives you a workflow where the CLI reads configuration from your machine, loads an API token from an environment variable, and sends Responses API traffic to Ace Data Cloud.
- Install Codex CLI with
npmor Homebrew. - Configure a custom provider in
~/.codex/config.toml. - Use
ACEDATACLOUD_API_KEYas the environment variable that stores your API token. - Run Codex from any project directory with the normal
codexcommand. - Switch models either in the config file or temporarily with
codex --model gpt-5-mini. - Set project trust levels for trusted and untrusted repositories.
How it works
The important detail is that Codex CLI natively uses the OpenAI Responses API protocol. Ace Data Cloud exposes a compatible proxy at https://api.acedata.cloud/v1/responses. Codex does not need a local proxy program or a separate plugin for this path.
The request flow is straightforward:
- Codex CLI reads
model_providerfrom~/.codex/config.toml. - It loads the matching
[model_providers.acedatacloud]block. - It reads the API token from the environment variable named by
env_key, which isACEDATACLOUD_API_KEY. - It sends the request with
wire_api = "responses"tobase_url + /responses. - Ace Data Cloud verifies the token, checks quota, forwards the request to an available upstream model channel, and records usage after completion.
Install Codex CLI
Codex CLI supports macOS, Linux, Windows, and WSL. If you already have Node.js 18 or higher, the npm path is the recommended installation method:
npm install -g @openai/codexOn macOS, you can also install it with Homebrew:
brew install --cask codexAfter installation, reopen your terminal and check that the command is available:
codex --versionIf you see command not found, the most likely cause is that your current terminal session has not loaded the updated PATH. Close and reopen the terminal, or review the path instructions printed by the installation command.
Configure Ace Data Cloud as the provider
Codex CLI uses ~/.codex/config.toml as its global configuration file. Before editing that file, store your Ace Data Cloud API token in a shell environment variable. The documentation recommends writing it into a shell profile such as ~/.zshrc, ~/.bashrc, or ~/.bash_profile:
export ACEDATACLOUD_API_KEY="{token}"Replace {token} with the API token you copied from the Ace Data Cloud Console. Then reload your shell profile. For example, if you use zsh:
source ~/.zshrcNext, create the Codex configuration file if it does not already exist:
mkdir -p ~/.codex
touch ~/.codex/config.toml
Now write the provider configuration:
model_provider = "acedatacloud"
model = "gpt-5"
model_reasoning_effort = "high"

[model_providers.acedatacloud]
name = "Ace Data Cloud"
base_url = "https://api.acedata.cloud/v1"
env_key = "ACEDATACLOUD_API_KEY"
wire_api = "responses"
There are a few fields worth understanding instead of copying blindly. model_provider points Codex to the provider block below. model controls the default model. model_reasoning_effort accepts common values such as low, medium, and high. Inside the provider block, base_url is the OpenAI Responses proxy address, env_key tells Codex which environment variable contains the token, and wire_api must be responses for this setup.
Clear old login state before switching
If you previously used Codex CLI with an official OpenAI account, a local login state may be cached in ~/.codex/auth.json. The documentation recommends clearing that state before switching providers:
codex logoutIf that command is unavailable, remove the cached auth file directly:
rm -f ~/.codex/auth.jsonIf you have never logged into Codex CLI with an official account, you can skip this step.
Start a project session and verify it
Move into a project directory and start Codex:
cd /path/to/your/project
codex
Once the interactive interface opens, try a small request that does not require edits first:
Explain the directory structure of this projectThen check the active model and provider inside the interactive interface:
/modelA working configuration should show a provider like this:
Model: gpt-5
Provider: acedatacloud
If the provider is not acedatacloud, recheck that ~/.codex/config.toml was saved correctly and that the token is readable in the current terminal session:
echo $ACEDATACLOUD_API_KEYSwitch models and set project trust
The model field in ~/.codex/config.toml controls the default model. The documented examples include gpt-5, gpt-5-mini, gpt-5.6-sol, gpt-5.6-terra, gpt-5.6-luna, gpt-5.5, gpt-5.5-pro, gpt-4.1, o3, and o4-mini. For a temporary switch, pass the model when launching Codex:
codex --model gpt-5-miniFor repository-level control, append project trust settings to ~/.codex/config.toml:
[projects."/path/to/trusted/project"]
trust_level = "trusted"

[projects."/path/to/untrusted/project"]
trust_level = "untrusted"
trusted gives the agent full permission to execute commands and modify files. untrusted limits permissions and is better for unfamiliar repositories.
Closing notes
This setup is useful because it keeps the builder experience small: one terminal command, one config file, one environment variable, and the native Codex CLI interface. If you are already working in shell sessions all day, routing Codex through Ace Data Cloud lets the model provider fade into the background while the workflow stays local and familiar.
Read the full configuration reference in the Codex CLI Terminal User Guide.


Comments
Post a Comment