How to Generate and Edit Images from Claude Code with NanoBanana MCP
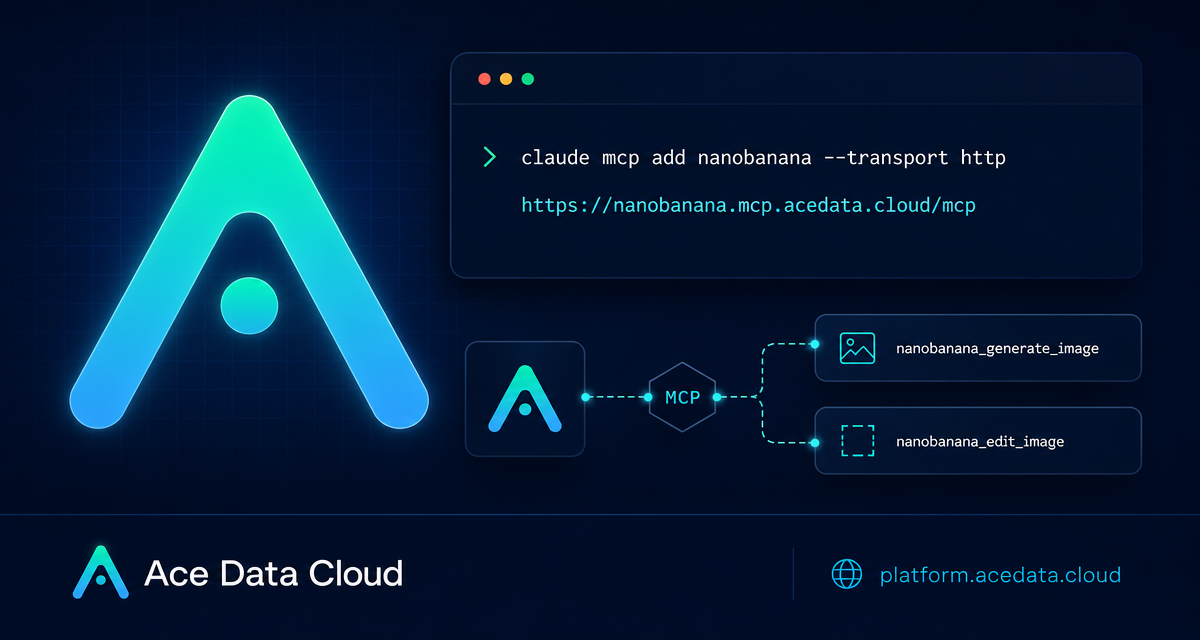
When you are building inside a terminal, jumping to a separate image tool can break the flow. A small product mockup, a cleaned screenshot, or a 404 illustration often starts as a quick thought, but turns into a browser tab, an upload step, and a few copied files. NanoBanana MCP gives Claude Code a more direct path: keep the conversation in the terminal and ask for image generation or image editing as part of the coding session.
What you can do
The NanoBanana MCP integration for Claude Code is focused on two practical image workflows:
- Generate images from text with
nanobanana_generate_image. - Edit images from one or more image URLs with
nanobanana_edit_image.
The useful detail is that editing is not limited to a single source image. The documentation describes multi-image composition: you can provide two images and ask the model to place an object from one image into the scene of another. That makes it a good fit for developer-facing assets such as app screenshots, landing page illustrations, feature mockups, or quick visual explorations during product work.
How it works
This integration is an MCP server exposed over HTTP. Claude Code connects to the NanoBanana MCP endpoint, and then the tools become available inside Claude Code sessions. The MCP server URL from the documentation is:
https://nanobanana.mcp.acedata.cloud/mcpYou authenticate the server request with an Ace Data Cloud API token in the Authorization header. Once configured, you do not need to manually call a separate image API from your app code. You ask Claude Code in natural language, and Claude Code routes the request through the MCP tool.
Configure NanoBanana MCP in Claude Code
In Claude Code, add the MCP server with the command documented for NanoBanana. Replace the token placeholder with your own token:
claude mcp add nanobanana --transport http https://nanobanana.mcp.acedata.cloud/mcp -H "Authorization: Bearer YOUR_TOKEN"One small but important detail: the header flag is uppercase -H. Lowercase -h means help, not an HTTP header.
By default, if you omit -s, the configuration is local to the directory where you run the command. The documentation also describes two explicit scopes:
-s user: available across all projects for your user.-s project: written to.mcp.jsonin the project root, so it can be shared with a team.
If you use -s project, do not commit a real token into a public repository. Use an environment variable placeholder instead. That keeps the workflow shareable without leaking credentials.
Verify the connection
After adding the server, check that Claude Code can see it:
claude mcp listThe expected result is that nanobanana appears as connected. At that point, the image tools are available from your Claude Code session.
Use case 1: create an illustration while building a page
Suppose you are working on an empty state or a 404 page. Instead of leaving the terminal to create a placeholder graphic, ask Claude Code for the visual directly:
Generate an illustration of a small dinosaur crouching next to a crack in the ground looking down, for use on a 404 page.That maps naturally to nanobanana_generate_image. The value is not only speed; it keeps the visual asset tied to the implementation context. Claude already knows the page you are editing, the tone of the product, and where the asset may need to be saved or referenced.
Use case 2: edit screenshots and remove unwanted text
For documentation, bug reports, or launch notes, screenshots often need small cleanup work. The NanoBanana MCP documentation gives the example of removing unwanted text or a watermark from an image:
Edit this image to remove the text watermark in the bottom right corner, filling the background.This is a good fit for nanobanana_edit_image. The important part is to describe the change and the desired fill behavior. For developer docs, I usually keep the prompt literal: say what should be removed, where it appears, and whether the background should be reconstructed.
Use case 3: compose multiple images into one mockup
The more interesting workflow is multi-image composition. The documentation describes using multiple image URLs as input, with Gemini understanding the relationship between them. For example:
Put the phone from the first image onto the desk in the second image, adjusting angle and lighting to make it look natural.This is useful when you have a product screenshot, a device photo, and a target scene. Instead of manually layering assets, you can ask for a coherent composite and then iterate. It is especially handy for fast internal prototypes: enough fidelity to discuss direction, without turning every visual experiment into a design task.
A practical workflow I would use
- Add the
nanobananaMCP server in the project where you are building. - Run
claude mcp listand confirm it is connected. - Ask for a small asset first, such as a page illustration or screenshot cleanup.
- If using team scope, store shared configuration in
.mcp.jsonbut keep tokens out of git. - Commit only the final generated asset or the final documentation image, not private source material.
The main idea is simple: treat image generation and editing as part of the developer loop, not a separate production pipeline. NanoBanana MCP is most useful when the image task is close to the code you are already writing.
If you want the exact setup command, supported tools, and examples from the source documentation, read the Claude Code integration with NanoBanana MCP guide.


Comments
Post a Comment