How to Generate and Edit Images from Claude Code with NanoBanana MCP
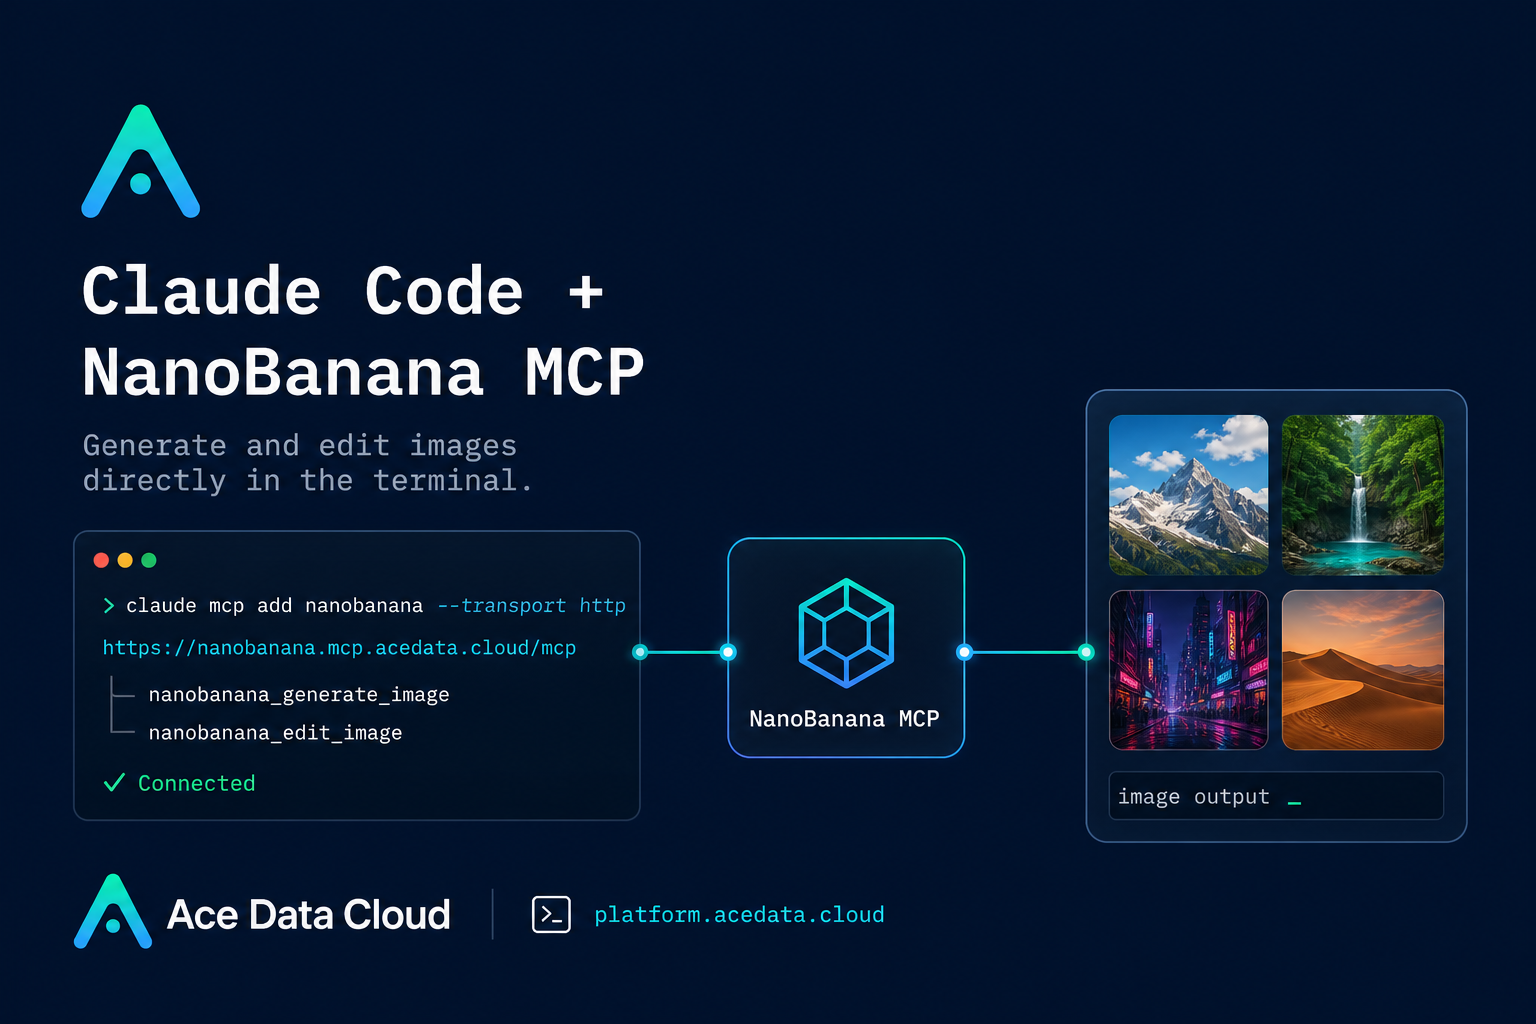
If your development workflow already lives in the terminal, switching to a browser just to create a small product illustration, edit a screenshot, or combine two reference images can feel surprisingly expensive. The useful part of MCP is that it lets tools appear inside the assistant you are already using. In this guide, we will wire NanoBanana MCP into Claude Code and use it as a terminal-native image generation and editing tool.
This is not a design-system replacement or a promise that one prompt fixes every image. The practical goal is narrower: give Claude Code access to two concrete tools, nanobanana_generate_image and nanobanana_edit_image, so you can ask for visual assets while staying in the project context.
What you can do
The NanoBanana MCP document describes two supported tools:
nanobanana_generate_imagefor text-to-image generation.nanobanana_edit_imagefor image editing, including multi-image input.
The interesting bit is multi-image composition. The guide notes that NanoBanana is backed by Google's Gemini model and is designed to understand image content. That means you can provide two images and ask it to place an object from one image into the scene of another, while adjusting angle and lighting so the result looks natural.
For builders, this makes a few everyday tasks easier: generating a 404-page illustration, cleaning up unwanted text in a screenshot, producing quick blog graphics, or composing a realistic product mockup from existing assets.
How it works
Claude Code supports MCP servers that are added from the terminal. NanoBanana MCP is exposed over HTTP at:
https://nanobanana.mcp.acedata.cloud/mcpYou authenticate the MCP server with an Ace Data Cloud API token in the Authorization header. Once configured, Claude Code can list the MCP server and use the NanoBanana tools during a normal coding session.
The configuration command from the document is:
claude mcp add nanobanana --transport http https://nanobanana.mcp.acedata.cloud/mcp -H "Authorization: Bearer YOUR_TOKEN"One small but important detail: the document explicitly warns that -H must be uppercase. A lowercase -h is interpreted as --help, not as a header parameter.
Choose the right Claude Code scope
By default, if you do not pass -s, Claude Code uses the local scope. The document describes three scope options:
local: the default; effective only in the current project directory.user: global effect, available in all projects.project: writes configuration to.mcp.jsonin the project root, so it can be shared with a team.
For a personal machine, -s user is convenient because you do not need to re-add the same MCP server in every repository:
claude mcp add nanobanana -s user --transport http https://nanobanana.mcp.acedata.cloud/mcp -H "Authorization: Bearer YOUR_TOKEN"For a team repository, -s project is more deliberate because the MCP configuration can live with the project. The document also gives the key security rule: do not commit real tokens to public repositories. Use environment-variable placeholders such as ${ENV_VAR} and provide the actual value through your shell or deployment environment.
Verify the connection before prompting
After adding the server, check whether Claude Code sees it:
claude mcp listThe expected state is that nanobanana appears as ✓ Connected. I like doing this before writing any image prompt because it separates configuration problems from prompt problems. If the server is not connected, fix the token, header syntax, or scope first; do not waste time rewriting the image request.
Use case 1: generate a simple page illustration
Once the MCP server is connected, you can use natural language inside Claude Code. For example, the document gives this kind of prompt for a 404 page:
Generate an illustration of a small dinosaur crouching next to a crack in the ground looking down, for use on a 404 pageIn a real workflow, I would add project context around that prompt: the page background color, whether the site uses rounded cards, and the target aspect ratio. The supported capability is still text-to-image generation through nanobanana_generate_image; the value comes from keeping the request next to the code where the asset will be used.
Use case 2: edit screenshots without leaving the terminal
The editing tool is useful for small cleanup tasks. The document specifically mentions removing unwanted text or a watermark from an image and filling the background:
Edit this image to remove the text watermark in the bottom right corner, filling the backgroundThat kind of operation is common when preparing documentation screenshots. You may need to remove a temporary label, redact a piece of UI text, or clean up a background region before publishing. The key is to describe the edit, the target region, and the desired fill behavior clearly.
Use case 3: compose two images into one scene
The most distinctive workflow in the document is multi-image composition. nanobanana_edit_image supports multiple image URLs as input, and Gemini understands relationships between images. A practical prompt from the guide is:
Put the phone from the first image onto the desk in the second image, adjusting angle and lighting to make it look naturalThis is useful when you already have product photos, UI screenshots, or brand assets and want a realistic combined image. Instead of describing every object from scratch, you provide references and ask the model to perform a targeted edit.
A compact setup checklist
- Copy your Ace Data Cloud API token from the platform homepage.
- Add the MCP server with
claude mcp add nanobanana --transport http. - Use the endpoint
https://nanobanana.mcp.acedata.cloud/mcp. - Pass authentication with uppercase
-H "Authorization: Bearer YOUR_TOKEN". - Pick
local,user, orprojectscope intentionally. - Run
claude mcp listand confirmnanobananais✓ Connected.
That is enough to start using image generation and image editing from inside Claude Code. The important habit is to keep prompts tied to concrete project needs: a page illustration, a cleaned-up screenshot, or a composed product mockup. For the original setup notes and examples, see the Claude Code integration with NanoBanana MCP guide.


Comments
Post a Comment