How to Build a Reliable Image Editing Pipeline with the OpenAI Images Edits API
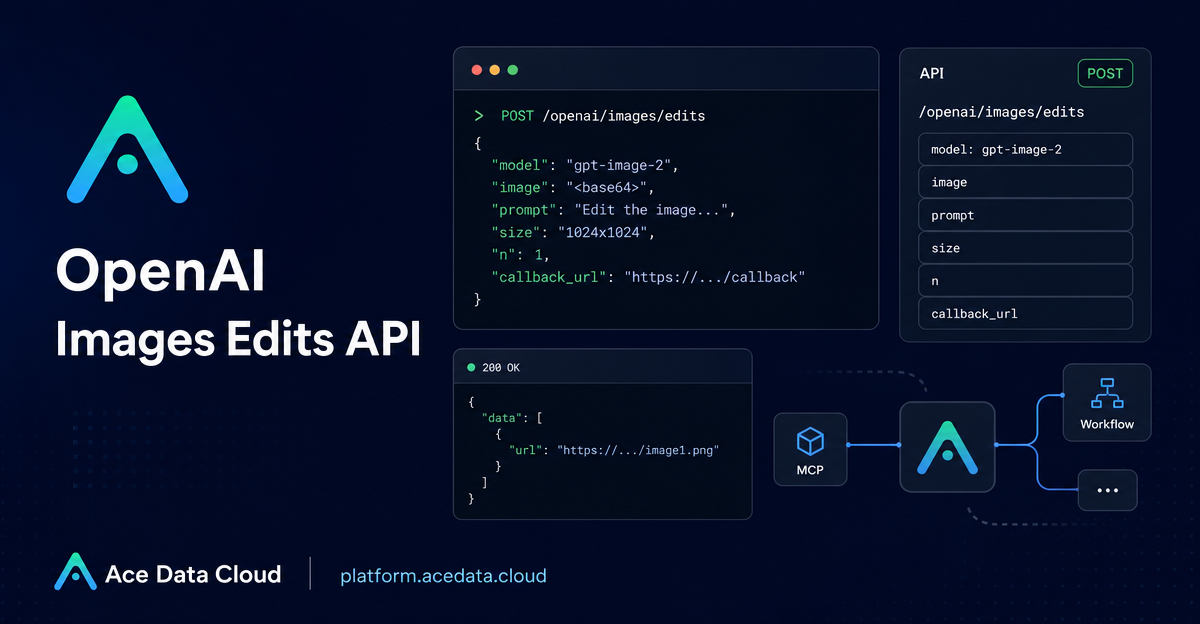
Image editing becomes tricky the moment it moves from a one-off prompt into a repeatable product workflow: you need stable structure, predictable inputs, useful output URLs, and a way to avoid holding HTTP connections open forever.
This guide walks through a practical way to use the OpenAI Images Edits API on Ace Data Cloud for server-side image editing, especially when you want to preserve the original layout while changing style, colors, background, or composition details.
What you can do
The endpoint is designed for instruction-based image editing. You provide one or more source images plus a text instruction, and the API returns edited image results. The same interface supports models including dall-e-2, gpt-image-1, gpt-image-2, and the nano-banana family.
In practice, this makes it useful for workflows such as:
- converting an infographic or product visual to a dark-mode theme while keeping the layout intact;
- combining several reference images into one composed output;
- changing an object style or scene background while preserving important structure;
- running image edits from a backend pipeline using image URLs instead of local file uploads.
How it works
The main endpoint used in the guide is:
POST https://api.acedata.cloud/openai/images/editsFor gpt-image-2, the API can accept image URLs in JSON, which is convenient when images already live in object storage or a CDN. The core fields are straightforward:
model: for example,gpt-image-2;image: a URL string, a base64 image, or an array of image references;prompt: the editing instruction;size:auto, empty, or aWIDTHxHEIGHTvalue forgpt-image-2;n: number of edited results, from 1 to 10 for supported models;callback_url: optional webhook URL for asynchronous completion.
A typical successful response includes success, task_id, trace_id, created, and a data array where each item can contain a final url.
Use JSON image URLs when you can
If your application already stores source images somewhere addressable, JSON input is usually the cleanest integration path. You do not need to download the file into your app server just to upload it again as multipart data.
curl -X POST "https://api.acedata.cloud/openai/images/edits"   -H "Authorization: Bearer {token}"   -H "Content-Type: application/json"   -d '{
    "model": "gpt-image-2",
    "image": "https://platform.cdn.acedata.cloud/gpt-image/5c9fa635-8794-4c6d-88f8-584d7f4716c6_0.png",
    "prompt": "Convert this infographic to dark mode: dark navy background, light cream text, deep gray rounded module cards with soft shadows. Keep all layout, structure, and module arrangement identical — only invert the color scheme.",
    "size": "1024x1536"
  }'
The important prompt detail is not just “make it dark mode.” The instruction explicitly says to keep the layout, structure, and module arrangement identical. For editing workflows, that kind of constraint is often the difference between a usable transformation and a nice-looking but unusable redesign.
Choose sizes deliberately
For gpt-image-2, size can be auto, omitted, or expressed as WIDTHxHEIGHT. Custom sizes must use width and height values that are multiples of 16, with the long side no larger than 3840 and total pixels no more than 8,294,400. Values outside the accepted format or limits can produce a 4xx response.
That means you can keep your pipeline explicit. For a vertical infographic, 1024x1536 is a reasonable 3:4 style output. For a wide blog or presentation asset, a 16:9-style size such as 1792x1024 or 3840x2160 may fit better, as long as it follows the documented constraints.
Use multiple references for composition tasks
The image field can also be an array. The documentation notes that up to 16 reference images can be passed for the model to reference multiple sources during editing. This is useful for product kits, comparison visuals, packaging mockups, or any workflow where the output should combine elements from several inputs.
import requests

url = "https://api.acedata.cloud/openai/images/edits"

headers = {
    "accept": "application/json",
    "authorization": "Bearer {token}",
    "content-type": "application/json",
}

payload = {
    "model": "gpt-image-2",
    "image": [
        "https://example.com/item1.png",
        "https://example.com/item2.png",
        "https://example.com/item3.png",
    ],
    "prompt": "Combine all the items above into a single 'Relax & Unwind' gift basket on a clean white background, photorealistic, soft natural lighting.",
    "size": "1024x1024",
}

response = requests.post(url, json=payload, headers=headers)
print(response.text)
For local-only workflows, gpt-image-2 also supports base64 input in the image field, using either data:image/png;base64,... or raw base64. That can be helpful when you do not want to upload a temporary source image to an image host before editing it.
Do not block forever: add a callback for longer jobs
Image editing can take long enough that a synchronous HTTP request becomes inconvenient. The API supports an asynchronous callback pattern: include callback_url, receive a quick response with task_id, and then handle the final POST payload at your webhook when the edit completes.
{
  "task_id": "6a97bf49-df50-4129-9e46-119aa9fca73c"
}
The callback result can include success, task_id, trace_id, and the image result data, allowing your system to connect the final edited asset back to the original job.
Model-specific notes
If you use the nano-banana models through the same editing endpoint, keep the supported parameter set narrower: model, prompt, image, and n. Parameters such as mask, size, and response_format are documented as unsupported for that adapter path and may be ignored.
For builder workflows, I would start with gpt-image-2 when structure and readable text matter, use URL or base64 input depending on where your images already live, and add callback_url as soon as the edit becomes part of a production queue rather than an interactive experiment.
You can read the full reference and examples in the OpenAI Images Edits API Integration Guide.


Comments
Post a Comment