How to Build a Practical Image Editing Workflow with gpt-image-2
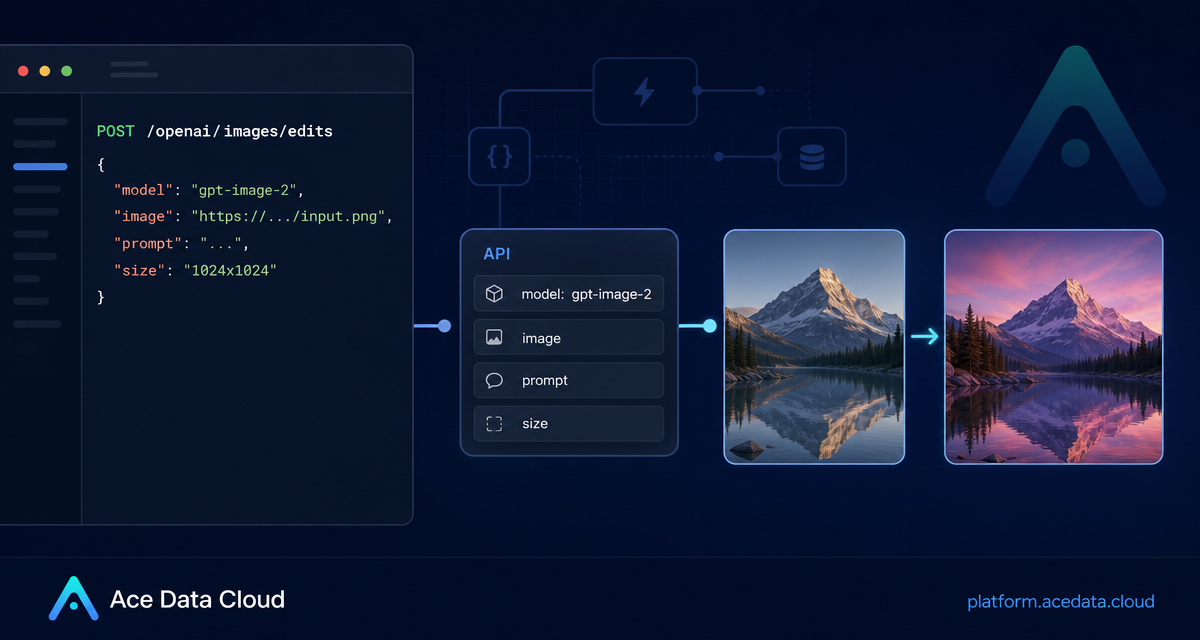
Image editing pipelines often get messy for a simple reason: the input image may live in object storage, a user upload, a design system, or a local file, while the editing model expects a particular transport format. The OpenAI Images Edits API on Ace Data Cloud gives builders one consistent endpoint for this workflow, including direct URL input, base64 input, multipart uploads, and model selection for gpt-image-2 and related image editing models.
What you can do
The practical use case is not “generate a random image.” It is controlled transformation of an existing image. According to the integration guide, gpt-image-2 is designed for edits where structure, layout, text, and composition matter. That makes it useful for tasks such as:
- Converting an infographic or UI mockup into a dark mode version while keeping the module layout unchanged.
- Replacing a background, object style, or material while preserving the original arrangement.
- Using one or more reference images to compose a product-style result.
- Requesting higher-resolution redraws through the
sizeparameter.
The same interface also supports the nano-banana model family for editing scenarios, but its supported parameter range is narrower: model, prompt, and image.
How it works
The main editing endpoint is:
POST https://api.acedata.cloud/openai/images/editsFor gpt-image-2, the API can receive JSON with an image field containing an image URL. This is the most convenient path for server-side pipelines because your backend does not need to download the image and then re-upload it as multipart form data.
A minimal JSON request includes:
model: for example,gpt-image-2.image: an image URL, an array of image URLs, or base64 data.prompt: the edit instruction.size: eitherauto, empty, or aWIDTHxHEIGHTvalue.
The documentation notes that custom dimensions must be multiples of 16, the long side must be no more than 3840, and total pixels must be no more than 8,294,400. Recommended examples include 1024x1024, 2048x2048, 2880x2880, 1792x1024, and 3840x2160.
Edit an image directly from a URL
Here is a real request shape from the guide, adapted for a typical “dark mode infographic” workflow. The important detail is that the input image is passed as a URL in JSON, not as a local file upload.
curl -X POST "https://api.acedata.cloud/openai/images/edits"   -H "Authorization: Bearer {token}"   -H "Content-Type: application/json"   -d '{
    "model": "gpt-image-2",
    "image": "https://platform.cdn.acedata.cloud/gpt-image/5c9fa635-8794-4c6d-88f8-584d7f4716c6_0.png",
    "prompt": "Convert this infographic to dark mode: dark navy background, light cream text, deep gray rounded module cards with soft shadows. Keep all layout, structure, and module arrangement identical — only invert the color scheme.",
    "size": "1024x1536"
  }'
A successful response contains success, task_id, trace_id, created, and a data array. Each item can include revised_prompt and a hosted image url.
{
  "success": true,
  "task_id": "cb104e35-af1f-45be-9fac-b62e2b256753",
  "trace_id": "3e5c77c6-6c2e-4bba-a42d-98ea049b58a8",
  "created": 1777048863,
  "data": [
    {
      "revised_prompt": "Convert this infographic to dark mode: dark navy background...",
      "url": "https://platform.cdn.acedata.cloud/gpt-image/cb104e35-af1f-45be-9fac-b62e2b256753_0.png"
    }
  ],
  "elapsed": 83.859
}
Use multiple references when one image is not enough
The image field can also be an array. The guide states that up to 16 reference images can be passed, which is useful when you want the model to combine or compare several inputs.
payload = {
    "model": "gpt-image-2",
    "image": [
        "https://example.com/item1.png",
        "https://example.com/item2.png",
        "https://example.com/item3.png"
    ],
    "prompt": "Combine all the items above into a single 'Relax & Unwind' gift basket on a clean white background, photorealistic, soft natural lighting.",
    "size": "1024x1024"
}
In a production app, this pattern is a good fit for product bundling, campaign creative assembly, or generated catalog previews where every source image has to remain recognizable.
Send local images as base64 when you cannot host them
If your input image should not be uploaded to a public object store first, gpt-image-2 also accepts base64 in the image field. The value can be prefixed as data:image/png;base64,... or sent as raw base64.
import base64, requests

b64 = base64.b64encode(open("input.png", "rb").read()).decode()
payload = {
    "model": "gpt-image-2",
    "image": f"data:image/png;base64,{b64}",
    "prompt": "Convert this infographic to dark mode.",
    "size": "1024x1536"
}

requests.post(
    "https://api.acedata.cloud/openai/images/edits",
    json=payload,
    headers={"authorization": "Bearer {token}"}
)
This is usually the cleanest approach for internal design tools, review systems, and temporary uploads where adding a separate hosting step would make the pipeline harder to maintain.
Know the model and parameter limits
There are a few details worth building into your client code. For the default and reverse routes, the gpt-image-2 editing interface currently returns one image per request: n > 1 is ignored. If you need multiple candidates, run multiple requests concurrently rather than expecting one call to fan out.
The model can also be selected as gpt-image-2:official or gpt-image-2:reverse. The guide says gpt-image-2:reverse is equivalent to the default route, while gpt-image-2:official supports n > 1 and true 2K / 4K, but may return an error directly if that route is unavailable.
For long-running edits, the API supports callback_url. When provided, the initial response includes a task_id, and the final result is posted back to your webhook with the same task_id so you can associate the job with your own record.
Wrapping up
The most useful thing about this API is that it lets you keep image editing close to your application logic. You can pass a URL, a list of references, base64 data, or multipart uploads, then choose the model and output size based on the job. For builders shipping internal tools, design automation, or creative workflows, that is much easier to operationalize than a manual editing step.
Read the full OpenAI Images Edits API Integration Guide for the complete examples, callback flow, and model-specific notes.


Comments
Post a Comment