How to Build a Practical Image Editing Pipeline with GPT-Image-2
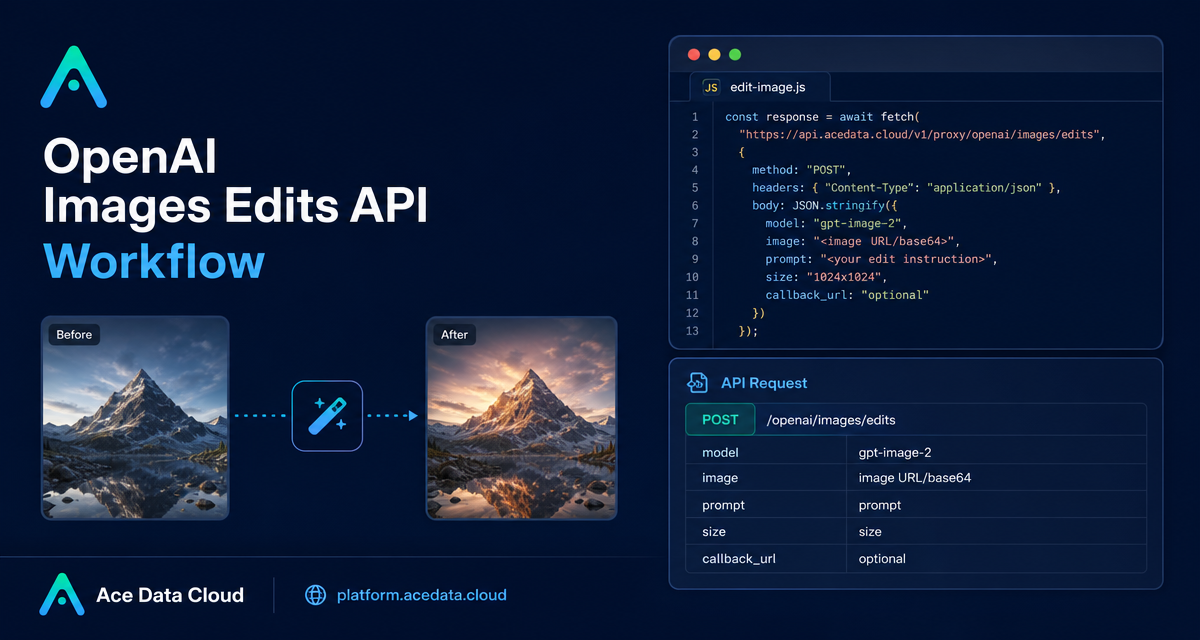
Image editing pipelines get messy when every input format, model choice, and output size requires a different branch in your code. The OpenAI Images Edits API on Ace Data Cloud gives you one practical interface for editing an image from a URL, a base64 string, or a normal file upload, while keeping the workflow close to the OpenAI-style API shape.
What you can do
The core endpoint for this workflow is POST https://api.acedata.cloud/openai/images/edits. With gpt-image-2, you can send an existing image plus a text instruction and receive an edited image. The documentation highlights a few useful production behaviors: URL input through JSON, base64 input for local files, multiple reference images through an array, and high-resolution redraws by setting size.
That makes the endpoint useful for tasks such as:
- converting an infographic from light mode to dark mode while preserving layout;
- replacing the background or surface style of a product image;
- combining several product references into one composed scene;
- running longer edits asynchronously with a
callback_url.
How it works
The minimum mental model is simple: send a model name, one or more source images, and a prompt that describes the edit. For JSON-based calls, image can be a single URL string, an array of URLs, a data:image/png;base64,... value, or raw base64. For SDK-compatible calls, you can also use multipart/form-data and upload local files.
The recommended model in the documentation is gpt-image-2. It is designed for image editing cases where structure, text, and composition matter. If you are editing posters, UI mockups, infographics, product cards, or menu-like images, your prompt should explicitly say what must stay unchanged, not only what should change.
Start with JSON and an image URL
For server-side workflows, JSON plus an image URL is often the cleanest path because you do not need to download the image before editing it. Here is a compact curl example based on the documented request shape:
curl -X POST "https://api.acedata.cloud/openai/images/edits" \
  -H "Authorization: Bearer {token}" \
  -H "Content-Type: application/json" \
  -d '{
    "model": "gpt-image-2",
    "image": "https://platform.cdn.acedata.cloud/gpt-image/5c9fa635-8794-4c6d-88f8-584d7f4716c6_0.png",
    "prompt": "Convert this infographic to dark mode: dark navy background, light cream text, deep gray rounded module cards with soft shadows. Keep all layout, structure, and module arrangement identical — only invert the color scheme.",
    "size": "1024x1536"
  }'
The important detail is the wording of the prompt. “Convert to dark mode” is too loose for a production pipeline. The documented example adds preservation rules: keep the layout, structure, and module arrangement identical. That kind of constraint is what helps turn a one-off edit into a repeatable workflow.
Use base64 when you do not want to host files first
If your input image is generated inside a backend job or uploaded by a user, you may not want to publish it to object storage before editing. The image field can directly receive base64, including a data URL. A small Python example looks like this:
import base64
import requests

with open("input.png", "rb") as f:
    b64 = base64.b64encode(f.read()).decode()

payload = {
    "model": "gpt-image-2",
    "image": f"data:image/png;base64,{b64}",
    "prompt": "Convert this infographic to dark mode while keeping the layout intact.",
    "size": "1024x1536"
}

response = requests.post(
    "https://api.acedata.cloud/openai/images/edits",
    json=payload,
    headers={"authorization": "Bearer {token}"}
)
print(response.text)
This is handy for internal tools: a designer drops an image into your app, your backend reads the bytes, and the edit request can be sent immediately without a temporary public URL.
Work with multiple references
The same image field can also be an array. The documentation notes that up to 16 reference images can be passed together, which is useful when the output should combine or reason over multiple visual sources.
payload = {
    "model": "gpt-image-2",
    "image": [
        "https://example.com/item1.png",
        "https://example.com/item2.png",
        "https://example.com/item3.png"
    ],
    "prompt": "Combine all the items above into a single 'Relax & Unwind' gift basket on a clean white background, photorealistic, soft natural lighting.",
    "size": "1024x1024"
}
For this kind of task, describe the final composition instead of listing low-level edits. The model needs to understand the role of each reference image and the target scene.
Choose sizes and handle longer jobs carefully
For gpt-image-2, size can be auto, omitted, or written as WIDTHxHEIGHT. Custom dimensions must use width and height values that are multiples of 16; the long side must be no more than 3840, and the total pixel count must be no more than 8,294,400.
One easy mistake is assuming n will return several candidates. For the default and reverse gpt-image-2 editing routes, n > 1 is ignored and a request returns one image. If you need several candidates, run multiple requests concurrently and track them separately.
For slow edits, add callback_url. The API can immediately return a task_id, then later POST the completed result to your webhook. The callback payload includes the same task_id, so your app can attach the finished image to the right job.
Use the OpenAI SDK shape when it fits
If you already use the OpenAI Python SDK, the documented compatible path is to point the client base URL to https://api.acedata.cloud/openai, use your Ace Data Cloud token as the API key, and call client.images.edit with model="gpt-image-2". That keeps migration small when your codebase already expects OpenAI-style client objects.
Wrapping up
A good image editing pipeline is less about a clever prompt and more about boring reliability: stable inputs, explicit preservation rules, predictable output sizes, and asynchronous handling when work takes longer than a normal request window. Starting with POST /openai/images/edits, URL or base64 inputs, and a narrow prompt is enough to build a practical first version.
For the full parameter notes and examples, read the OpenAI Images Edits API Integration Guide.


Comments
Post a Comment