How to Build a Practical Flux Image Generation Workflow with Ace Data Cloud
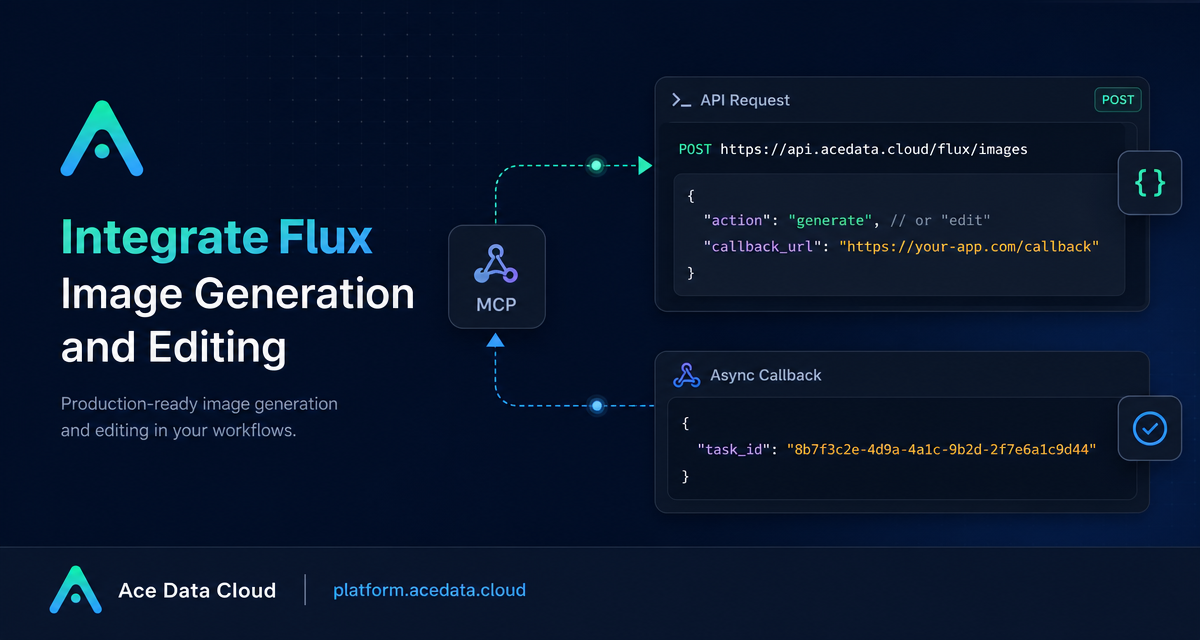
Image generation is easy to demo, but harder to wire into a real product: you need predictable request fields, a way to edit existing images, and a callback path so long-running jobs do not block your app server.
This guide walks through a small but production-shaped workflow using the Flux Images Generation API on Ace Data Cloud. The focus is generating an image from a prompt, editing an existing image, handling asynchronous callbacks, and reading errors in a way that is useful for debugging.
What you can do
The Flux Images endpoint is designed around a single API path:
POST https://api.acedata.cloud/flux/imagesThe request is controlled mainly by an action field. Use action: generate when you want to create images from a prompt. Use action: edit when you want to modify an existing image by passing an image_url.
- Generate one or more images with
prompt,model,count, and optionallysize. - Edit an existing image with
action,prompt,model, andimage_url. - Use
callback_urlto avoid keeping an HTTP request open while an image task runs. - Track results with
task_idandtrace_id.
How it works
The API expects JSON and returns JSON. Your request headers should include accept: application/json, content-type: application/json, and an authorization bearer token.
A typical successful response includes success, task_id, trace_id, and a data array. Each item in data can contain the original prompt and an image_url pointing to the generated result.
Generating images from a prompt
For a basic generation task, use action with the value generate. The documentation shows prompt as the main creative input and model as the model selector, with flux-dev documented as the default. The count field controls the number of generated images and defaults to 1; it is only valid for generation tasks, not editing tasks.
curl -X POST 'https://api.acedata.cloud/flux/images' \
  -H 'authorization: Bearer {token}' \
  -H 'accept: application/json' \
  -H 'content-type: application/json' \
  -d '{
    "action": "generate",
    "prompt": "a white siamese cat",
    "model": "flux-kontext-pro",
    "count": 2
  }'
A successful response may look like this shape:
{
  "success": true,
  "task_id": "226eb763-9eab-4d06-ad57-d59753a03307",
  "trace_id": "089f8b46-0167-4f25-88ee-3c3f88d80e84",
  "data": [{
    "prompt": "a white siamese cat",
    "image_url": "https://fal.media/files/lion/example.png",
    "timings": 1752743801
  }]
}
In a real app, I would store task_id, trace_id, prompt, and the final image_url. That gives you enough data to show the user the result and to investigate a failed or slow run later.
Choosing image sizes carefully
The size field supports two styles in the documentation: a concrete width x height aspect ratio format and an image ratio such as 16:9 or 1:1. The exact support depends on the model. For example, flux-dev and flux-pro-1.1 support aspect-ratio dimensions where values are between 256 and 1440 and multiples of 32. The newer flux-2-flex, flux-2-pro, and flux-2-max entries are documented with x >= 64 and multiples of 32.
Other models in the documentation, including flux-pro-1.1-ultra, flux-kontext-pro, and flux-kontext-max, are described as supporting image ratios rather than aspect-ratio dimensions. The listed ratio examples include 1:1, 16:9, 21:9, 3:2, 2:3, 4:5, 5:4, 3:4, 4:3, 9:16, and 9:21.
Editing an existing image
Editing uses the same endpoint but changes the request shape. Use action with the value edit, provide a prompt, and pass the source image through image_url. The documented editing models are flux-kontext-max and flux-kontext-pro.
import requests

url = "https://api.acedata.cloud/flux/images"
headers = {
    "accept": "application/json",
    "authorization": "Bearer {token}",
    "content-type": "application/json"
}
payload = {
    "action": "edit",
    "prompt": "a white siamese cat",
    "model": "flux-kontext-pro",
    "image_url": "https://cdn.acedata.cloud/ytj2qy.png"
}
response = requests.post(url, json=payload, headers=headers)
print(response.text)
This is useful when your product already has an uploaded image and the user wants a controlled transformation rather than a completely new generation.
Using callbacks for long-running tasks
The documentation notes that Flux image generation can take about one to two minutes. If your backend keeps the original HTTP connection open for that whole time, you may waste worker capacity and make retries harder to reason about. A cleaner pattern is to pass callback_url.
With a callback, the API can immediately return a task_id. When the task completes, Ace Data Cloud sends a POST JSON payload to your callback URL. That payload includes the same task_id, so your application can match the completion event back to the original job.
{"task_id": "6a97bf49-df50-4129-9e46-119aa9fca73c"}{
"success": true,
"task_id": "6a97bf49-df50-4129-9e46-119aa9fca73c",
"trace_id": "9b4b1ff3-90f2-470f-b082-1061ec2948cc",
"data": [{
"prompt": "a white siamese cat",
"image_url": "https://sf-maas-uat-prod.oss-cn-shanghai.aliyuncs.com/outputs/example.png",
"seed": 1698551532,
"timings": {"inference": 3.328}
}]
}Error handling
Do not treat every failure as the same kind of failure. The documented errors include 400 token_mismatched, 400 api_not_implemented, 401 invalid_token, 429 too_many_requests, and 500 api_error. A response can include success: false, an error object with code and message, and a trace_id.
{
  "success": false,
  "error": {"code": "api_error", "message": "fetch failed"},
  "trace_id": "2cf86e86-22a4-46e1-ac2f-032c0f2a4e89"
}
My practical recommendation is simple: log the HTTP status, error.code, error.message, and trace_id. That gives you enough context to distinguish malformed requests, authentication issues, rate limiting, and server-side problems.
Wrapping up
If you are adding image generation to an application, start with the smallest useful workflow: one generate path, one edit path, and one callback handler. Once those three pieces are stable, you can safely build a richer UI around model choice, size presets, prompt templates, and result history.
For the full parameter reference and examples, read the Flux Images Generation API Integration Guide.


Comments
Post a Comment