How to Add NanoBanana MCP to Claude for Practical Image Generation Workflows
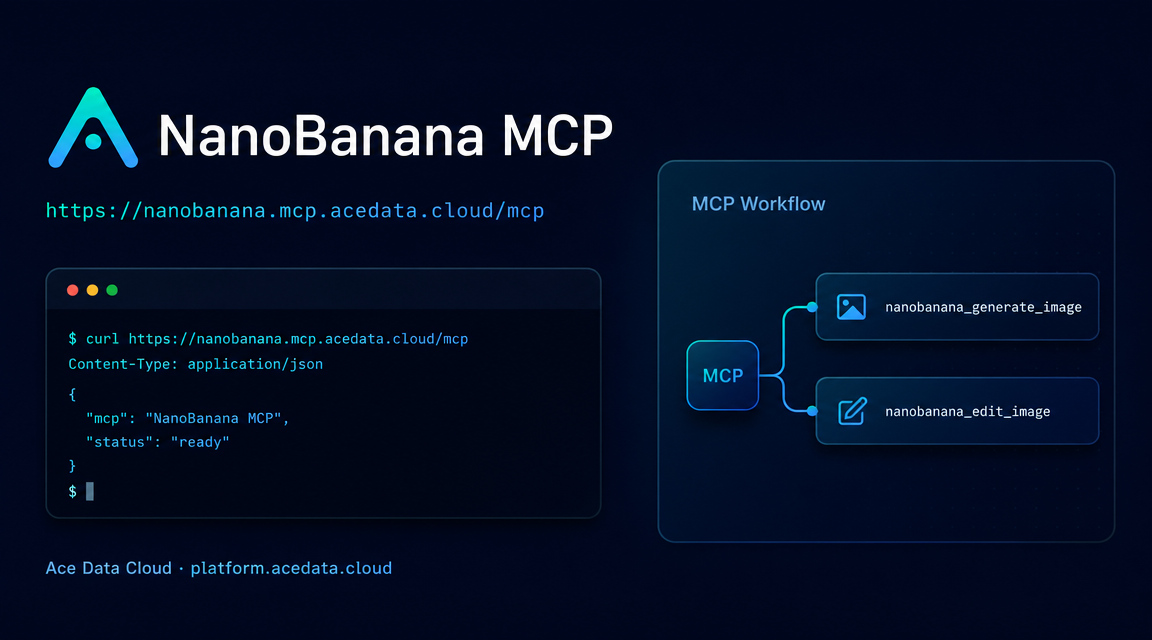
If you already use Claude for planning posts, product screens, or landing page copy, the next bottleneck is often visual work: opening another tool, copying prompts around, waiting for exports, then pasting image URLs back into your workflow.
The NanoBanana MCP guide from Ace Data Cloud describes a simpler path: connect Claude.ai to a remote MCP server once, then ask Claude to generate or edit images directly from the chat. This tutorial rewrites that flow as a practical builder guide, focusing on what is actually documented: the connector URL, OAuth setup, available tools, and a few prompt patterns that map cleanly to image generation and editing.
What you can do
After the connector is added, Claude can call four NanoBanana MCP tools exposed by Ace Data Cloud:
nanobanana_generate_imagefor generating images from text descriptions.nanobanana_edit_imagefor editing an existing image, partial modifications, or style transfer.nanobanana_get_taskfor querying a single task result.nanobanana_get_tasks_batchfor querying multiple task results together.
That gives you a useful loop for everyday content work: describe an image, let Claude submit the task, wait for the result, then iterate with another instruction such as replacing an object or changing the visual style.
How it works
MCP, or Model Context Protocol, lets a model call external tools through a standard interface. In this case, Ace Data Cloud wraps NanoBanana image capabilities behind a remote MCP server. Claude does not need you to manually copy an API token into the chat. The Claude.ai web integration uses OAuth authorization: you add a custom connector URL, sign in to Ace Data Cloud, approve access, and Claude discovers the tools.
The server URL from the document is:
https://nanobanana.mcp.acedata.cloud/mcpThe important point is that you are not wiring up a traditional REST endpoint by hand inside your app. You are giving Claude a connector endpoint, and Claude handles the tool calls during the conversation.
Step 1: Add the custom connector in Claude.ai
Open Claude.ai, go to Settings, then Customize, then Connectors. The document notes that the old /settings/connectors entry has moved to /customize/connectors, so use the current Customize path if you are following the web UI.
Click Add custom connector and enter the values below:
{
  "name": "NanoBanana",
  "url": "https://nanobanana.mcp.acedata.cloud/mcp"
}
The name can be any label you recognize. The url should be the MCP server URL above. After you add it, Claude should discover the NanoBanana tools exposed by the server.
Step 2: Authorize with OAuth
On first connection, Claude redirects you to the Ace Data Cloud OAuth authorization page. Sign in with an Ace Data Cloud account and allow the connector. The document explicitly describes this as an OAuth direct connection, with no need to copy an API token into Claude.
Once authorized, return to the connector in Claude.ai and check that the tool list includes nanobanana_generate_image, nanobanana_edit_image, nanobanana_get_task, and nanobanana_get_tasks_batch.
Step 3: Make tool calling less noisy
The guide recommends setting each tool to Always allow. This is practical advice rather than a cosmetic preference: image generation usually involves at least a submit step and a task-query step. If every call needs manual confirmation, the loop becomes slower than it needs to be.
Remember that Always allow is per tool. If you approve generation but not task querying, Claude may still ask when it needs to call nanobanana_get_task.
Step 4: Use prompts that map to real tools
Start with a direct generation prompt. The source guide uses an English prompt because it says NanoBanana follows English prompts more stably:
Use NanoBanana to generate one image: a cute corgi astronaut floating in space, soft pastel nebula background, photorealistic, 16:9.From there, Claude can call nanobanana_generate_image, receive a task ID, query the result with nanobanana_get_task, and return the image link in chat.
For editing, refer to the previous image naturally:
Take that corgi image and replace the helmet with a giant donut.This maps to nanobanana_edit_image, with the existing image URL passed as the input. For variations, ask for multiple candidates and let Claude use repeated generation plus nanobanana_get_tasks_batch to collect results.
A small workflow for blog covers
A useful content workflow is to keep the prompt structured around intent, subject, style, and aspect ratio:
Use NanoBanana to generate a 16:9 blog cover for a technical tutorial about API automation. Use a clean developer-tool visual style, dark background, terminal window, and minimal text.Then iterate in-place:
Edit the image to make the terminal panel more prominent and reduce the amount of text.This keeps the visual loop inside Claude, which is the main value of using MCP here: the assistant can plan, call tools, inspect results, and help you refine without switching applications.
Where this fits
NanoBanana MCP is a good fit when you want Claude to create blog covers, product concept images, social graphics, or quick visual drafts during a writing session. It is less about replacing every design tool and more about removing friction from the first usable image iteration.
If you want to reproduce the setup exactly, read the original Claude connects to NanoBanana MCP guide.


Comments
Post a Comment