How to Add NanoBanana Image Editing to Claude Code with MCP
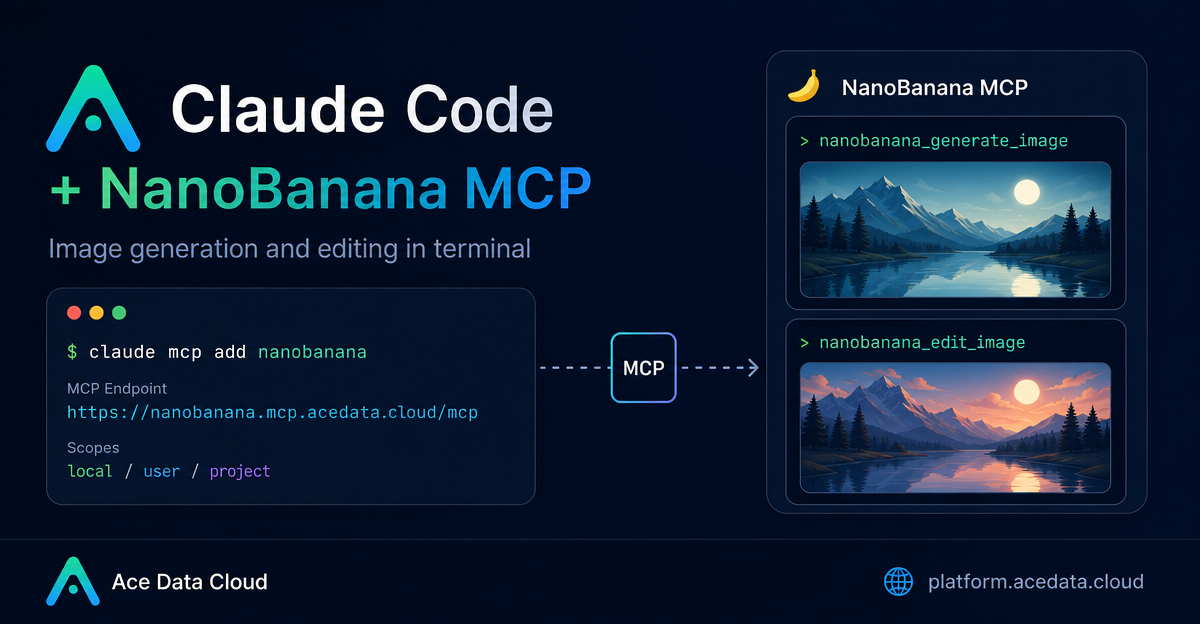
If your day-to-day work already happens in a terminal, jumping into a separate image tool just to generate a mockup, clean up a screenshot, or combine reference images breaks the flow. The NanoBanana MCP server lets Claude Code call image generation and image editing tools from the same command-line session where you are writing code.
This guide walks through the practical setup: adding the nanobanana MCP server to Claude Code, choosing the right configuration scope, verifying the connection, and using the two documented tools in real builder workflows.
What you can do
The documented Claude Code integration exposes two NanoBanana tools:
nanobanana_generate_imagefor text-to-image generation.nanobanana_edit_imagefor image editing, including multi-image input.
The useful part is not just “make an image.” The docs describe NanoBanana as an image model that understands image content well enough to combine objects and scenes. For example, you can provide two images and ask it to place an object from image A into the scene of image B while adjusting angle and lighting. That makes it a good fit for quick product mockups, blog illustrations, design exploration, and cleaning up screenshots without leaving Claude Code.
How it works
Claude Code supports MCP servers over HTTP. Ace Data Cloud provides a NanoBanana MCP endpoint at https://nanobanana.mcp.acedata.cloud/mcp. You add that endpoint to Claude Code with an authorization header, then call the tools from a normal Claude Code session using natural language.
The documented setup command is:
claude mcp add nanobanana --transport http https://nanobanana.mcp.acedata.cloud/mcp \
  -H "Authorization: Bearer YOUR_TOKEN"
Use your Ace Data Cloud API token in place of YOUR_TOKEN. The important detail from the documentation is that -H must be uppercase. Lowercase -h is interpreted as the help flag, not as a header parameter.
Choose the right MCP scope
Claude Code can store MCP configuration at different scopes. Picking the right one prevents the common “it worked yesterday in another folder” problem.
localis the default. If you omit-s, the configuration is written to~/.claude.jsonand is only effective in the current project directory.useralso uses~/.claude.json, but applies globally across all projects.projectwrites configuration to.mcp.jsonin the project root, so the setup can be shared with a team.
For a solo workflow, -s user is usually convenient. For a shared repository, the documented pattern is to use -s project, commit the .mcp.json configuration, and avoid committing real tokens. Use environment-variable placeholders instead.
claude mcp add nanobanana --transport http https://nanobanana.mcp.acedata.cloud/mcp \
  -H "Authorization: Bearer YOUR_TOKEN" \
  -s project
Verify the connection before you rely on it
After adding the server, check the MCP list:
claude mcp listThe expected result is that nanobanana appears as connected. It is worth doing this once before you start a longer coding session, because it separates configuration issues from prompt issues. If the server is not connected, revisit the endpoint URL, the uppercase -H flag, and your authorization header.
Use it for real builder tasks
Once connected, you do not need to manually call a REST endpoint. You can ask Claude Code to use the available MCP tools in plain language. The documentation gives three useful patterns.
1. Multi-image composition
Use nanobanana_edit_image when you have multiple image URLs and want the model to understand their relationship:
Put the phone from the first image onto the desk in the second image, adjusting angle and lighting to make it look natural.This is practical for product mockups: put a device into a workspace, combine a UI screenshot with a realistic scene, or test campaign visuals without opening a design suite.
2. Removing unwanted text from a screenshot
For screenshots, watermarks, or accidental labels, use an edit prompt that describes both what should be removed and how the empty area should be filled:
Edit this image to remove the text watermark in the bottom right corner, filling the background.That small extra instruction—“filling the background”—matters. It tells the image editor that the goal is not just deletion, but a clean reconstruction of the surrounding area.
3. Generating an illustration for a product page
When you need a lightweight visual for a feature, blog post, or empty state, use nanobanana_generate_image with a clear scene description and intended placement:
Generate an illustration of a small dinosaur crouching next to a crack in the ground looking down, for use on a 404 page.For production work, I like to include the target surface in the prompt: “for a 404 page,” “for a docs hero,” or “for a changelog card.” It keeps the output aligned with the layout instead of producing a generic artwork.
A simple workflow I would use
- Add the
nanobananaMCP server withclaude mcp add. - Run
claude mcp listand confirm it is connected. - Keep source images as URLs when using
nanobanana_edit_image, especially for composition tasks. - Use concrete prompts: specify the object, target scene, lighting, angle, and what should remain unchanged.
- For shared projects, use
-s projectbut keep tokens out of git.
The main advantage is workflow continuity. You can ask for a generated illustration, edit a screenshot, or compose multiple references while staying inside Claude Code, next to the code and docs you are already working on.
For the complete setup details, see the official Claude Code integration with NanoBanana MCP guide.


Comments
Post a Comment