Getting Started with Claude Code CLI through Ace Data Cloud
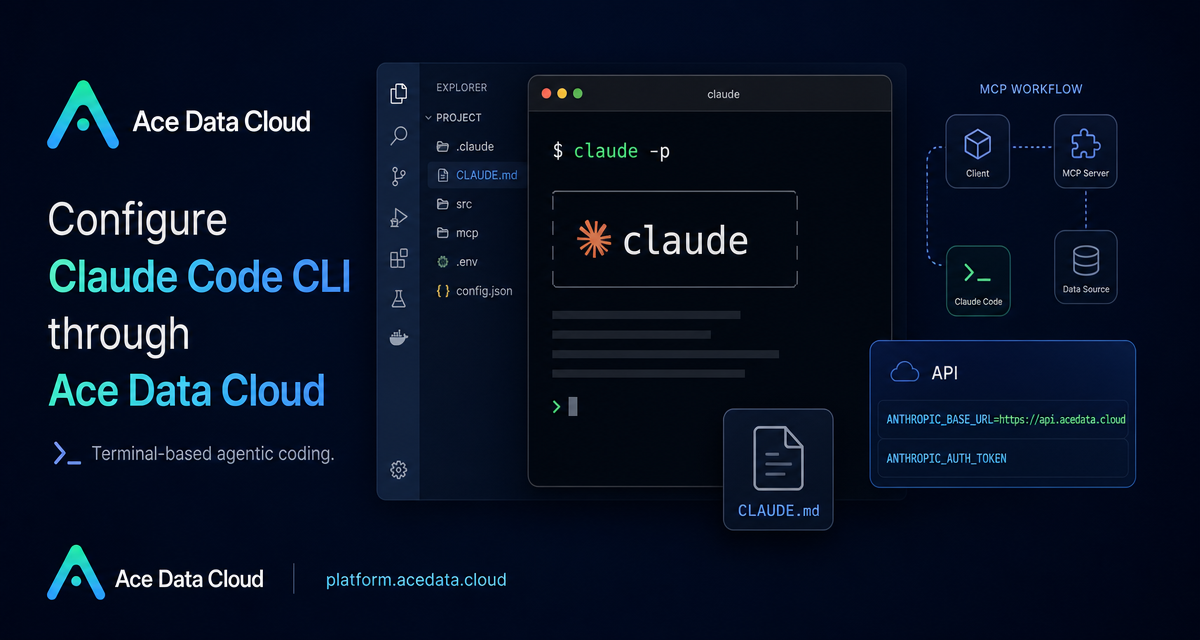
If you like coding agents but do not want to leave the terminal, Claude Code CLI is a practical way to bring an AI pair programmer into the same workflow you already use for logs, diffs, commits, and project scripts. This guide walks through the documented Ace Data Cloud setup for running the claude command from a local terminal with a custom API base URL.
What you can do
The terminal version of Claude Code is built around a simple idea: open a project directory, run claude, and describe the coding task in natural language. The documented CLI supports interactive sessions, one-off commands, query-and-exit mode, conversation continuation, restoring previous sessions, and Git commit creation.
In a real builder workflow, that means you can use it for tasks such as:
- asking
what does this project do?before touching an unfamiliar repository; - fixing a bug such as empty form submission;
- writing unit tests for existing functions;
- refactoring a module to use
async/await; - reviewing a diff before merging it.
Ace Data Cloud appears in this setup as the API endpoint configuration: Claude Code reads environment variables such as ANTHROPIC_AUTH_TOKEN and ANTHROPIC_BASE_URL, and the documented base URL is https://api.acedata.cloud.
How it works
Claude Code normally starts by asking you to log in to an Anthropic account. The documented Ace Data Cloud path uses environment variables instead. You install Claude Code, provide an Ace Data Cloud API token as ANTHROPIC_AUTH_TOKEN, and point ANTHROPIC_BASE_URL to https://api.acedata.cloud.
There are two supported places to configure those values. The first is your shell profile, such as ~/.zshrc, ~/.bashrc, or ~/.bash_profile. The second is Claude Code's ~/.claude/settings.json, where the variables apply only to Claude Code rather than every process in the shell.
Install the CLI
The documented native installer works on macOS, Linux, and WSL:
curl -fsSL https://claude.ai/install.sh | bashOn Windows PowerShell, the documented command is:
irm https://claude.ai/install.ps1 | iexOn Windows CMD, use:
curl -fsSL https://claude.ai/install.cmd -o install.cmd && install.cmd && del install.cmdThe guide also documents package-manager options: brew install claude-code for macOS or Linux, and winget install Claude.ClaudeCode for Windows.
Configure Ace Data Cloud as the API base
For a shell-wide setup, add the following to your shell configuration file. Replace {token} with the API token copied from the Ace Data Cloud console. The documentation notes that the value of ANTHROPIC_AUTH_TOKEN automatically has the Bearer prefix added when sent to the server.
# AceData Cloud - Claude Code Proxy Configuration
export ANTHROPIC_AUTH_TOKEN="{token}"
export ANTHROPIC_BASE_URL="https://api.acedata.cloud"

source ~/.zshrc  # or source ~/.bashrc
If you prefer to keep the variables scoped to Claude Code, create or edit ~/.claude/settings.json:
{
  "env": {
    "ANTHROPIC_AUTH_TOKEN": "{token}",
    "ANTHROPIC_BASE_URL": "https://api.acedata.cloud"
  }
}
This is often the cleaner option on shared development machines or laptops where multiple tools may read Anthropic-compatible environment variables.
Run Claude Code inside a project
Once installed and configured, move into a repository and start an interactive session:
cd /path/to/your/project
claude
The CLI also supports direct task execution. These documented forms are useful when you already know what you want the agent to do:
claude "fix build error"
claude -p "explain this function"
claude -c
claude -r
claude commit
Inside interactive mode, the documented slash commands include /help, /clear, /config, /model, /mcp, /compact, /memory, and /login. Use exit or Ctrl+C to leave the session.
Use it like a Unix tool
The most useful part of a terminal coding agent is that it can participate in existing command-line workflows. The documentation shows examples that pipe logs or diffs into claude -p:
# Monitor logs and alert automatically
tail -f app.log | claude -p "notify me if an anomaly is detected"

# Code review
git diff main | claude -p "review these changes"
This makes the CLI feel less like a separate chat product and more like a programmable reviewer that can read the same streams you already inspect manually.
Add project memory with CLAUDE.md
For recurring project context, create a CLAUDE.md file in the project root. Claude Code automatically loads it at startup. The documented pattern looks like this:
# Project Description
This is a full-stack project using Django + Vue.js.

## Coding Standards
- Use Python 3.12
- Follow PEP 8 coding style
- All APIs need to have unit tests
This is a small step that pays off quickly. Instead of repeating stack details, test expectations, or style rules in every prompt, you keep them in version-controlled project memory.
Troubleshooting checklist
If the connection fails, the documentation suggests checking that ~/.claude/config.json contains {"primaryApiKey":"self"}, confirming that ANTHROPIC_AUTH_TOKEN and ANTHROPIC_BASE_URL are set correctly, verifying the API token, and restarting the terminal. If claude is not found after installation, close and reopen the terminal, check echo $PATH, or reinstall with the native installer.
That is the full loop: install the CLI, point it at https://api.acedata.cloud, run claude from a project, and start with small tasks such as explaining a function or reviewing a diff. For the complete source guide, see the Claude Code Terminal CLI Integration Guide.


Comments
Post a Comment